


Build a Reliable DIY Plant Moisture Sensor with Arduino UNO
Components and supplies
 |
| × | 1 | |||
 |
| × | 3 | |||
 |
| × | 1 | |||
 |
| × | 1 | |||
| × | 2 | ||||
 |
| × | 1 | |||
| × | 8 |
Apps and online services
 |
|
About this project
DIY Plant Moisture SensorSee this project on my website!
This project will calculate the water content of soil around a plant by measuring the dielectric constant (the soil's ability to transmit electricity) and will alert you with a red LED when the plant needs more water or a blue one when it has too much.
You will need to gather these things in order to build this project:
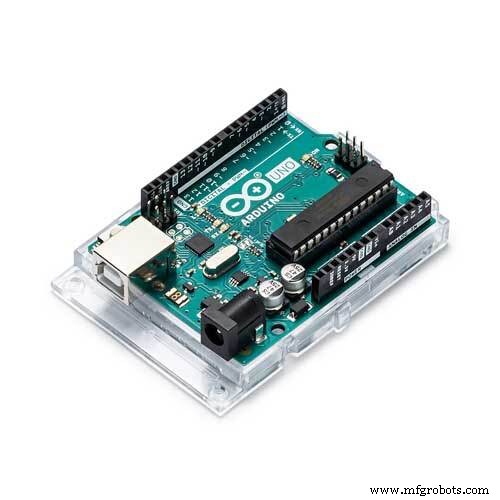
- Arduino UNO or equivalent (x1): https://amzn.to/2DLjxR2
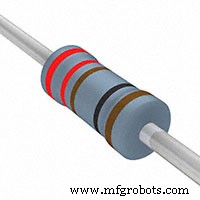
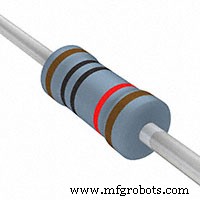
- 220Ω* resistors (for LED) (x3): https://amzn.to/2S2sV5R
- 10kΩ resistor (x1) - brown black orange: https://amzn.to/2S2sV5R
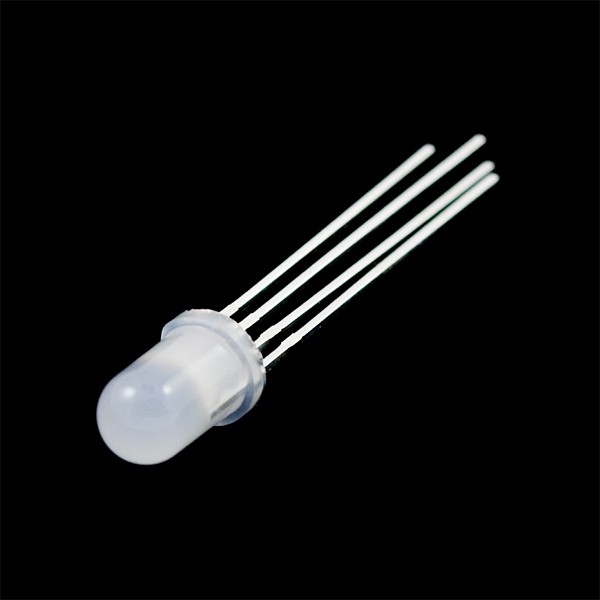
- RGB LED (x1) or 3 different colored LEDs: https://amzn.to/2Fzbusx
- Long Jumper Cables (x2): https://amzn.to/2Q7kiKc
- Jumper Cables (x6): https://amzn.to/2Q7kiKc
- Breadboard (x1): https://amzn.to/2RYqiSK
- Bolts of any size (x2): https://amzn.to/2qWLYTF
- Nuts same diameter as bolts above (x2): https://amzn.to/2qWLYTF
As an Amazon Associate I earn from qualifying purchases.
Step 1: Create Sensor Prongs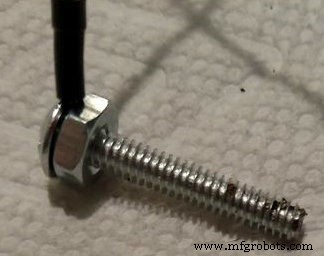
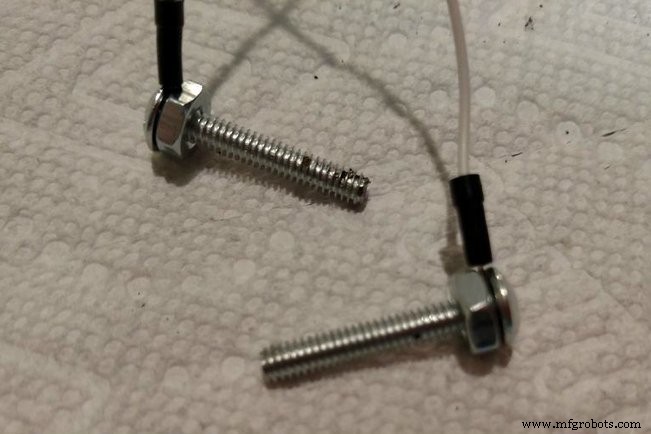
You will need to repeat this step twice (once for each prong):
- Begin to tighten the nut around the bolt
- Slide the end of the long jumper cable between the nut and the head of the bolt.
- Keep tightening the nut until you are unable to pull out the jumper cable
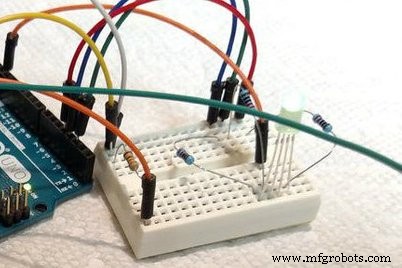
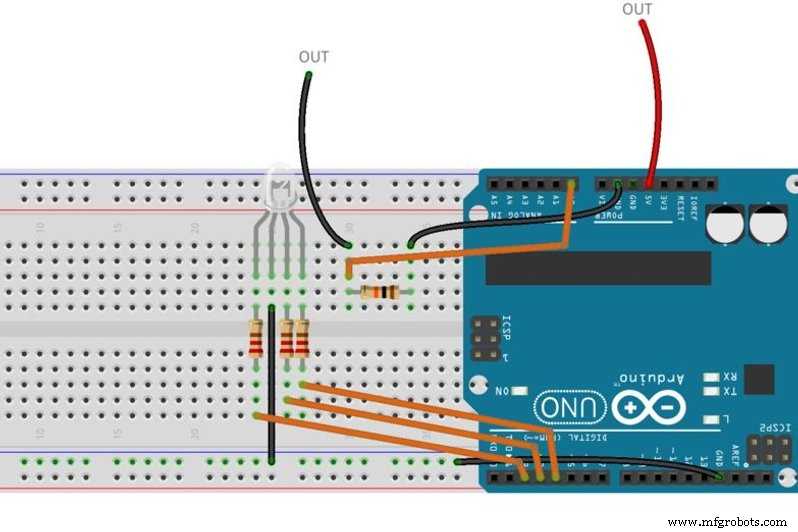

Follow the schematic or the breadboard image - whichever one works better for you. The wires labeled "out" are the two prongs you just created.
Step 3: Upload CodeCopy and paste this code into the Arduino IDE:
int moistPin = 0;
int moistVal = 0;
int tooDry = 150; //set low parameter for plant
int tooWet = 400; //set high parameter for plant
void setup()
{
  Serial.begin(9600);
}
void loop()
{
  moistVal = analogRead(moistPin);
  Serial.println(moistVal);
  int percent = 2.718282 * 2.718282 * (.008985 * moistVal + 0.207762); //calculate percent for probes about 1 - 1.5 inches apart
  Serial.print(percent);
  Serial.println("% Moisture ");
  if (moistVal <= tooDry) {
    digitalWrite(4, HIGH); //Red LED
    digitalWrite(3, LOW);
    digitalWrite(2, LOW);
  }
  else if (moistVal >= tooWet) {
    digitalWrite(4, LOW);
    digitalWrite(3, HIGH); //Blue LED
    digitalWrite(2, LOW);
  }
  else {
    digitalWrite(4, LOW);
    digitalWrite(3, LOW);
    digitalWrite(2, HIGH); //Green LED
  }
  delay(250);
}

- Insert the prongs you made about 1" to 1.5" apart in soil close to the plant you want to monitor.
- Give the plant a healthy amount of water and open the serial monitor
- It should give you readings around 25 - 30% if you gave it the right amount of water
- If not, try moving the prongs around to get it right (or you just added too much water)
If this is going outside you will want to put your circuit inside of a Tupperware or other waterproof container to protect it from the elements. Then drill some holes for the sensor wires to come through and add a battery box to power it. Mine is not going outside though, and will be fine without a container.
Code
- Code snippet #1
Code snippet #1Plain text
int moistPin = 0;
int moistVal = 0;
int tooDry = 150; //set low parameter for plant
int tooWet = 400; //set high parameter for plant
void setup()
{
  Serial.begin(9600);
}
void loop()
{
  moistVal = analogRead(moistPin);
  Serial.println(moistVal);
  int percent = 2.718282 * 2.718282 * (.008985 * moistVal + 0.207762); //calculate percent for probes about 1 - 1.5 inches apart
  Serial.print(percent);
  Serial.println("% Moisture ");
  if (moistVal <= tooDry) {
    digitalWrite(4, HIGH); //Red LED
    digitalWrite(3, LOW);
    digitalWrite(2, LOW);
  }
  else if (moistVal >= tooWet) {
    digitalWrite(4, LOW);
    digitalWrite(3, HIGH); //Blue LED
    digitalWrite(2, LOW);
  }
  else {
    digitalWrite(4, LOW);
    digitalWrite(3, LOW);
    digitalWrite(2, HIGH); //Green LED
  }
  delay(250);
}
Schematics


Manufacturing process
- Build a Low‑Cost Raspberry Pi Soil Moisture Sensor for Smart Irrigation
- Smart Thirst Alert Plant Alarm – DIY Sensor for Optimal Plant Hydration
- Build a 20 kHz Arduino Oscilloscope on a Nokia 5110 LCD – Easy DIY Guide
- Build an Italian Word Clock with Arduino Nano, NeoPixel, LCD, and RTC
- Arduino Color Sensor Prototype – Identify and Display Object Color Names
- DIY Autoranging Capacitance Meter (10 pF–10 µF) – Easy Arduino Build
- Touch‑Free Gesture Lock: Secure Access with APDS‑9960 and Arduino
- Arduino Nano Companion Kit – Essential Components & Tools for DIY Electronics
- DIY Automated Electronic Component Tester – Simple, Accurate, and Reliable
- Build an Ambient Light Sensor with Photoresistor and LED: Step‑by‑Step Guide