


DIY Parking Radar Sensor with Arduino UNO & HC‑SR04 Ultrasonic Sensors
Components and supplies
 |
| × | 1 | |||
 |
| × | 1 | |||
| × | 1 |
About this project
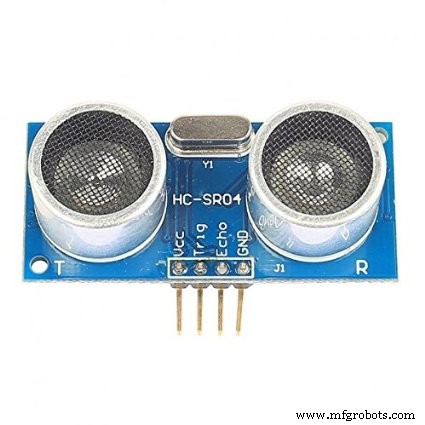
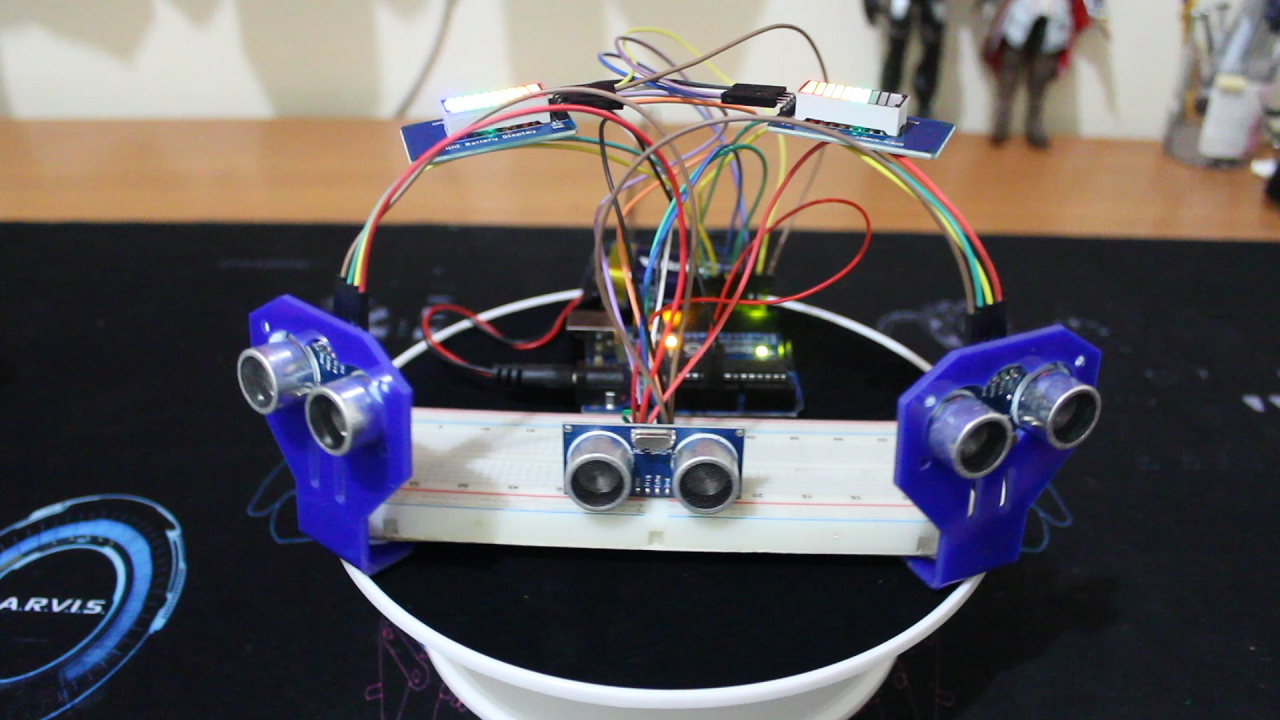
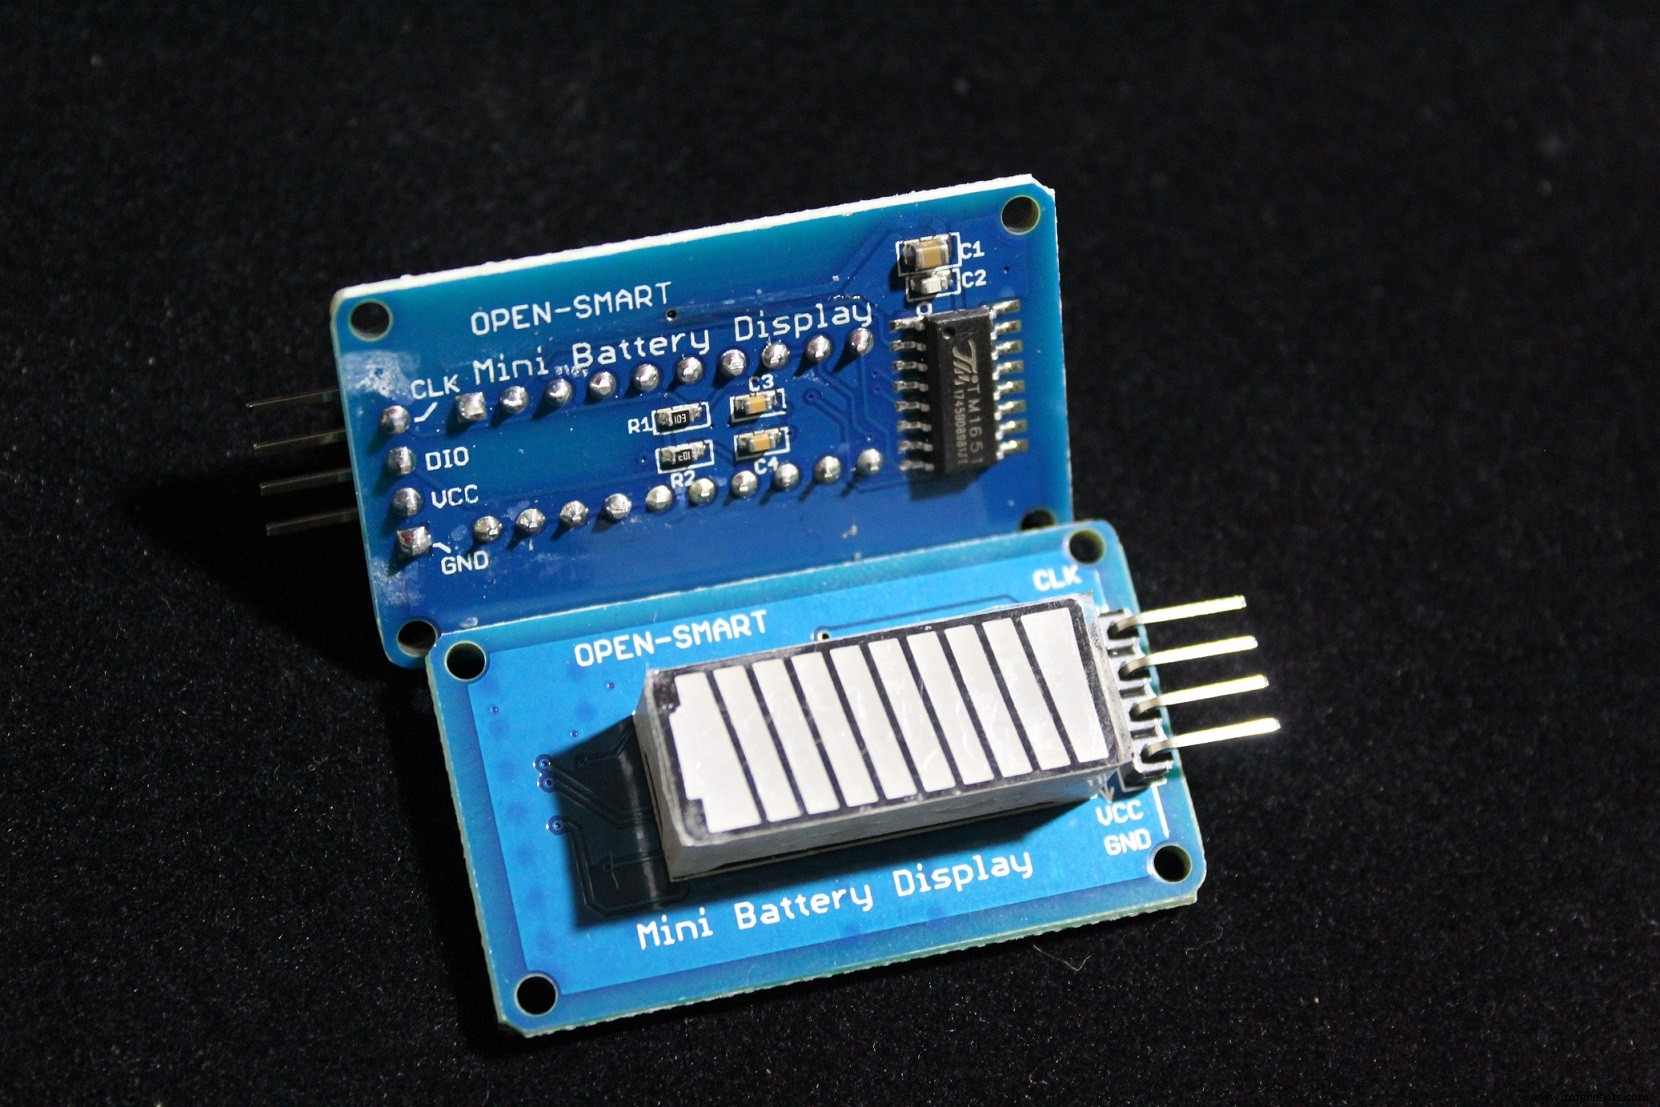
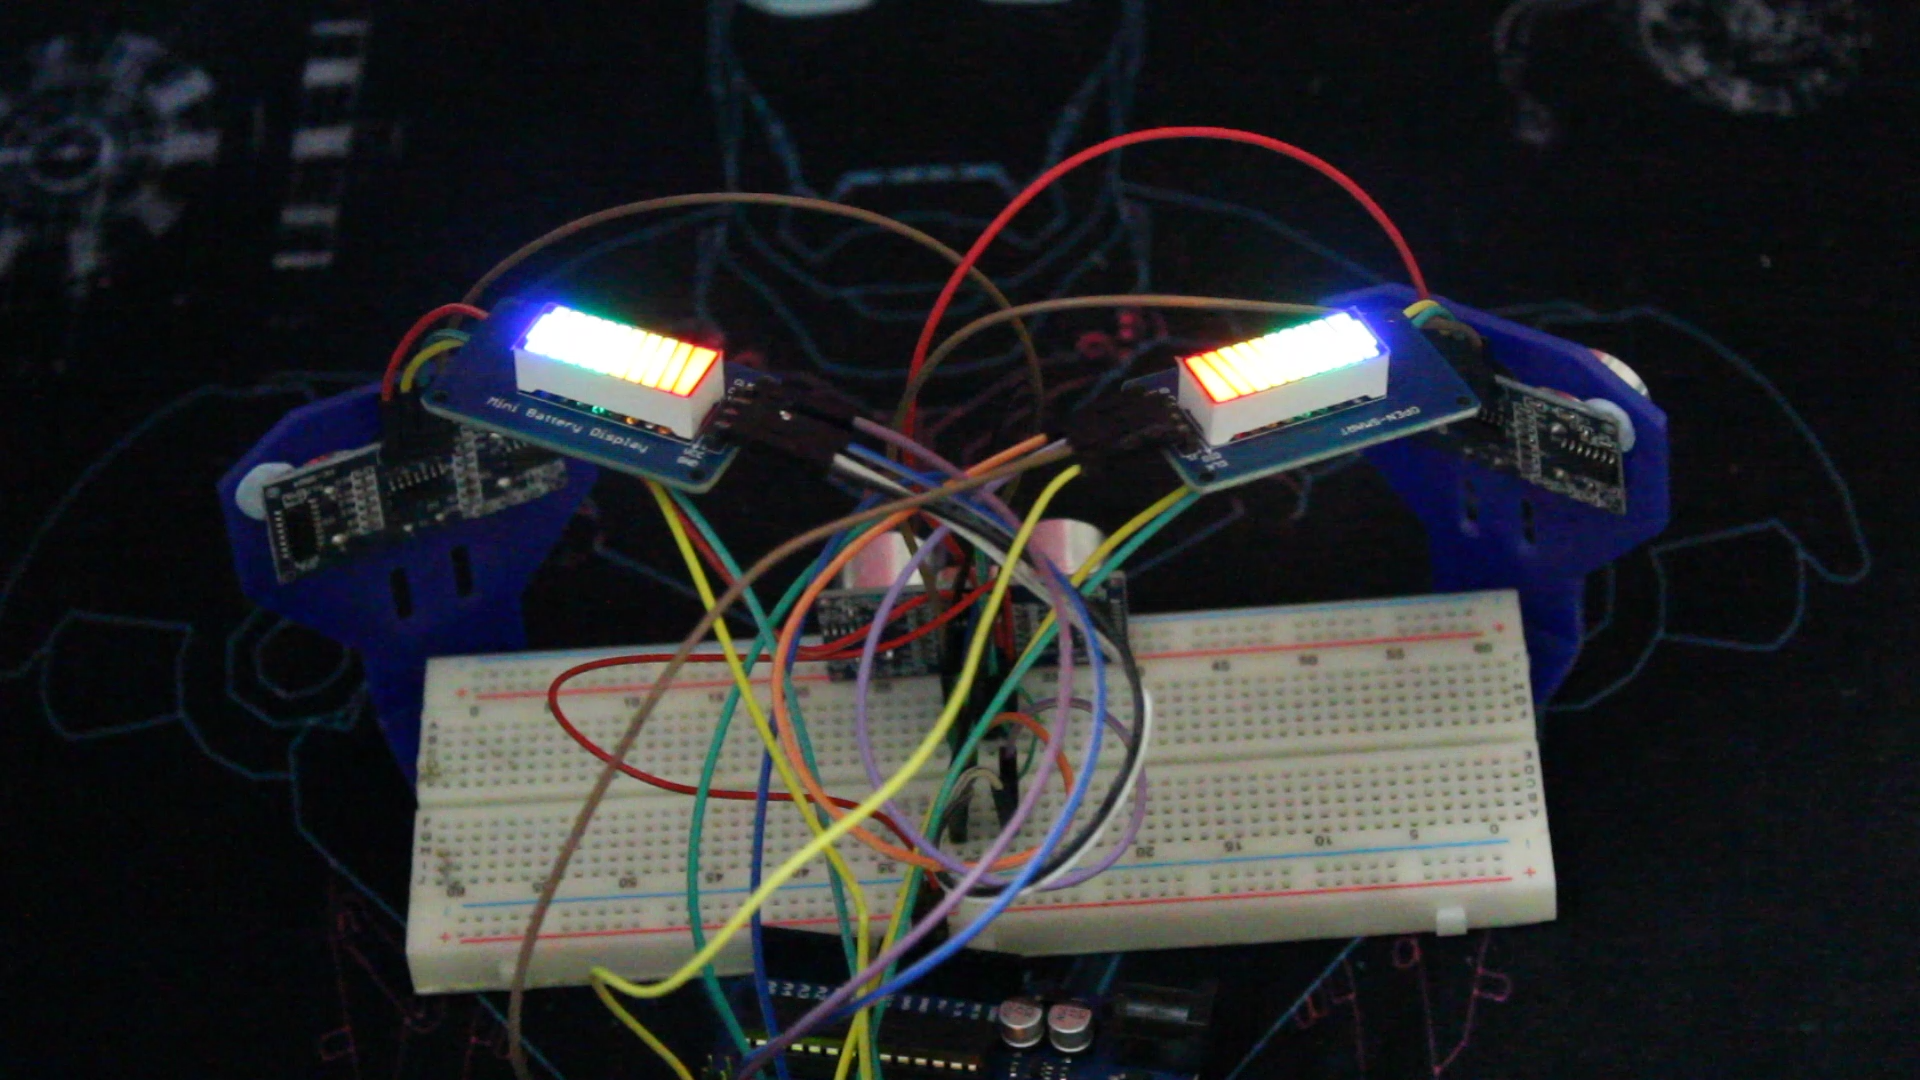
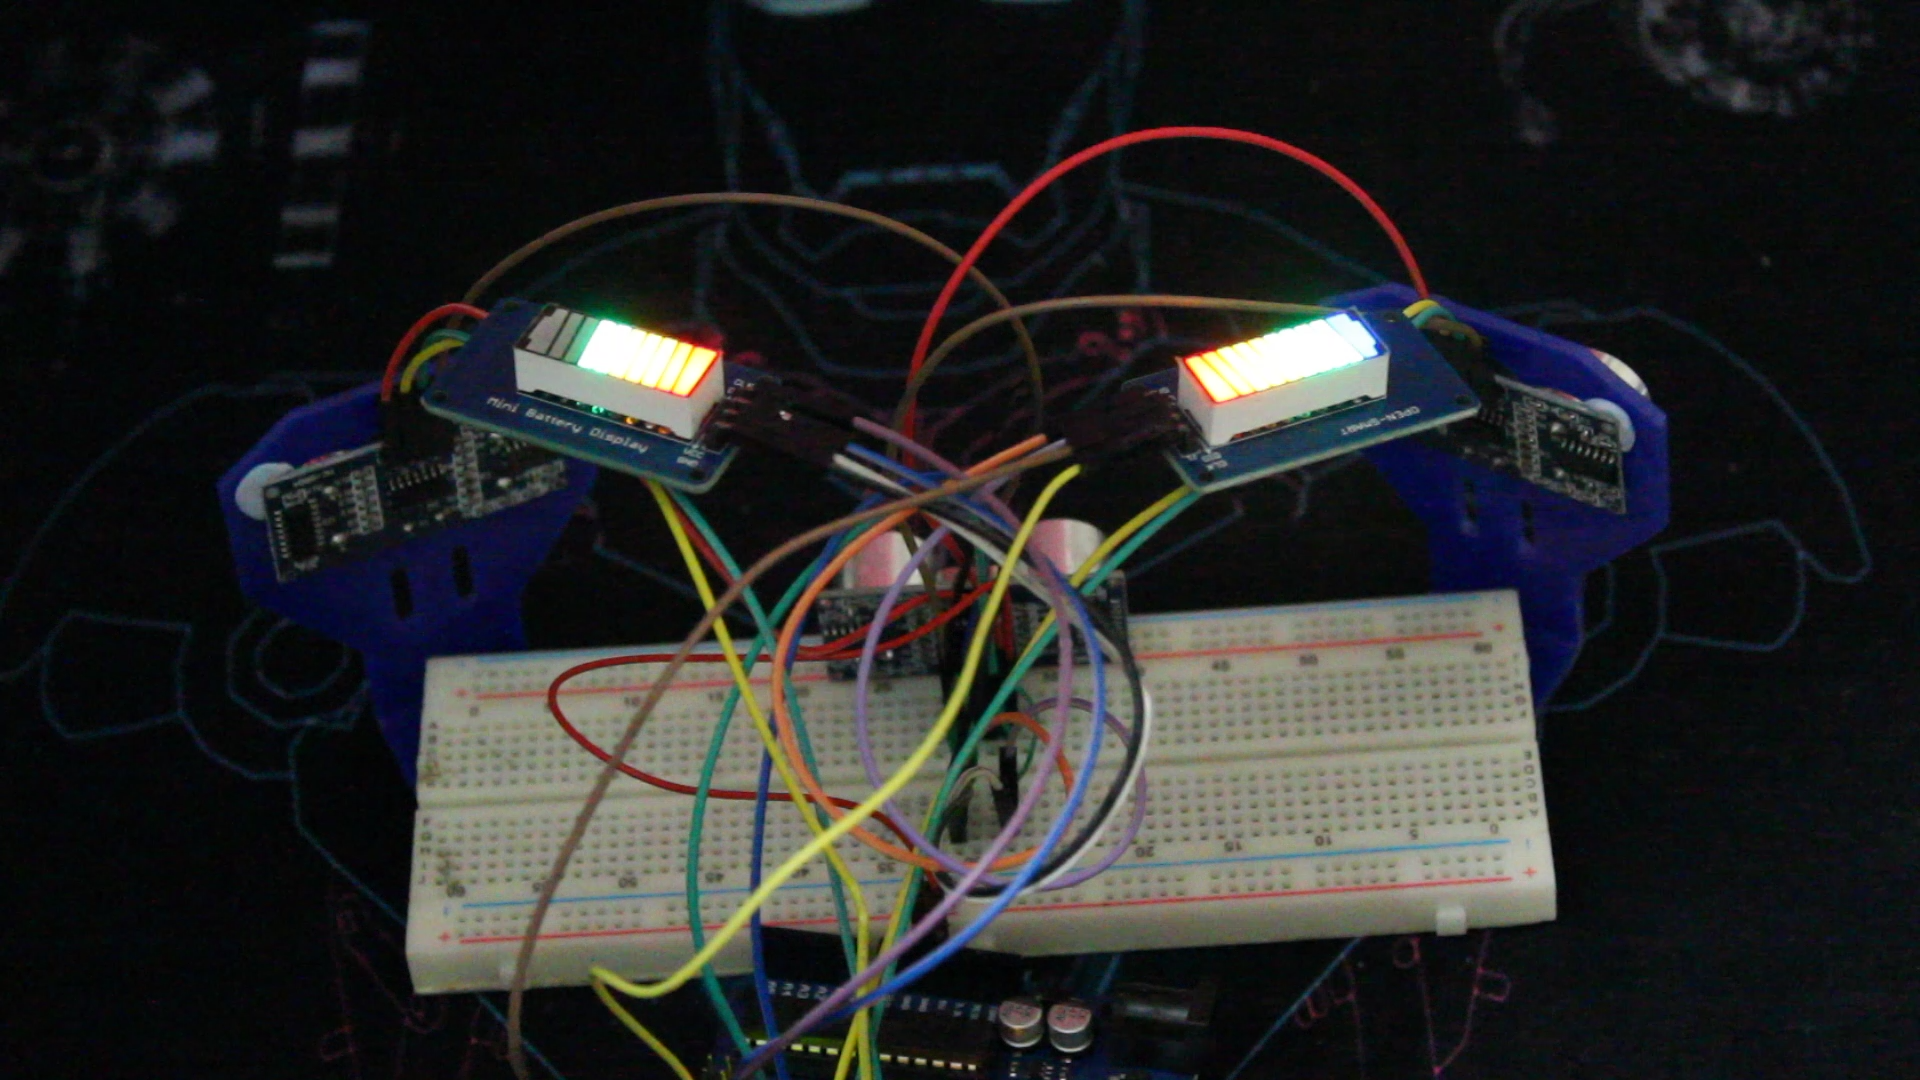
Hi, this project is about a DIY Parking Radar Sensor, it's very easy to make, it's based around the HC SR-04 Ultrasound sensor, I'm using 3 of them: One for each side and one for the middle, then 2 mini battery displays, that are actually made to show you the stat of the battery, but here I'm using it to show the distance between the sensors and the obstacles, depending on which side, also it depends on the maximum distance that you can set, above that distance it's considered enough space always, below that the displays will change depending on that distance and its direction.
Those are the parts I used, you can add few jump wires and a breadboard if you want. (The battery display is based on TM1651 chip)
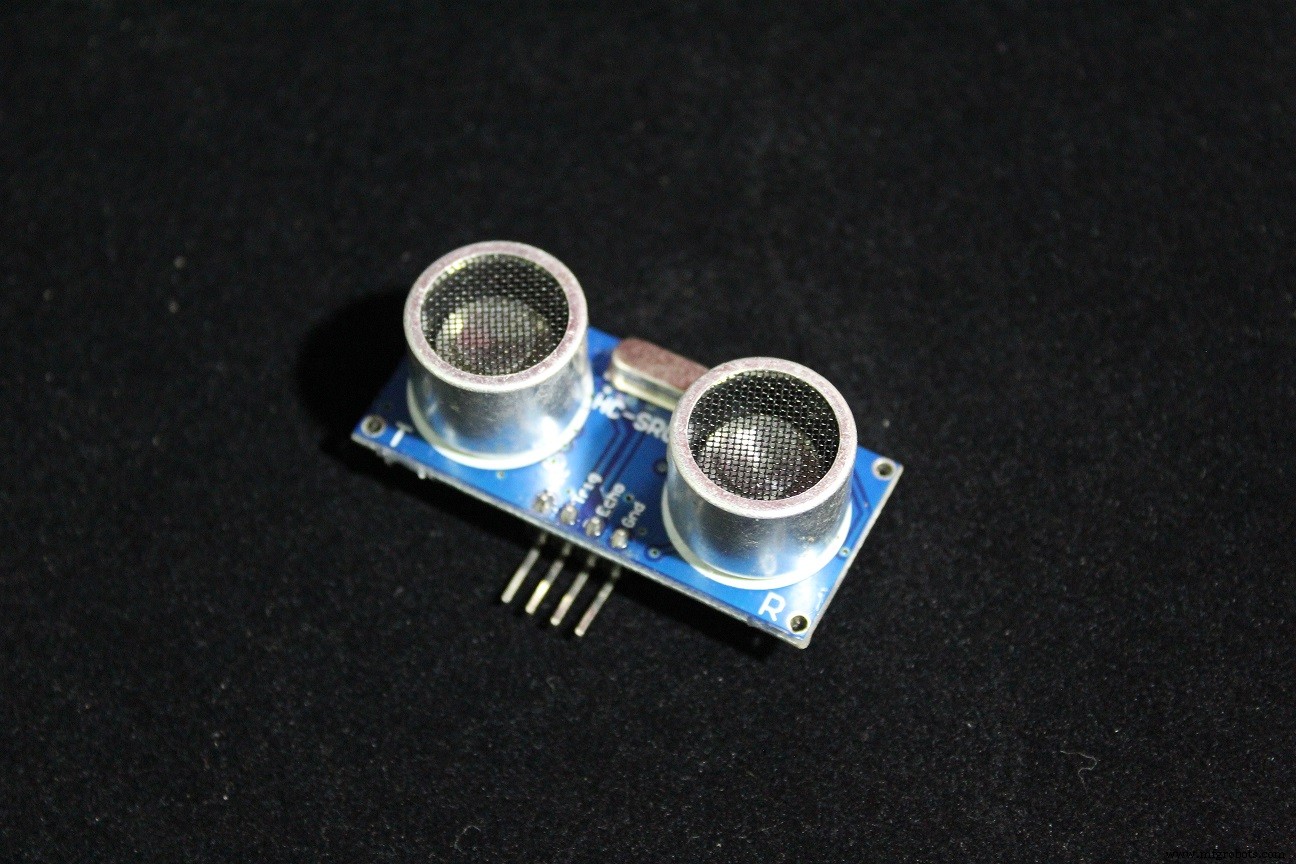
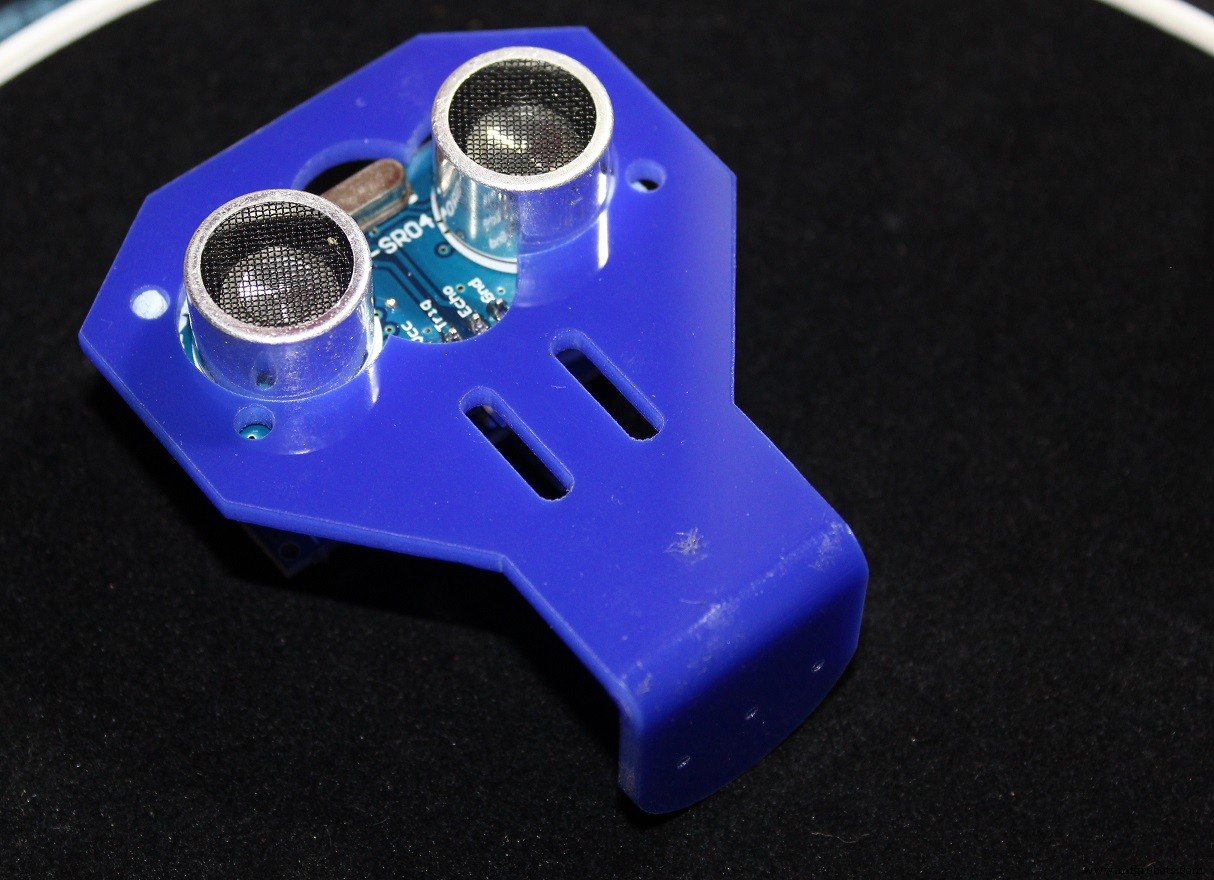
There are 3 ultrasound modules: Right, Middle and Left, and two displays: Right and LEFT. The Middle sensor can affect both displays, but the two others can only affect their respective sides.
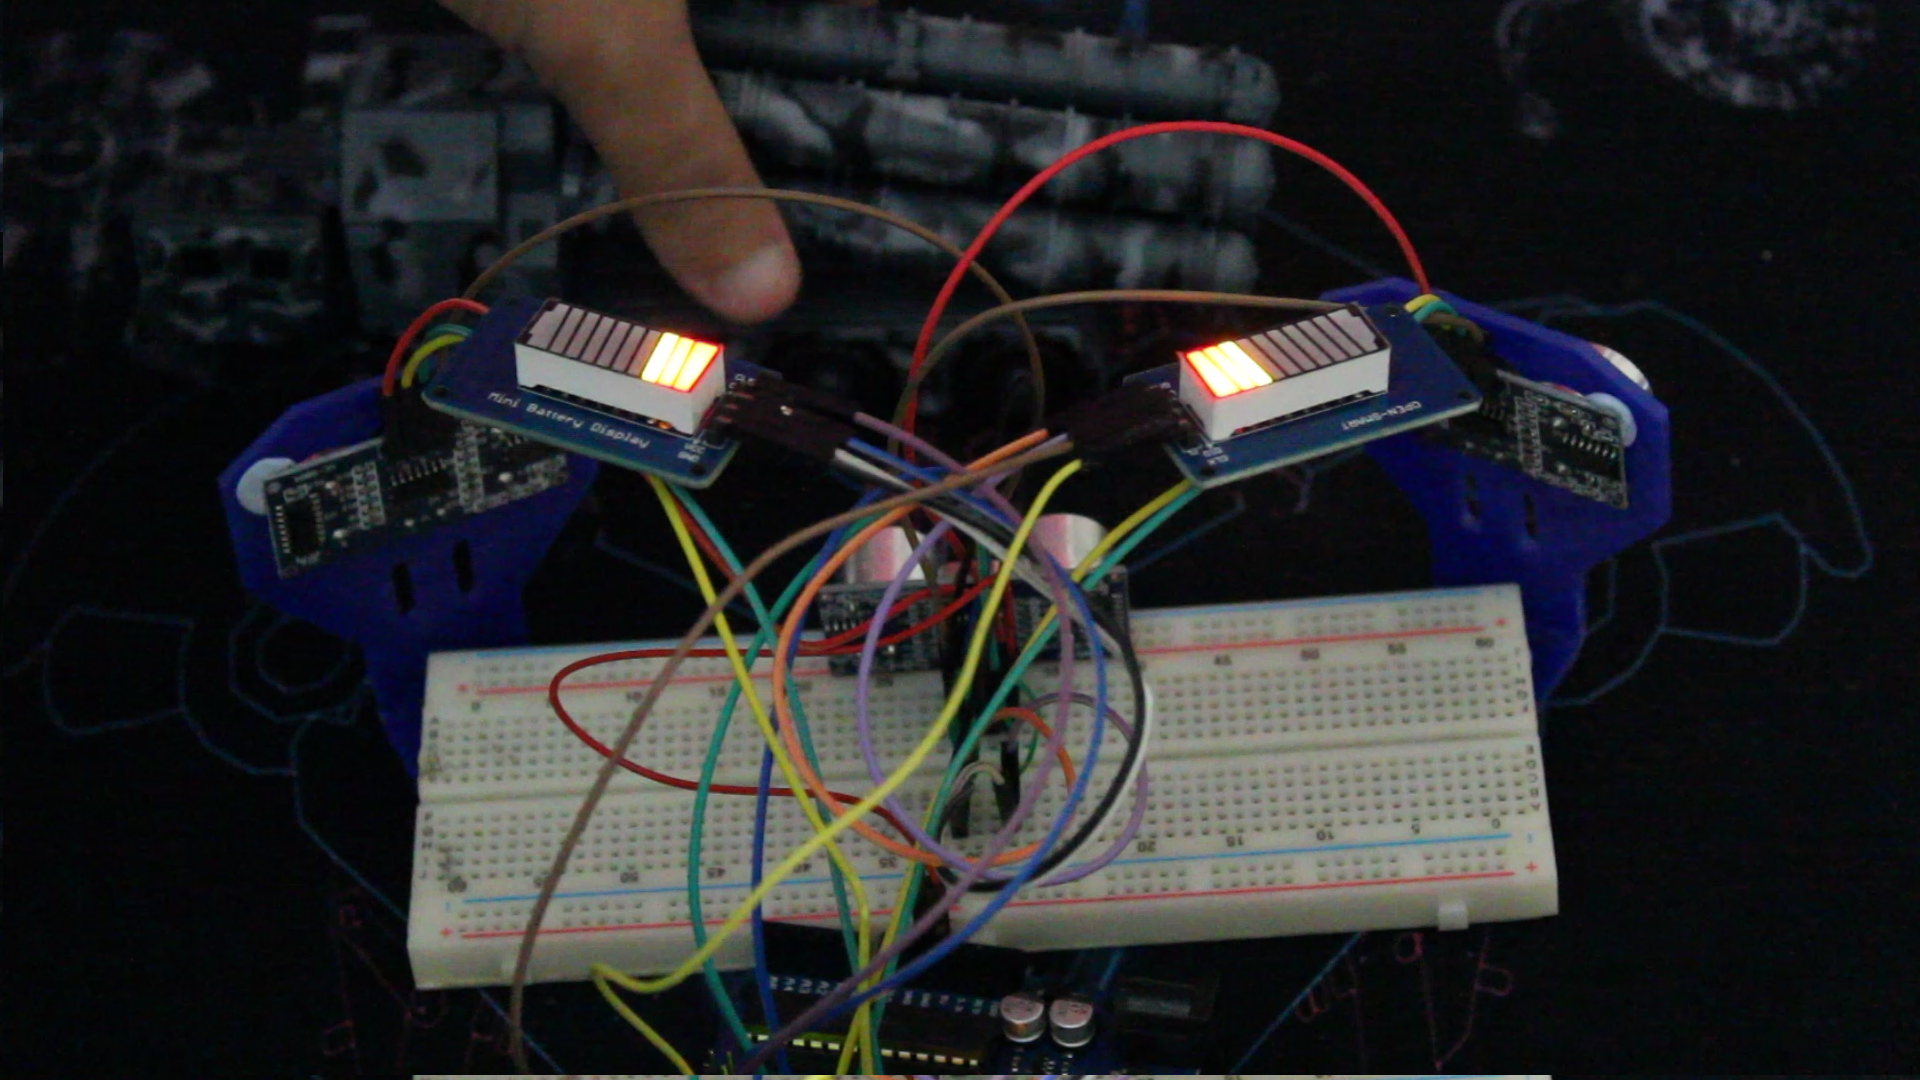
For example there are two obstacles, one on the Right side and one the Middle, the code will take the closest one to show it on the display,.
If the middle is the closest both displays will change according to its distance.
If the right side is the closest the right display will change and be lower than the left side.
There's a max distance that you can set from the code, above that distance it's considered safe and the display will light up at full, below that distance the displays start to change and it's proportionnal to the maximum distance.
Examples
Here are few cases to make it easy to explain
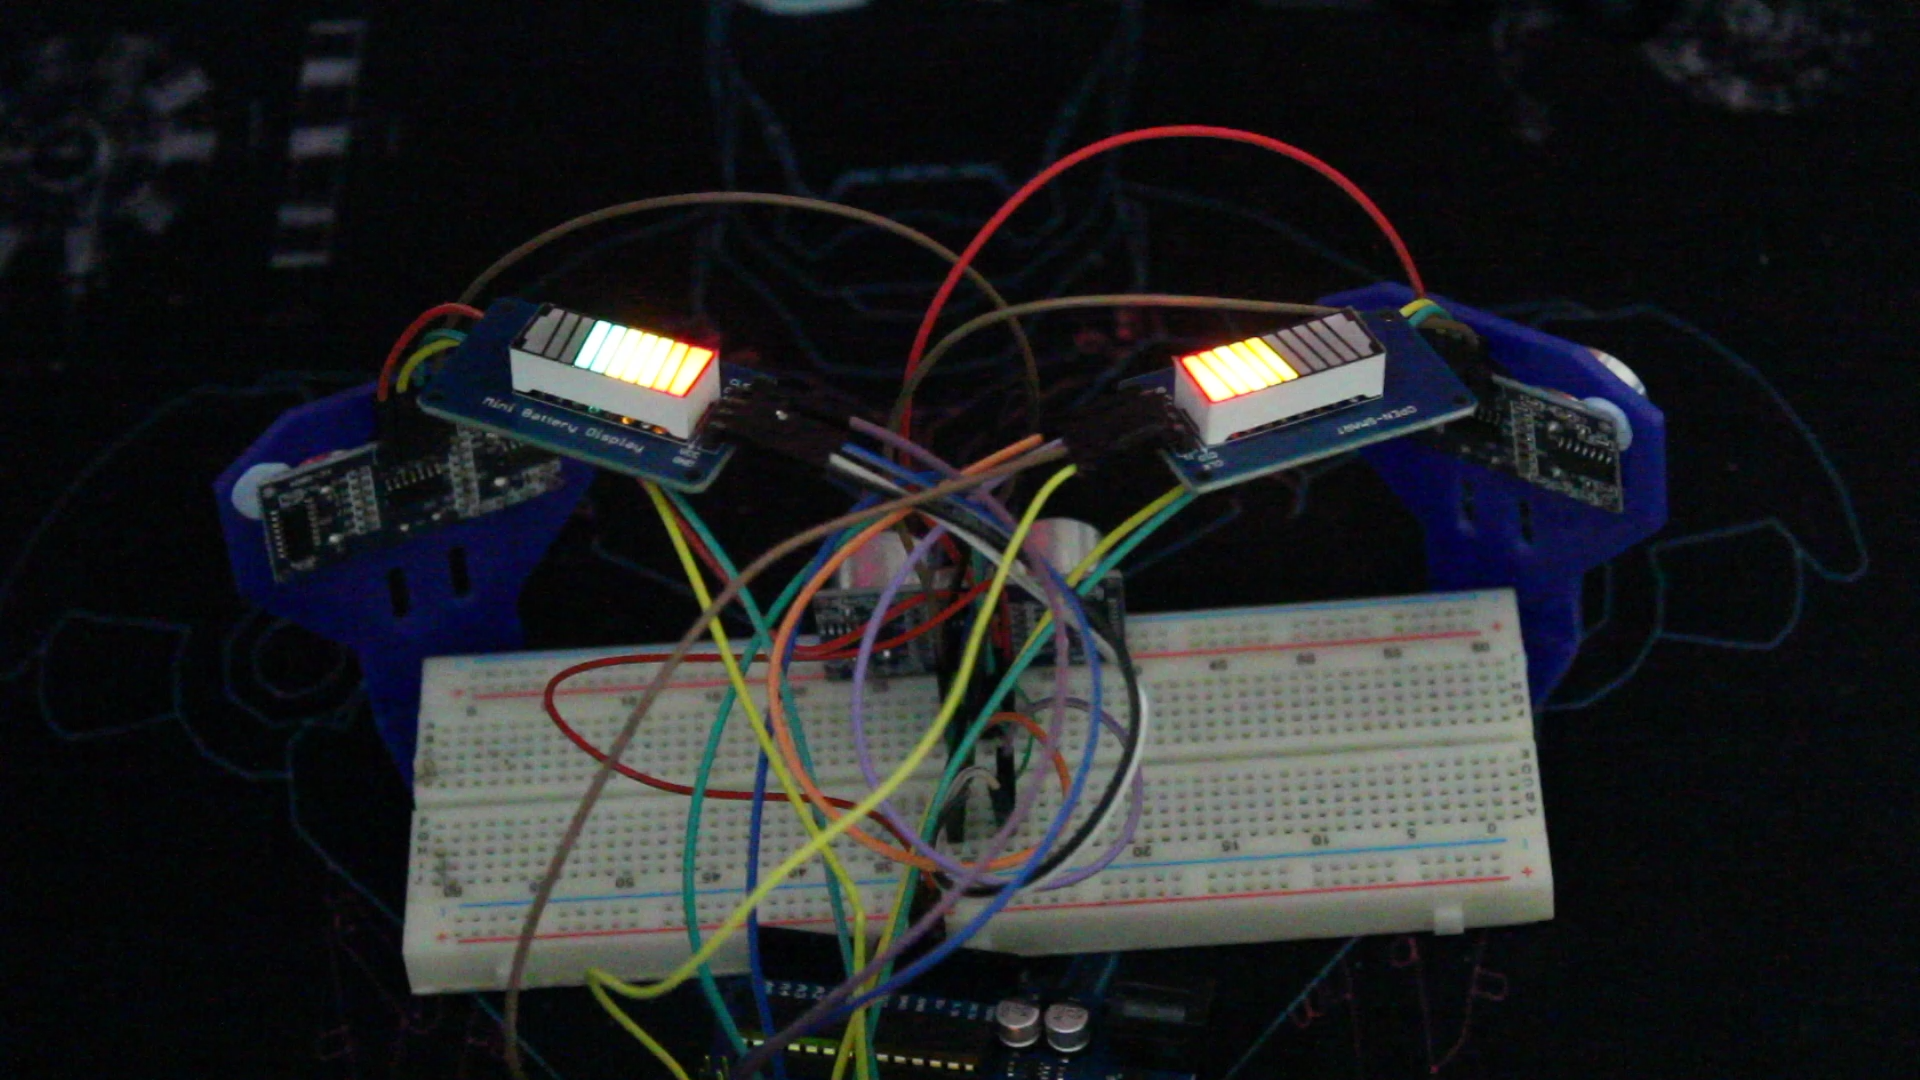
The last case can happen if you have obstacles at the middle and right (right one is closer) or at the left and the right side (right side closer), or all sides but (right is closer).
Improvements:
- You can add other sensors to cover a large area
- Add a screen to show the distance value
- Change the sensors to a waterproof ones like JSN SR-04
- Add sound
Code
- Parking_sensor_v1.ino
Parking_sensor_v1.inoArduino
/* This code is meant to work with HC-SR04 ultrasound modules x3 and TM1651 battery display x2
 * The project is a parking sensor that shows you how close the obstacles are and from which is
 * depending on the Maxdistance that above it the display will show as safe distance
 * below that it start changing
 * Refer to www.SurtrTech.com for more details
 */
#include <TM1651.h>

#define CLK 3      //Right display wiring
#define DIO 2

#define CLK2 5     //Left display wiring
#define DIO2 4

#define trigPin 6        //Ultrasound modules wiring R=Right L=Left the other one is the middle
#define echoPin 7
#define trigPinR 8
#define echoPinR 9
#define trigPinL 10
#define echoPinL 11
#define Maxdistance 20  //Maximum distance 20cm

long duration;
int distance;

TM1651 DisplayR(CLK,DIO);      //Display instances
TM1651 DisplayL(CLK2,DIO2);

void setup() {
     pinMode(trigPin, OUTPUT);       //Pinmodes of the HC-SR04 and starting the displays
     pinMode(echoPin, INPUT);
     pinMode(trigPinR, OUTPUT);
     pinMode(echoPinR, INPUT);
     pinMode(trigPinL, OUTPUT);
     pinMode(echoPinL, INPUT);
     DisplayR.init();
     DisplayR.set(BRIGHTEST);
     DisplayL.init();
     DisplayL.set(BRIGHTEST);
}

void loop() {

    int distanceM = CDistance(trigPin,echoPin);      //Calculating all the distances by calling the function below
    int distanceR = CDistance(trigPinR,echoPinR);
    int distanceL = CDistance(trigPinL,echoPinL);

    int R=min(distanceM,distanceR);                //We have two displays R and L, first we take the minimum distance between M/R and M/L
    int L=min(distanceM,distanceL);

    if(R>0 && R < Maxdistance){                   //Range of distance
      short LevelR=map(R,0,Maxdistance,0,7);      //Scaling the disntace from 0-20 to 0-7
      DisplayR.displayLevel(LevelR);              // 0-7 are the levels of the display each distance between 0-20cm has a specified level you can change that 20
    }
    if(R> Maxdistance)                           //We're safe and the displays always shows there's enough space
    DisplayR.displayLevel(7);

    if(L>0 && L < Maxdistance){                 //Same as Right
      short LevelL=map(L,0,Maxdistance,0,7);
      DisplayL.displayLevel(LevelL);
    }
    if(L> Maxdistance)
    DisplayL.displayLevel(7);


     delay(50);
}

int CDistance(int a, int b){             //Calculating distance function, it takes two arguments (Trigger and Echo) and it executes the usual process of the HC-SR04
     digitalWrite(a, LOW);
     delayMicroseconds(2);
     digitalWrite(a, HIGH);
     delayMicroseconds(10);
     digitalWrite(a, LOW);
     duration = pulseIn(b, HIGH);
     distance = duration*(0.034/2);
     return distance;                  //Return the distance calculated
}
TM1651 Battery display library
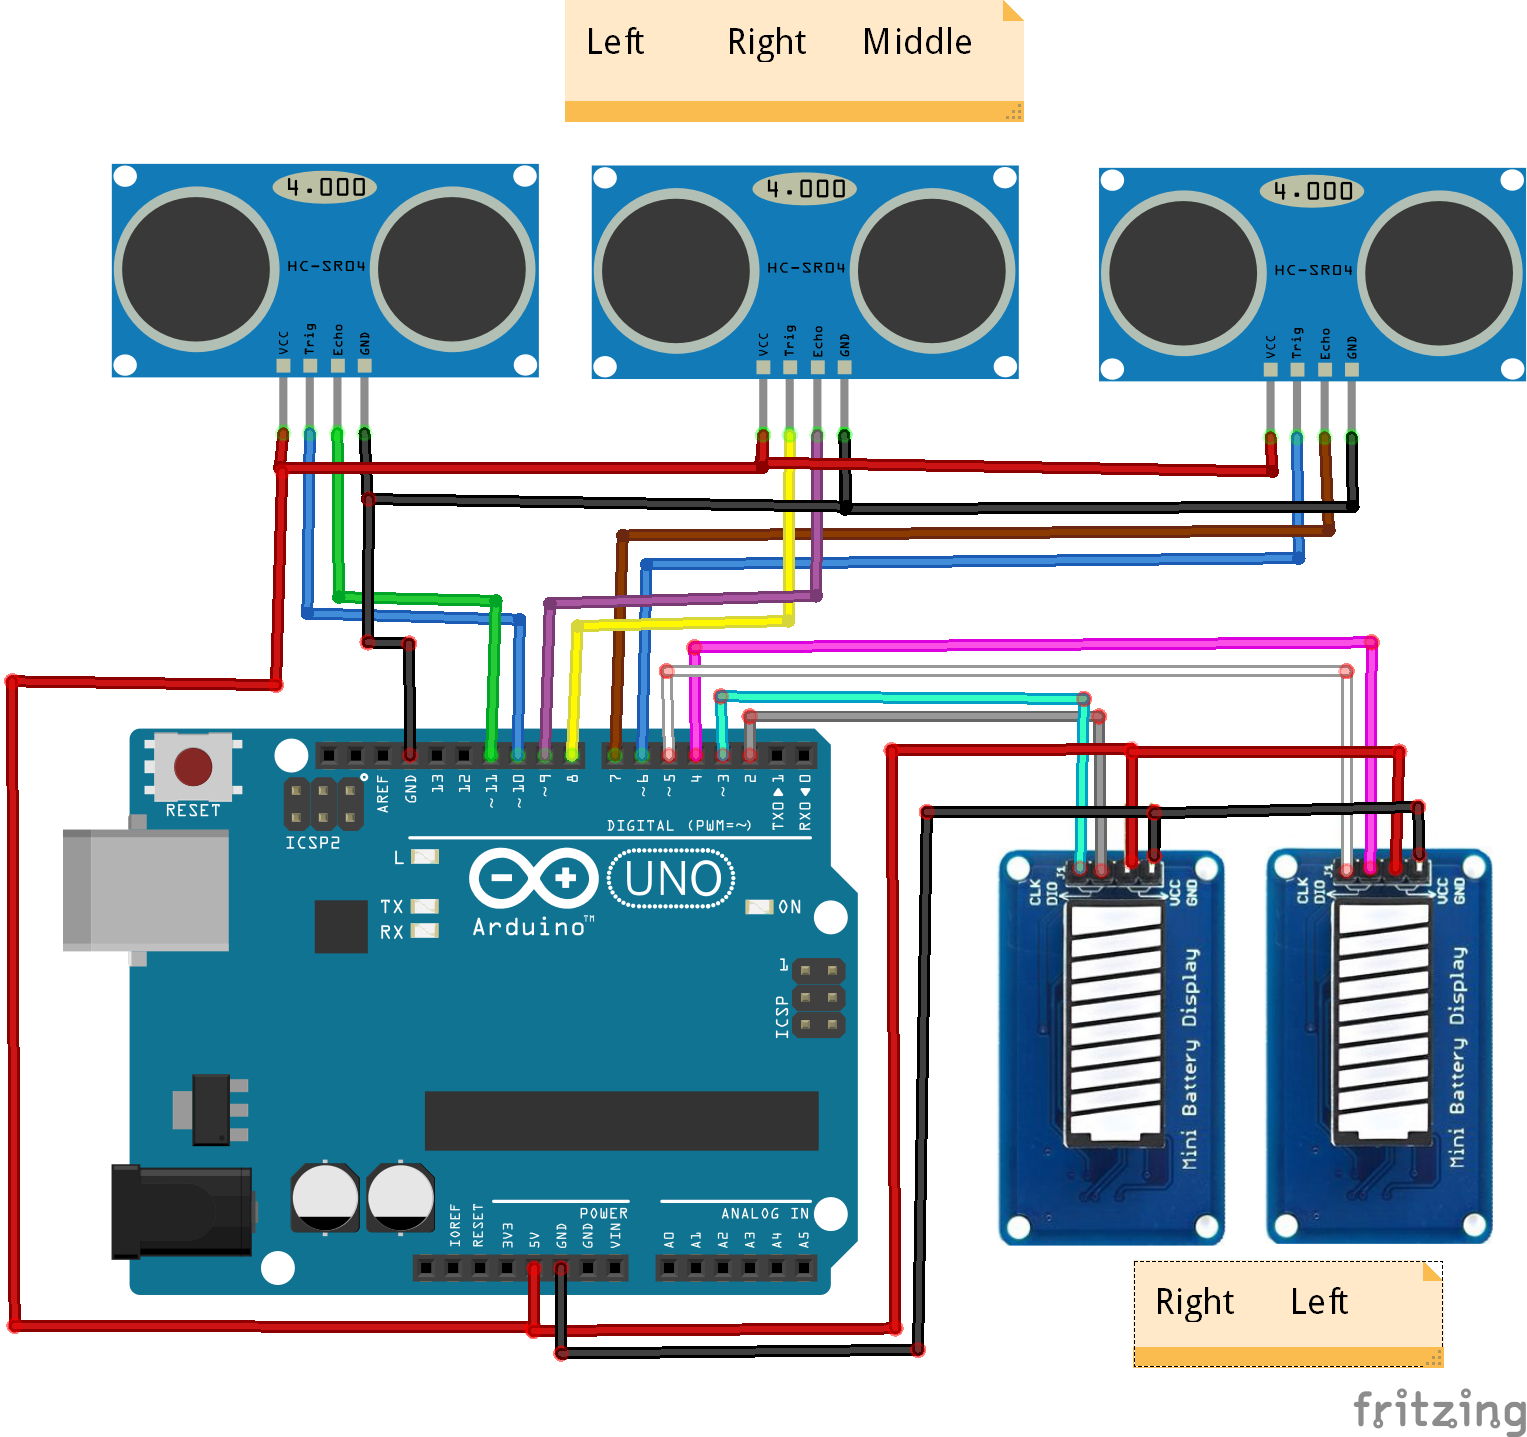
The library makes the job so much easyhttps://github.com/ne0x/fuel_displaySchematics
Manufacturing process
- Radar Sensors Explained: How They Work & Their Modern Applications
- How Parking Sensors Work & Their Key Applications
- Build a Raspberry Pi Home Temperature Monitor with MCP9808, InfluxDB & Grafana
- Integrating the Acconeer A111 Pulsed Radar with a Raspberry Pi: A Practical Guide
- Emotion Sensor & EEG: Low-Cost Hardware for Real-Time Emotion Detection
- Transfer Temperature & Humidity Data Between Two Arduinos Using Firebase
- UnifiedWater v1 – Complete Arduino Water Quality Sensor Kit
- River Health Monitor: Arduino-Based Water Quality System
- Compact Arduino Radar System with HC‑SR04 Ultrasonic Sensor & 1.8" Display
- Water Flow Sensors: How They Work & How to Use Them