


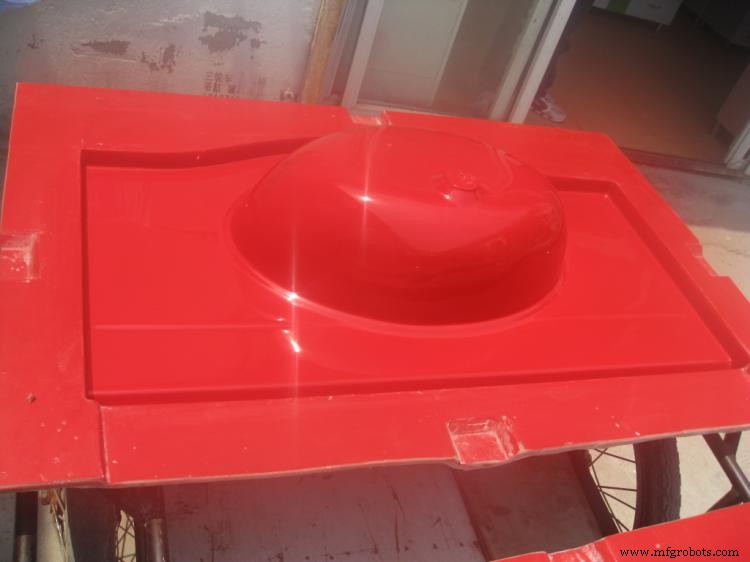
How to Make Fiberglass Reinforced Plastic Molds: A Step‑by‑Step Guide
Creating a fiberglass mold is straightforward, yet it requires patience and attention to detail. A well‑made mold can be reused many times, saving time and cost on future projects.
Below is a professional, step‑by‑step process for fabricating a durable fiberglass reinforced plastic (FRP) mold. Each stage ensures optimal adhesion, minimal defects, and a long‑lasting final product.
1. Build a High‑Quality Plug
The plug is the master pattern that the mold will replicate. Choose a material that matches the shape and complexity of the final part. Common choices include:
- Wood (for simple shapes)
- Plaster or putty (for intricate details)
- Sheet metal or Formica (for durable, reusable patterns)
Ensure the plug’s dimensions are exact; any deviation will transfer to every molded part.
2. Prepare and Seal the Plug
Fill any internal voids with resin or lacquer, then buff the surface. Apply a two‑step seal using TR‑301 followed by TR‑311. If plaster is used, oven‑dry it first and seal thoroughly. Apply Partall Paste #2 as a mold‑release layer, allowing each coat to dry before the next. Typically, 5 coats are recommended, buffed between applications.
3. Apply Polyvinyl Alcohol (PVA)
Spray up to three coats of PVA onto the plug, giving each coat a minimum of 30 minutes to dry. This step prevents resin from sticking to the plug during the molding process.
4. Coat with Gelcoat
Apply a MEK peroxide hardener followed by a wax‑free gelcoat using a bristle roller. Use a tooling gelcoat if the mold will contain complex parts that need to be removed. Apply at least two coats, allowing 4 hours of drying between coats and a final 24‑hour cure.
5. Apply the Skin Coat
Use a 1‑oz. fiberglass chopped strand mat or thin cloth. Spread a general‑purpose polyester resin evenly with a roller, ensuring no white fibers or air bubbles remain. Let it dry for 24 hours before applying the next layer. Repeat for a total of three or more layers to achieve a robust, flexible mold.
6. Cure and Release the Mold
After the final resin coat, allow the mold to cure for several days. Cut away excess resin or fiberglass with a metal blade, then sand lightly until the mold and plug edge is visible. Use a plastic wedge or stirring stick to separate the two surfaces.
7. Finish and Seal
Sand the mold progressively from 220 grit up to 600 grit. Reapply Partall Paste #2, clean the surface with a heavy‑duty cleaner, and apply a sealer glaze for a pristine finish.
Materials You’ll Need
- Sandpaper (220–600 grit)
- Plastic wedger or stirring stick
- Partall Paste #2
- Buffing pad
- TR 301 and TR 311 gelcoat
- Polyester resin
- Cutting blade
- Bristle roller
- 1 oz. chopped strand mat and fiberglass cloth
Tips & Warnings
- Wait for each coat to dry completely before applying the next.
- Avoid using gelcoat that contains wax; it reduces mold life.
Source: eHow – How to Make Fiberglass Molds
fiber
- The Complete Guide to Fiberglass Production
- Step‑by‑Step Guide to Applying Fiberglass Cloth for Marine and Composite Projects
- Introducing Pultruded Fiberglass Reinforced Plastic (FRP): High-Strength, Durable New Product Line
- Expert Guide to Designing and Manufacturing Injection Molds
- Why Waterparks Rely on FRP: Benefits, Applications, and Value
- Achieving Precision in Parts and Mold Cavities: A Practical Guide
- Step-by-Step Guide to Crafting Durable Silicone Molds at Home
- Build a Winning Prototype: Step‑by‑Step Guide for Rapid Product Development
- Crafting a Durable Waterproof Plastic Prototype Enclosure: Step‑by‑Step Guide
- Professional Silicone Mold Creation Using Vacuum Casting Techniques