


Optimizing Robot Traction: Custom 3‑D‑Printed Wheels with Markforged Casting
Editor's Note: This guest post is written by Charles Guan, an MIT Mechanical Engineering graduate and former MIT machine shop & design instructor. He’s also the builder of the robot Overhaul on ABC’s BattleBots. He works as an engineering consultant in robotics and transportation, and is sponsored by Markforged to compete in BattleBots and other robotics competitions. Check out his website and Equals Zero Robotics for more!
Wheel Design
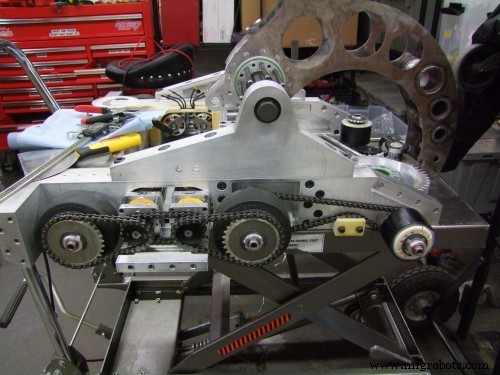
Wheels have been around for over 6,000 years, yet in competitive robotics they can still be a source of frustration. In Season 2 of BattleBots, I built Overhaul 2.0 around a square, six‑wheel‑drive chassis, aiming to outpace opponents with sheer speed. I chose medium‑hardness industrial caster wheels with thermoplastic elastomer (TPE) treads, a proven choice in robot combat. However, the 16‑horsepower brushless motors quickly overloaded the TPE, causing the wheels to melt and slip over the arena debris. Watching the match against Beta highlighted how my assumption that BattleBots equated to the D1 Grand Prix was wrong.
After the tournament, I realized the need for a wheel that could transfer power reliably. That led me to investigate castable rubber compounds, inspired by competitors who poured urethane wheels on‑site. Despite having no prior experience in tire design, I set out to create a mold‑cast wheel using a 30‑lb‑class scale model of Overhaul.
Designing the Mold
Reaching out to Smooth‑On representatives at the Detroit Maker Faire, they recommended ReoFlex and Simpact series for their high tear resistance and tensile strength—essential for a wheel that constantly shears through its tread. I obtained ReoFlex 50 (50A durometer, comparable to a shoe sole) and began designing the mold and hub.
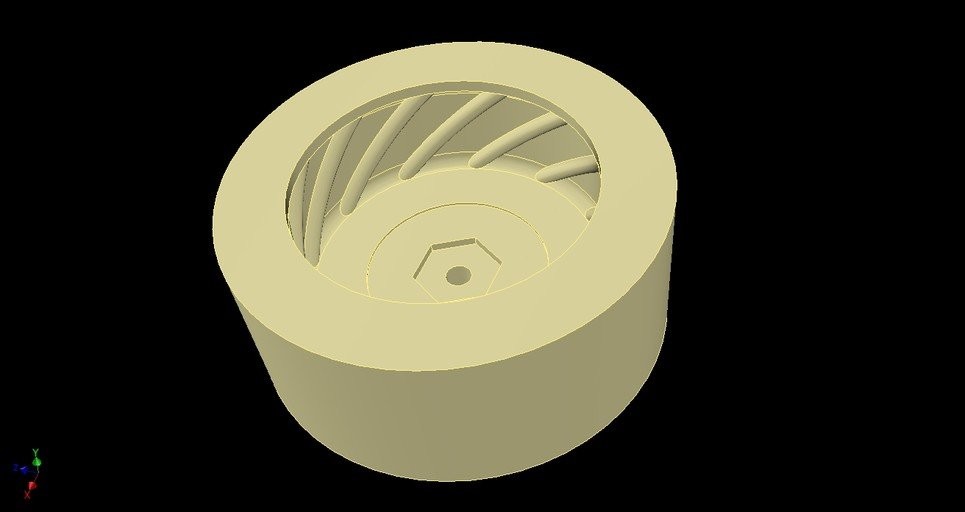
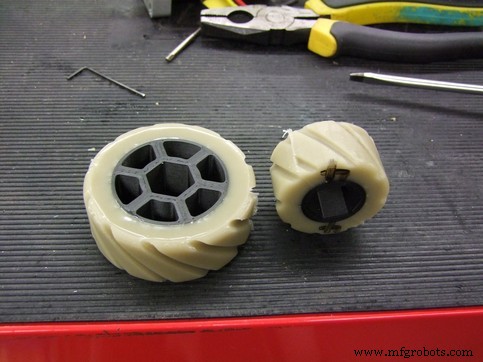
Observing the arena debris, I added a simple spiral tread pattern to clear paint flakes and loose particles. While not optimized, the helical grooves direct debris outward from the contact patch. For the hub, I drew inspiration from scooter and skateboard wheels, incorporating through‑holes and a tapered central rib. I selected Onyx for the hub material because of its higher rigidity and better adhesion to the microscopically rough surface of the resin, allowing a lightweight yet robust hub.
Using Autodesk Inventor’s parametric features, I produced a 2‑inch front‑wheel mold to evaluate how the resin would flow through a smaller cavity.

For the first test, I printed a simple, unreinforced nylon mold on the Mark Two printer: 4 walls, 4 roof/floor layers, 25 % infill, 0.2 mm layer height. Registration pin holes were added for precise alignment.
Pooring the Mold
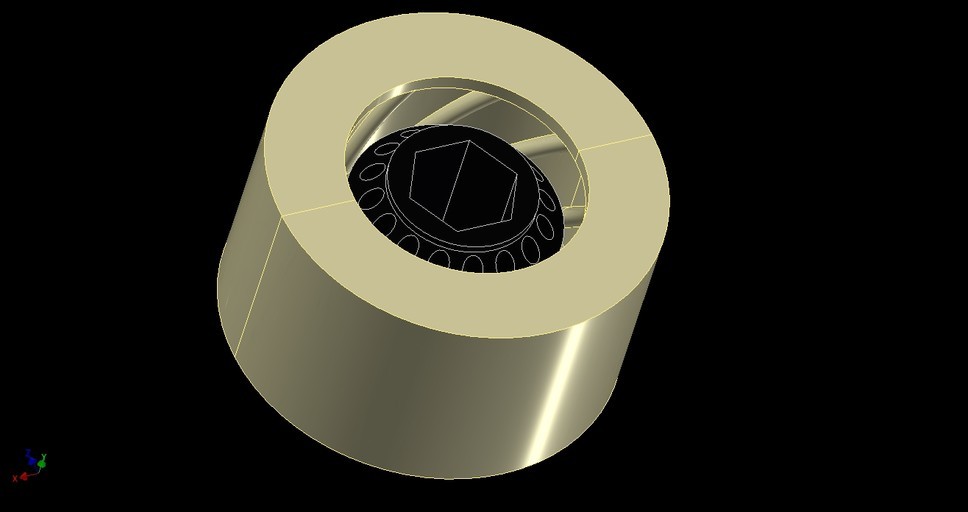
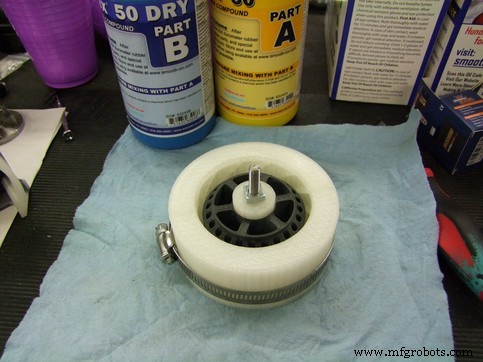
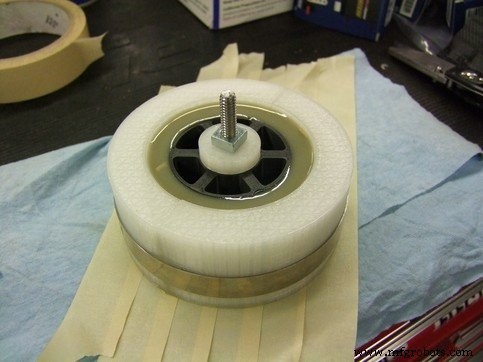
The mold halves are secured with a single hose clamp. Inside, the hub sits on an adapter bushing that keeps it centered and allows a retaining nut to seal the bottom face. Prior to assembly, I sprayed the mold with a mold‑release agent.
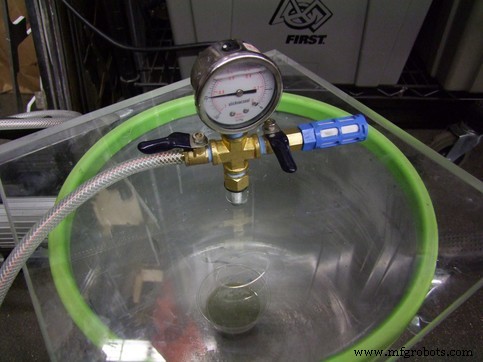
To eliminate air bubbles, I degassed the mixed resin in a vacuum pot—Smooth‑On advertises minimal trapped air, but I found that bubbling still occurred. Degassing the cup, rather than the entire mold, prevented mold deformation and ensured a smooth tread.
The pour took about two minutes. By tilting the mixing cup just enough to keep a continuous flow, the resin settled evenly without forming large bubbles.
After a successful first batch of a 3″ wheel and a 2″ wheel, I scaled up production by printing additional molds that could accommodate four wheels per pour. One mixing cup could handle two 3″ wheels and two 2″ wheels, which became my standard batch size.
The Curing Process
ReoFlex 50 recommends a slow room‑temperature cure followed by heating to 65 °C for 4–8 hours. I used a heated chamber set to ~70 °C; the accelerated cure produced wheels that were noticeably tougher and more resilient to touch.
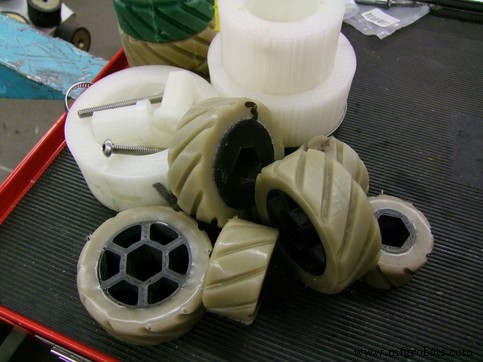
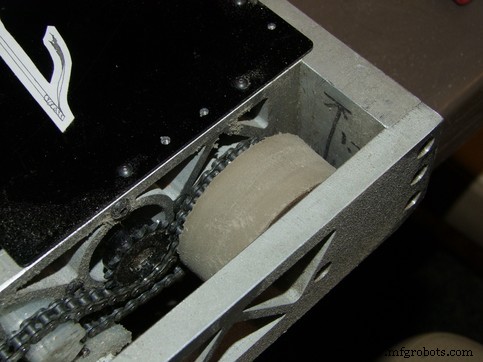
After a week of experimentation, I had a handful of each wheel size. Running out of ReoFlex 50, I paused to evaluate performance before investing further. My routine became: pour molds overnight, demold in the morning, bake during the day. The finished wheels are shown below.
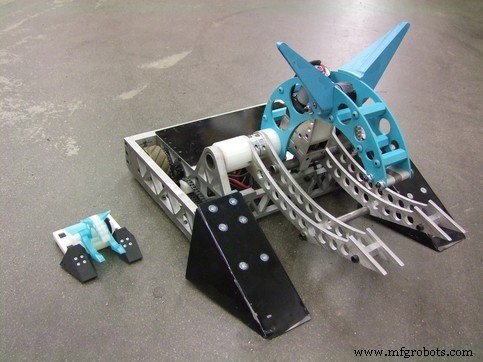
These wheels are now installed on the “30‑Haul” variant of Overhaul. For details on the build, visit my website.
What’s next? With the production workflow established, I’ll explore alternative compounds and test traction on a painted steel floor in Part II of this series. Until then, enjoy the results from a few hard‑driving matches!
Learn more about Markforged printers and how they can suit your applications!
3D printing
- Interview with Spencer Wright of pencerw.com and nTopology: Expert Insights on Metal Additive Manufacturing
- Revolutionizing Sand Casting with Stratasys FDM Technology
- Designing Functional 3D‑Printed Bicycle Pannier Adapters with Kevlar CFF
- Markforged 3‑D‑Printed Part Revives Lost Kayak Rudder: A Real‑World Success Story
- Skateboard Part 1: Building Durable 3D‑Printed Wheels
- Guest Blog: Charles Guan Builds a 3‑lb Flywheel Flipper with Markforged 3‑D Printing
- Dunlop Systems Accelerates Tool Production with Markforged 3D Printing
- Fast Prototyping & Short-Run Production Using Die Casting
- Expert Sand Casting with Cores: Precision Metal Parts for Any Complexity
- PPprint: Expert FDM 3D Printing of Polypropylene Parts