Build a Stylish Wall Clock with Adafruit 60‑LED Neopixel Ring & Arduino
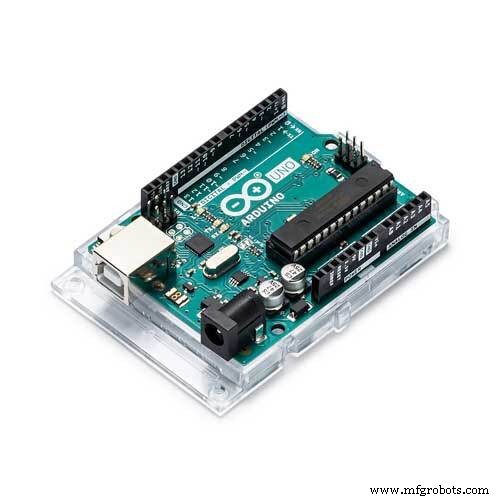
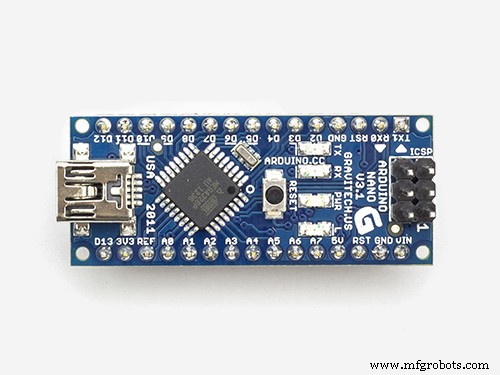
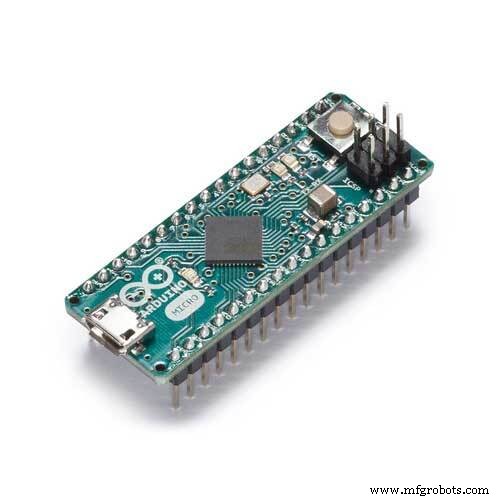
Components and supplies
| | Adafruit Neopixel 1/4 60 ring |
| × | 4 | |
| | × | 1 | |
 | | × | 1 | |
 | | × | 1 | |
 | | × | 1 | |
About this project
eDOTcore: A Versatile Arduino Board with Built-in RTCLink to the project
Code
- Simple Neopixel ring clock
Simple Neopixel ring clockArduino
#include <Wire.h>
#include <RTClib.h>
#include <Adafruit_NeoPixel.h>

#define PIN 6
#define PIXEL 60


Adafruit_NeoPixel strip = Adafruit_NeoPixel(PIXEL, PIN, NEO_GRB + NEO_KHZ800);

RTC_DS1307 RTC; // Establish clock object
DateTime Clock; // Holds current clock time

byte hourval, minuteval, secondval;


void setup() {
 Serial.begin(9600);
  Wire.begin();        	// Begin I2C
  RTC.begin();   // begin clock

    if (! RTC.isrunning()) {
//	Serial.println("RTC is NOT running!");
	// following line sets the RTC to the date & time this sketch was compiled

  }

//  RTC.adjust(DateTime(__DATE__, __TIME__));
  strip.begin();
  strip.show(); // Initialize all pixels to 'off'
  strip.setBrightness(20);

}


void loop() {


    Clock = RTC.now(); // get the RTC time

    secondval = Clock.second();  // get seconds
    minuteval = Clock.minute();  // get minutes
    hourval = Clock.hour();  	// get hours


    if(hourval > 11) hourval -= 12; // This clock is 12 hour, if 13-23, convert to 0-11
    hourval = (hourval*60 + minuteval) / 12;

    strip.setPixelColor(hourval, 0x008080);strip.setPixelColor(hourval-1, 0x004040);strip.setPixelColor(hourval+1, 0x004040);
//    strip.setPixelColor(hourval-2, 0x001010);strip.setPixelColor(hourval+2, 0x001010);
    strip.setPixelColor(minuteval, 0x800080);
//    strip.setPixelColor(minuteval-1, 0x200020);strip.setPixelColor(minuteval+1, 0x200020);
    strip.setPixelColor(secondval, 0x808000);//strip.setPixelColor(secondval-1, 0x002F00);strip.setPixelColor(secondval+1, 0x002F00);
    strip.show();

    strip.setPixelColor(hourval, 0x000000);strip.setPixelColor(hourval-1, 0x000000);strip.setPixelColor(hourval+1, 0x000000);
    strip.setPixelColor(hourval-2, 0x000000);strip.setPixelColor(hourval+2, 0x000000);
    strip.setPixelColor(minuteval, 0x000000);strip.setPixelColor(minuteval-1, 0x000000);strip.setPixelColor(minuteval+1, 0x000000);
    strip.setPixelColor(secondval, 0x000000);//strip.setPixelColor(secondval-1, 0x000000);strip.setPixelColor(secondval+1, 0x000000);

  delay(25);


/*
   Serial.print(hourval, DEC);
   Serial.print(':');
  Serial.print(minuteval, DEC);
   Serial.print(':');
   Serial.println(secondval, DEC);
*/


}
Custom parts and enclosures
3D print parts for Neopixel ring wall clock
CAD file on thingiverse.com


