


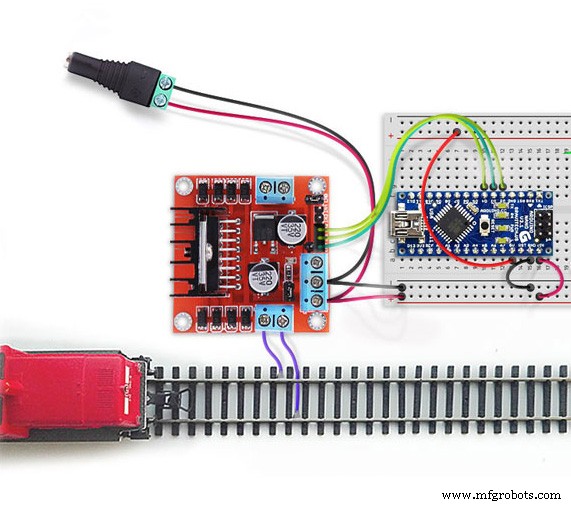
DIY Automatic Train Control with Arduino – Simple, Reliable, and Customizable
Components and supplies
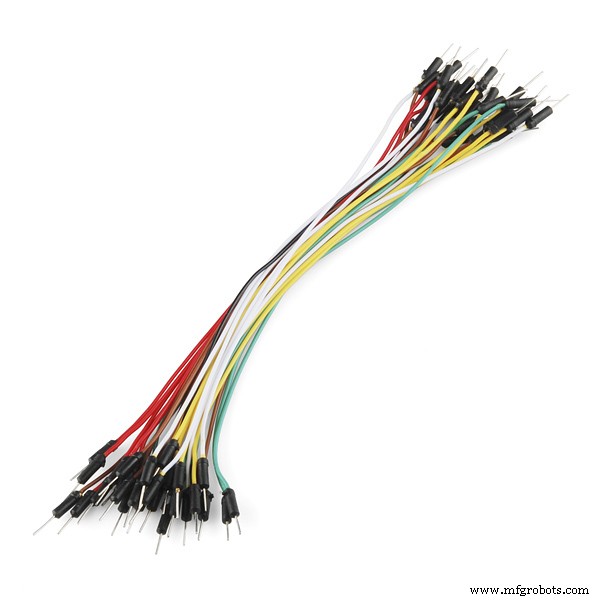 |
| × | 1 | |||
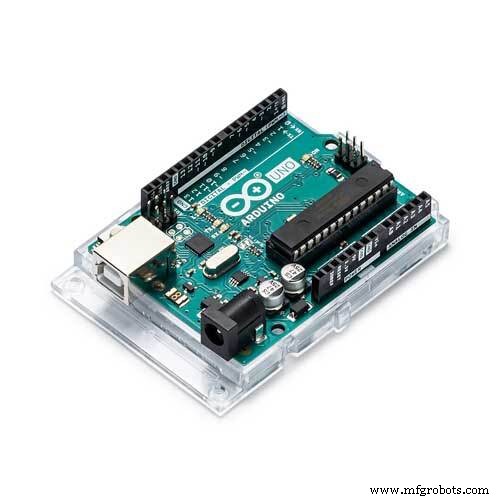 |
| × | 1 | |||
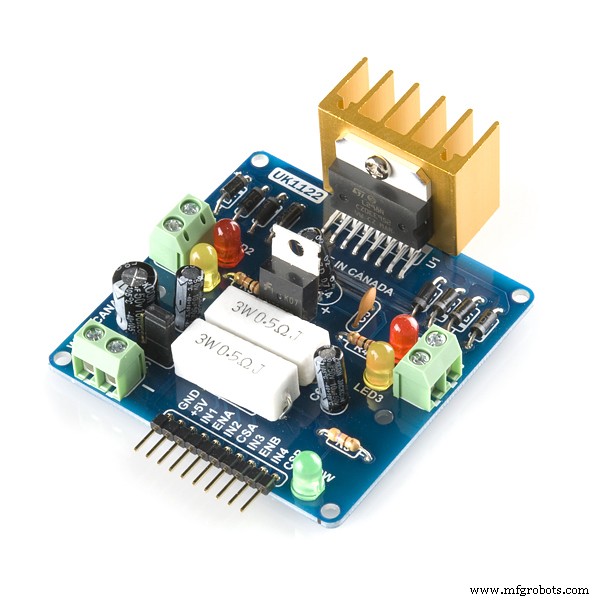 |
| × | 1 |
Apps and online services
 |
|
About this project
This very simple scheme allows you to quickly get the train on your schedule. You can adjust the movement time and the train stop time. Train acceleration and braking are also configurable. By changing the schedule parameters in the sketch, you can create any type of automatic movement. Just turn on the power and your train leaves to way.
Changing the time parameters in the sketch:
// 1  | 0 > Time < 5 sec
if (counterScheduler <= 5) {
......
// 2  | 10 sec > Time < 15 sec
if ((counterScheduler >= 10) && (counterScheduler <= 15)) {
......
// 3  | Change direction
if (counterScheduler == 16) {
.... etc.
creates a timetable.
Variables:
int brakingDelta = 5;
 int accelerateDelta = 6;
define the parameters of movement the train
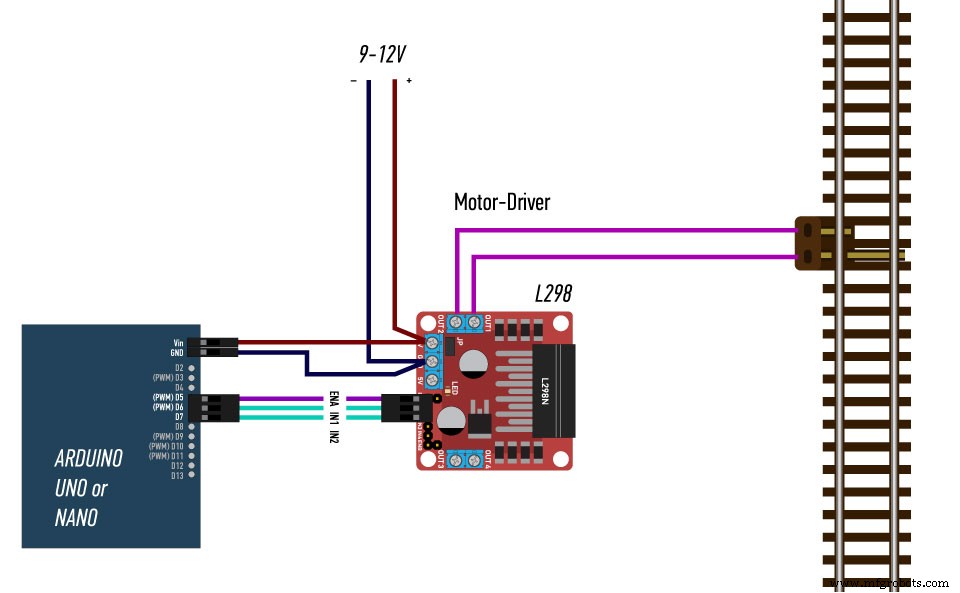
The direction of the train is determined by the state of the pins D6 and D7:
// Set default direction to FORWARD
 digitalWrite(L298_IN1, HIGH);
 digitalWrite(L298_IN2, LOW);
You can endlessly change this sketch to get new options for automatic train movement.
Welcome aboard!
Code
- Swing
Swing Arduino
// L298
#define L298_ENA 5
#define L298_IN1 6
#define L298_IN2 7


// SCRIPTS VARIABLES
int counterScheduler;
unsigned long timerScheduler = 0;
unsigned long timerLocal = 0;
byte speedAuto = 0;


void setup() {

// Initializing pins
  pinMode(L298_ENA, OUTPUT);
  pinMode(L298_IN1, OUTPUT);
  pinMode(L298_IN2, OUTPUT);

// Set default direction to FORWARD
  digitalWrite(L298_IN1, HIGH);
  digitalWrite(L298_IN2, LOW);

}

void loop() {

  	// Start Scheduler
    if (millis() > (timerScheduler + 1000)) {  // Tick every 1 sec
      counterScheduler++;
      timerScheduler = millis();
    }

    // ------------- SCRIPT SWING
    int brakingDelta = 5;
    int accelerateDelta = 6;

    // 1  | 0 > Time < 5 sec
    if (counterScheduler <= 5) {
        // Start train
        if (millis() > (timerLocal + 100)) {
          if (speedAuto < 240) speedAuto = speedAuto + accelerateDelta;
          else speedAuto = 255;
          analogWrite(L298_ENA, speedAuto);
          timerLocal = millis();
        }
    }

    // 2  | 10 sec > Time < 15 sec
    if ((counterScheduler >= 10) && (counterScheduler <= 15)) {  // Stop train after 10 sec
        // Stop train
        if (millis() > (timerLocal + 100)) {
          if (speedAuto > 30) speedAuto = speedAuto - brakingDelta;
          else speedAuto = 0;
          analogWrite(L298_ENA, speedAuto);
          timerLocal = millis();
        }
    }

    // 3  | Change direction
    if (counterScheduler == 16) {
        digitalWrite(L298_IN1, LOW);
        digitalWrite(L298_IN2, HIGH);
    }

    // 4  | 20 sec > Time < 30 sec
    if ((counterScheduler >= 20) && (counterScheduler <= 30)) {
        // Start train
        if (millis() > (timerLocal + 100)) {
          if (speedAuto < 240) speedAuto = speedAuto + accelerateDelta;
          else speedAuto = 255;
          analogWrite(L298_ENA, speedAuto);
          timerLocal = millis();
        }
    }

    // 5  | 31 sec > Time < 40 sec
    if ((counterScheduler >= 31) && (counterScheduler <= 40)) {  // Stop train
        // Stop train
        if (millis() > (timerLocal + 100)) {
          if (speedAuto > 30) speedAuto = speedAuto - brakingDelta;
          else speedAuto = 0;
          analogWrite(L298_ENA, speedAuto);
          timerLocal = millis();
        }
    }

    // 6  | Return to Step 1
    if (counterScheduler > 40) {
        counterScheduler = 0;
        digitalWrite(L298_IN1, HIGH);
        digitalWrite(L298_IN2, LOW);
  	}
}
Schematics
DIY Arduino Word Clock – Build a Sleek Real-Time Display
Gesture‑Controlled RGB Table Lamp – Interactive, Hands‑Free Lighting
Manufacturing process
- Control Circuits: Fundamentals, Applications, and Best Practices
- Birth Control Pills: History, Benefits, Risks, and Production
- Lionel Model Trains: History, Manufacturing & Future
- Automated Pool Fill and Monitoring System
- Arduino Power Control Center: N-FET, P-FET, Relay & RTC Kit
- DIY Arduino Humidifier Controller with Relay – Safe High‑Voltage Setup
- DIY Automatic Coffee Machine: Arduino, Bluetooth, and Android App
- Control Your TV with Alexa: Arduino & ESP8266 Setup
- Mastering Quality Control: Strategies for Consistent Excellence
- Advanced Process Control Systems for Industrial Efficiency