


Effortlessly Program Atmel AT89 Series with Arduino Uno – Step‑by‑Step Guide
Components and supplies
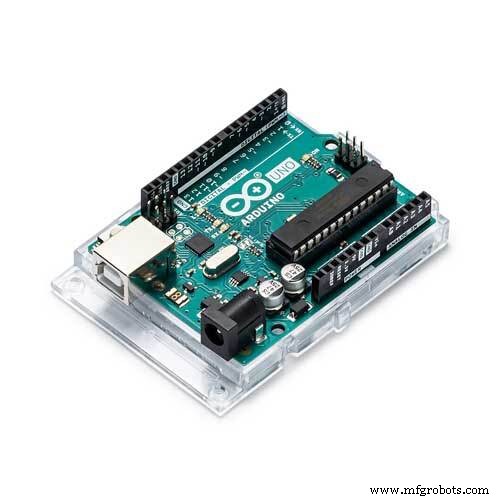 |
| × | 1 | |||
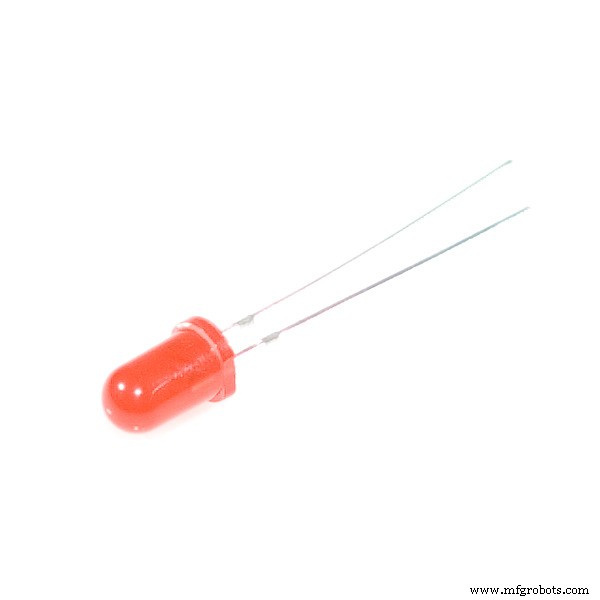 |
| × | 1 |
Necessary tools and machines
 |
|
Apps and online services
 |
| |||
|
About this project
In this Tutorial I will show you how to Burn Your Hex File To AT89c52 using Arduino Uno in just few easy steps. For this we have to interface AT89c52 to Arduino Uno and give it led indications via interfacing LED to At89c52.
Step 1: Bill Of Materials- Arduino UNO
- AT89C52 Microcontroller
- 10uF Capacitor
- Jumper Wires
- 8.2kohm Resistor
- 510 ohm Capacitor
- LED
- 12 MHz Crystal
- 2 x 33pF Capacitor
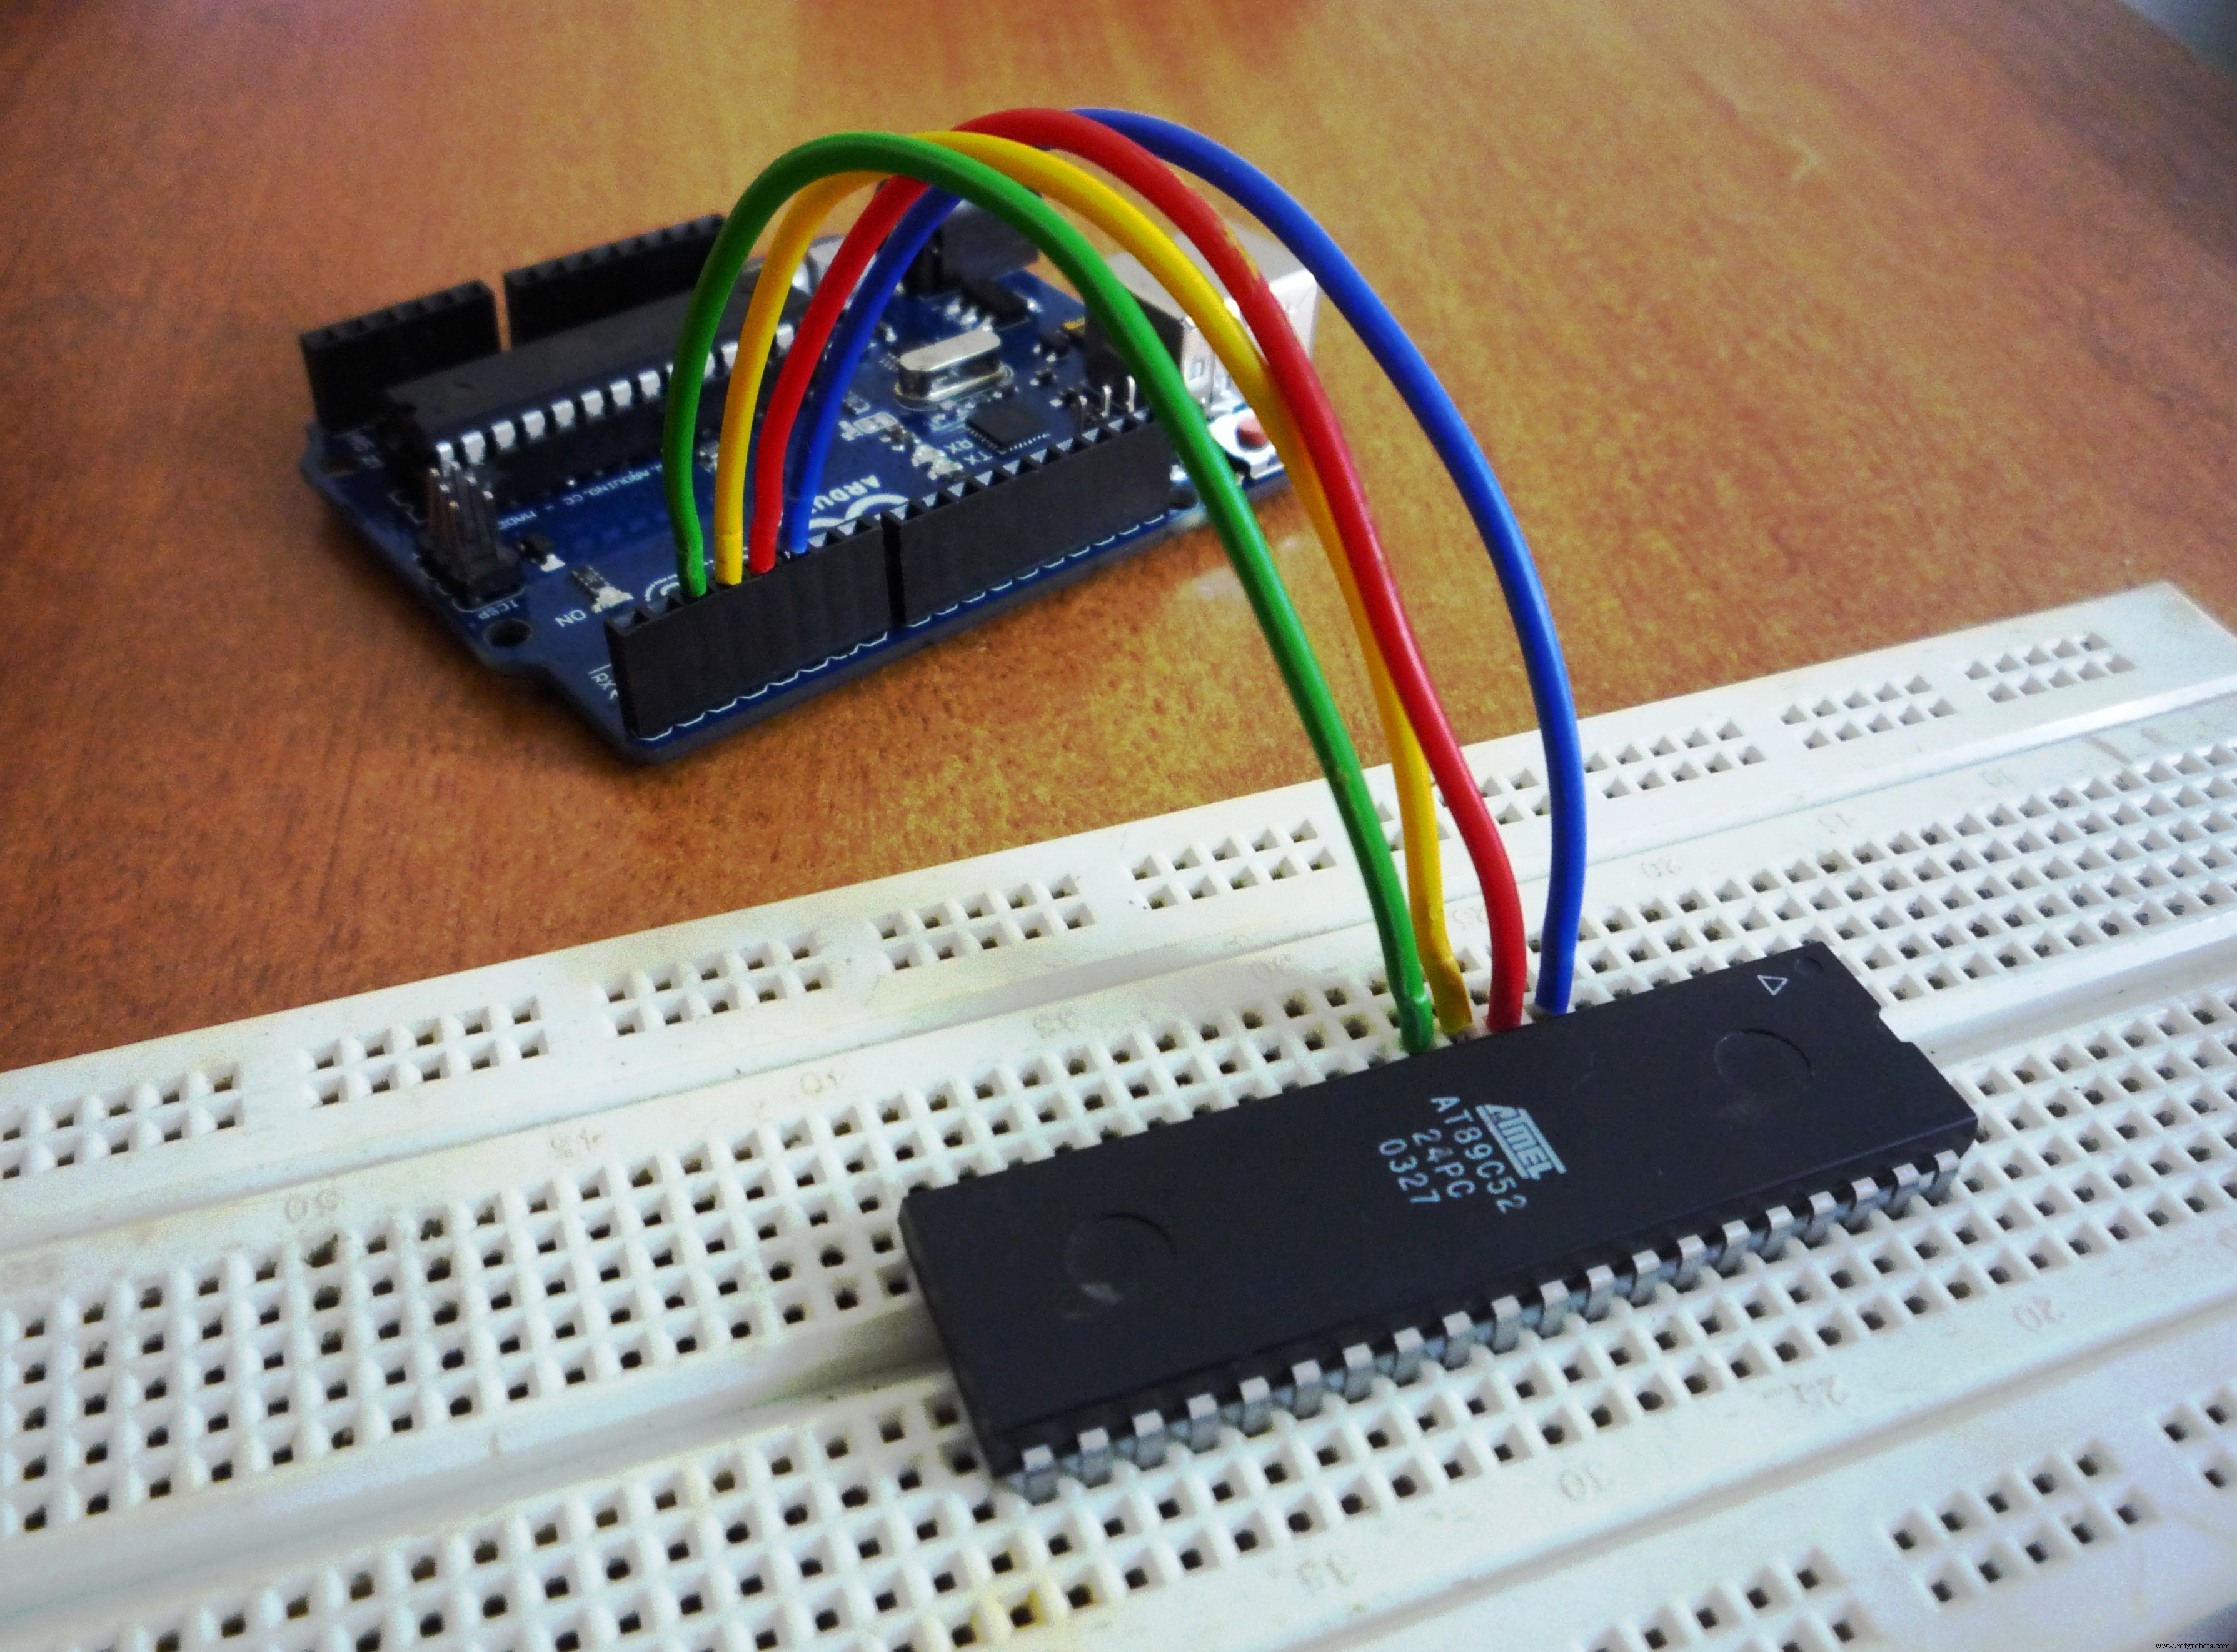
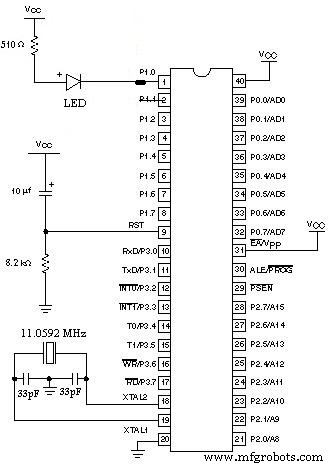
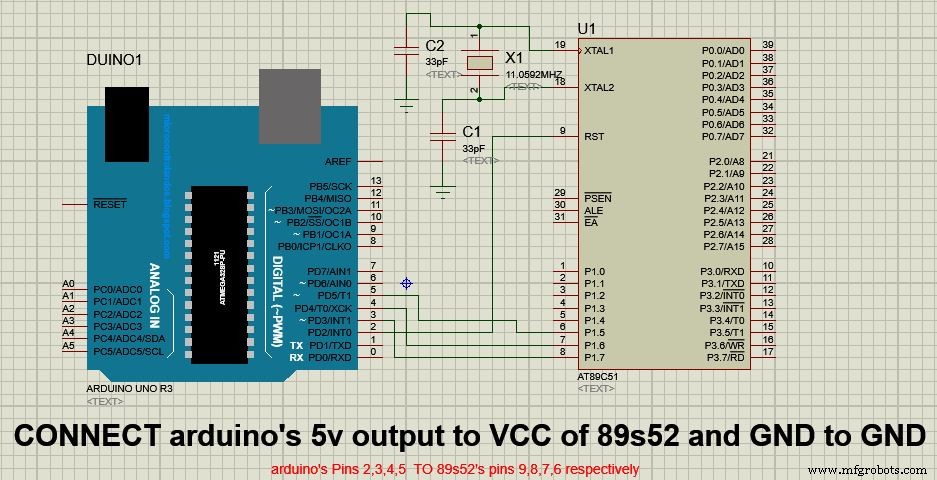
Connect the micro controller as mentioned below:
- At89c52 Arduino Uno
- Pin 6 Pin 5
- Pin 7 Pin 4
- Pin 8 Pin 3
- Pin 9 Pin 2
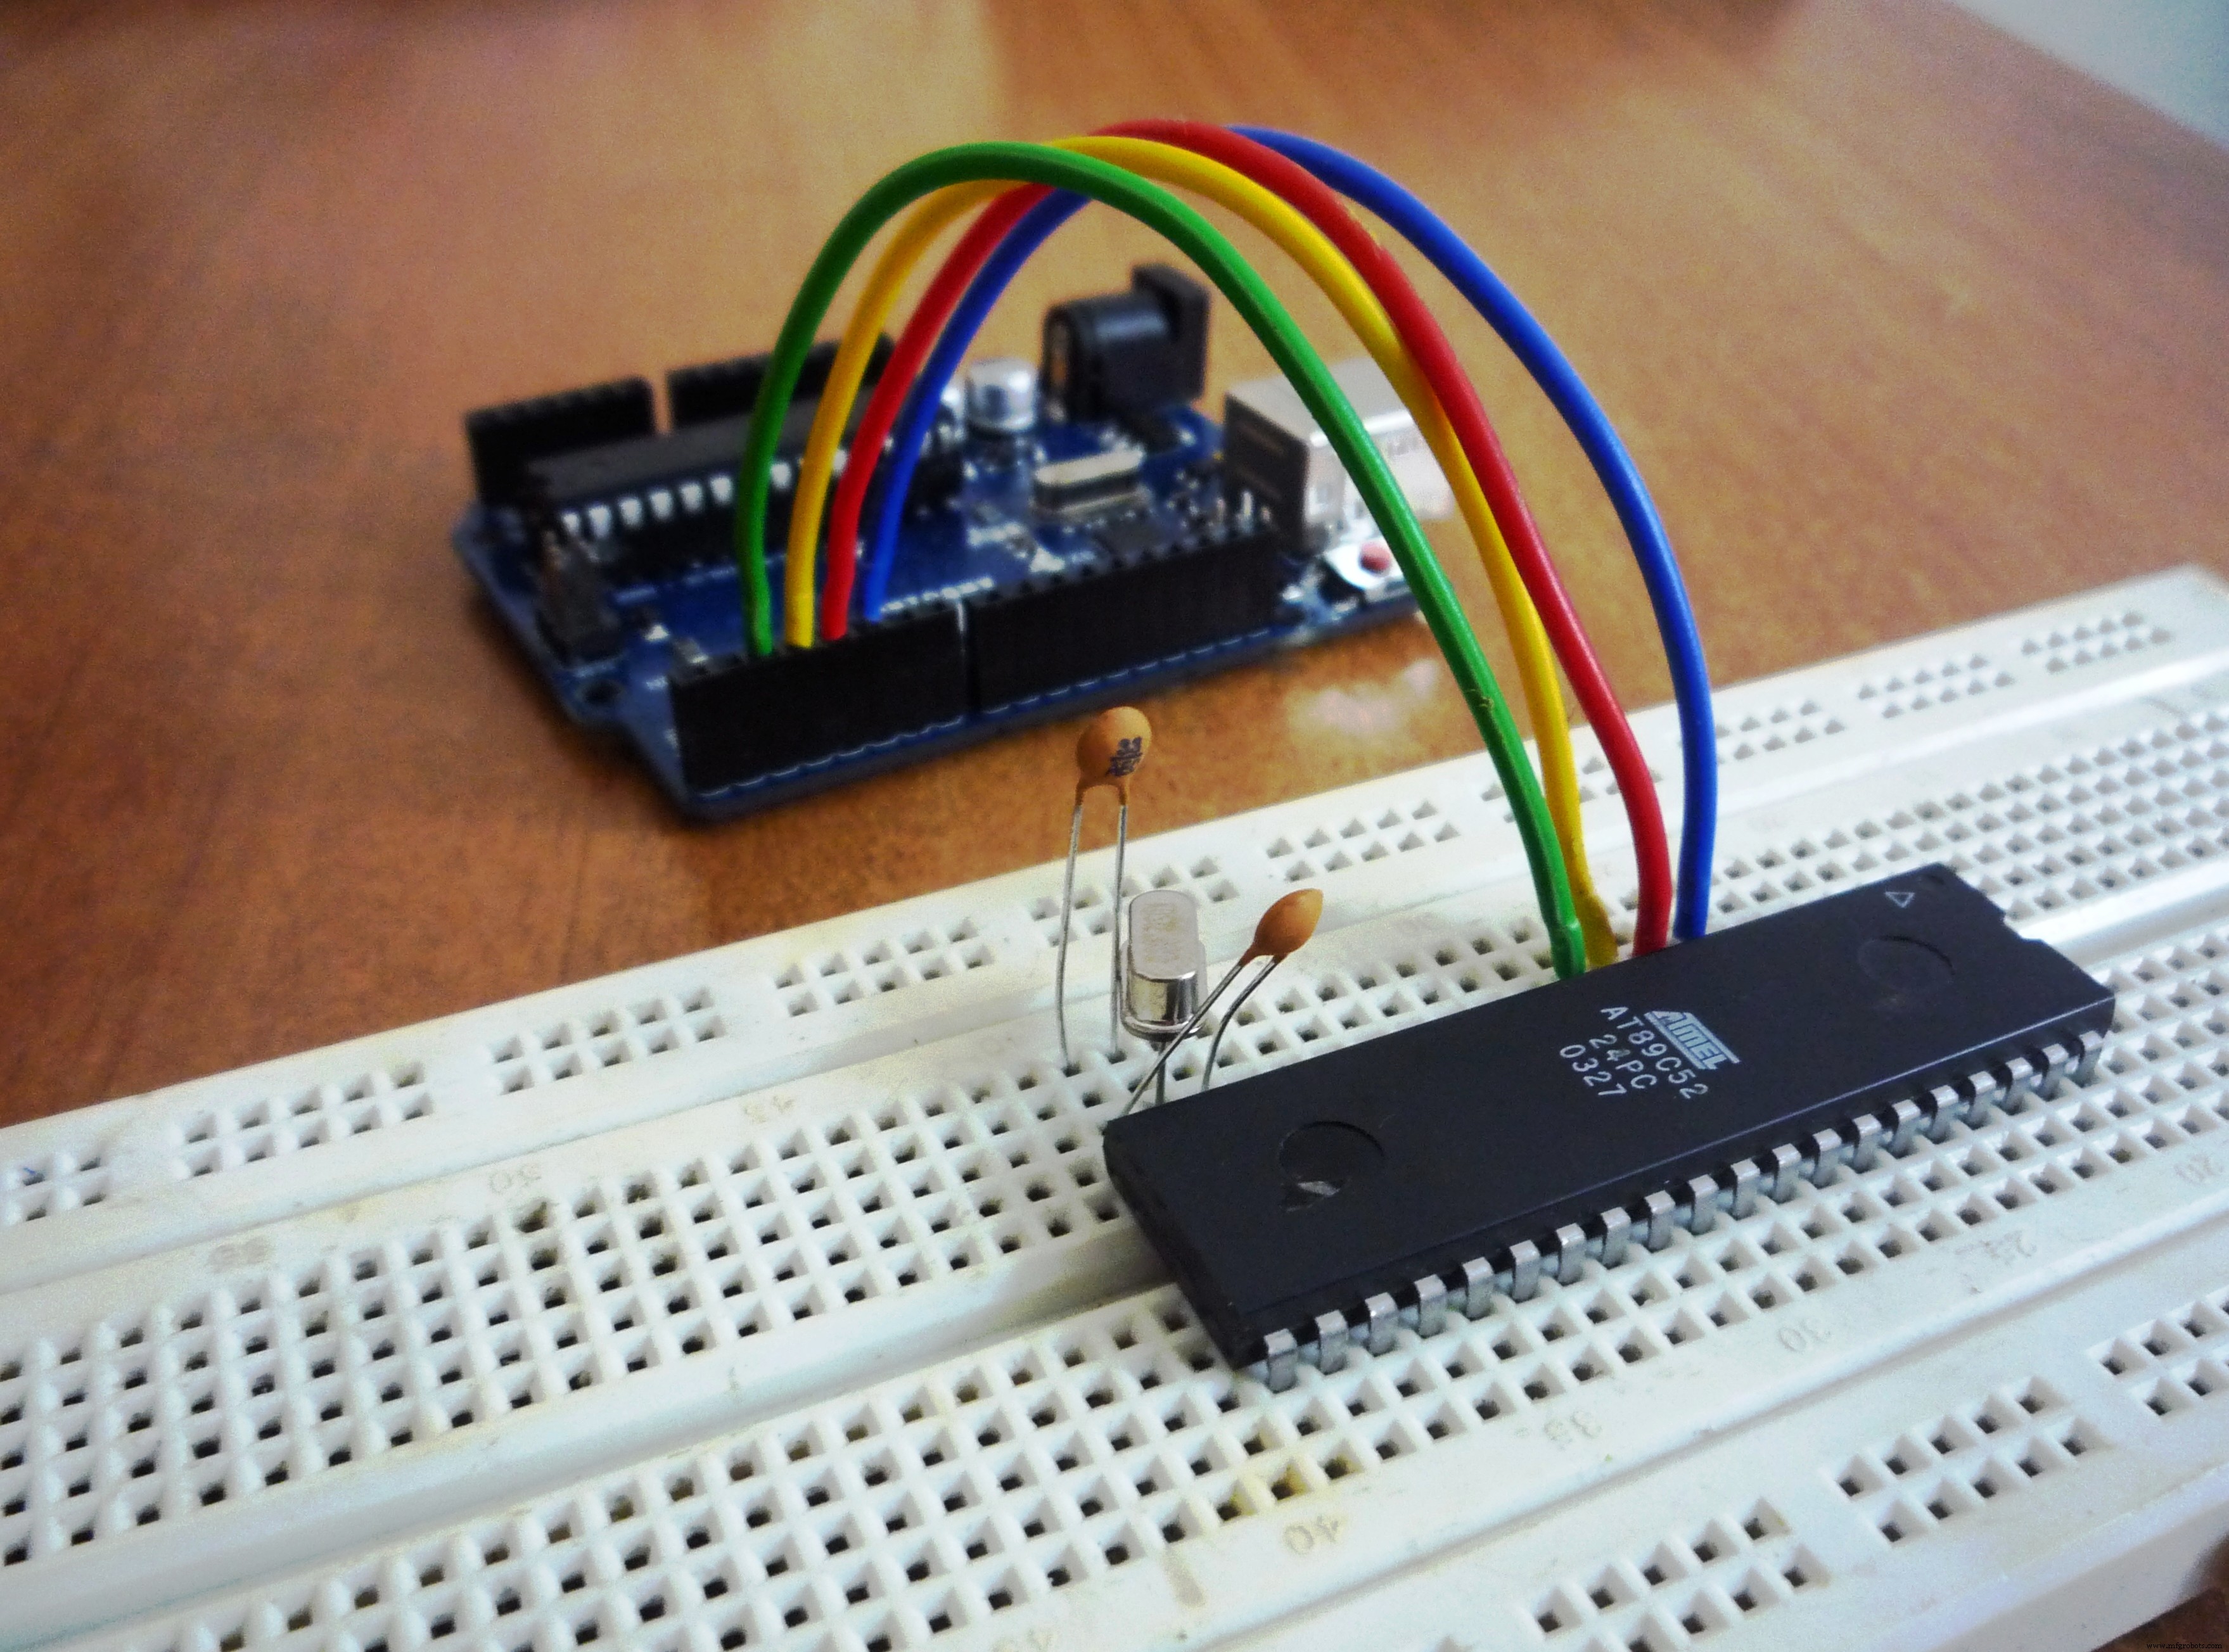
Connect a Crystal across Pin 18 and 19 of Atmel and then connect two 33pf capacitors from pin 18 and 19 to Ground of Atmel. See Schematics Section For Full Circuit Diagram.
Step 4: VCC And GND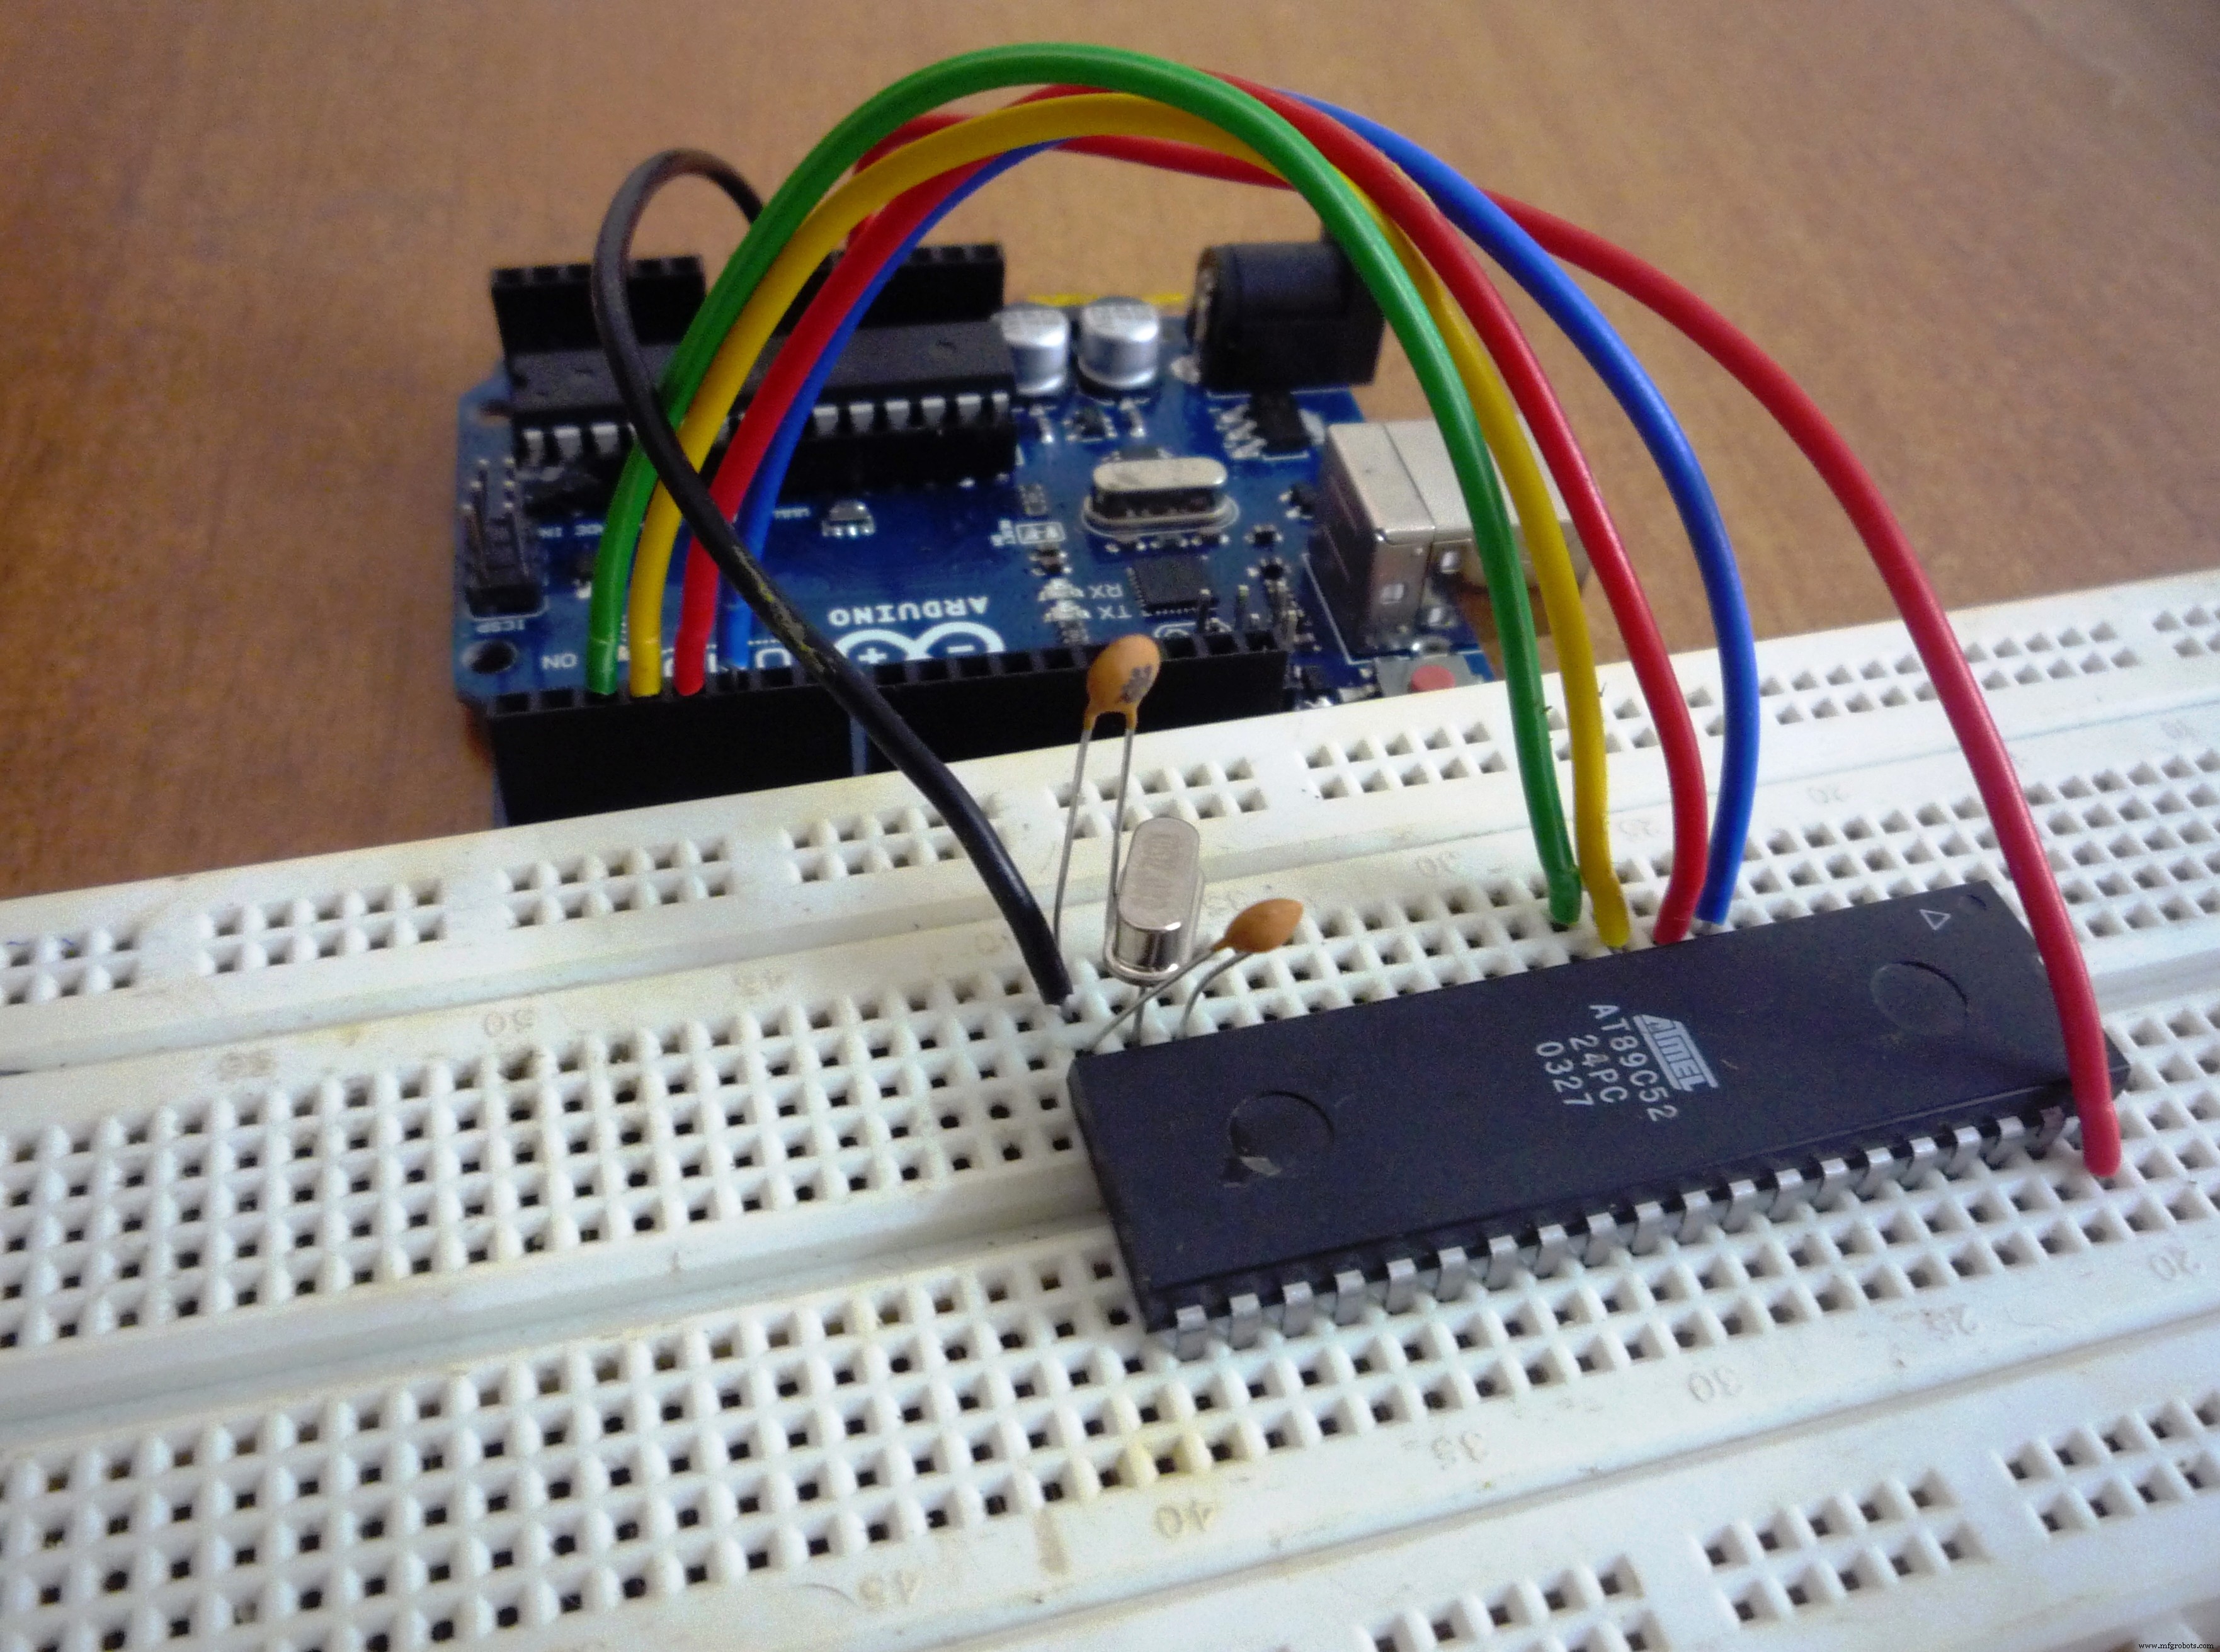
Connect 5v Pin of Arduino Uno to 40th pin of Atmel and GND pin to 20th Pin of Atmel.
Step 5: Interfacing LED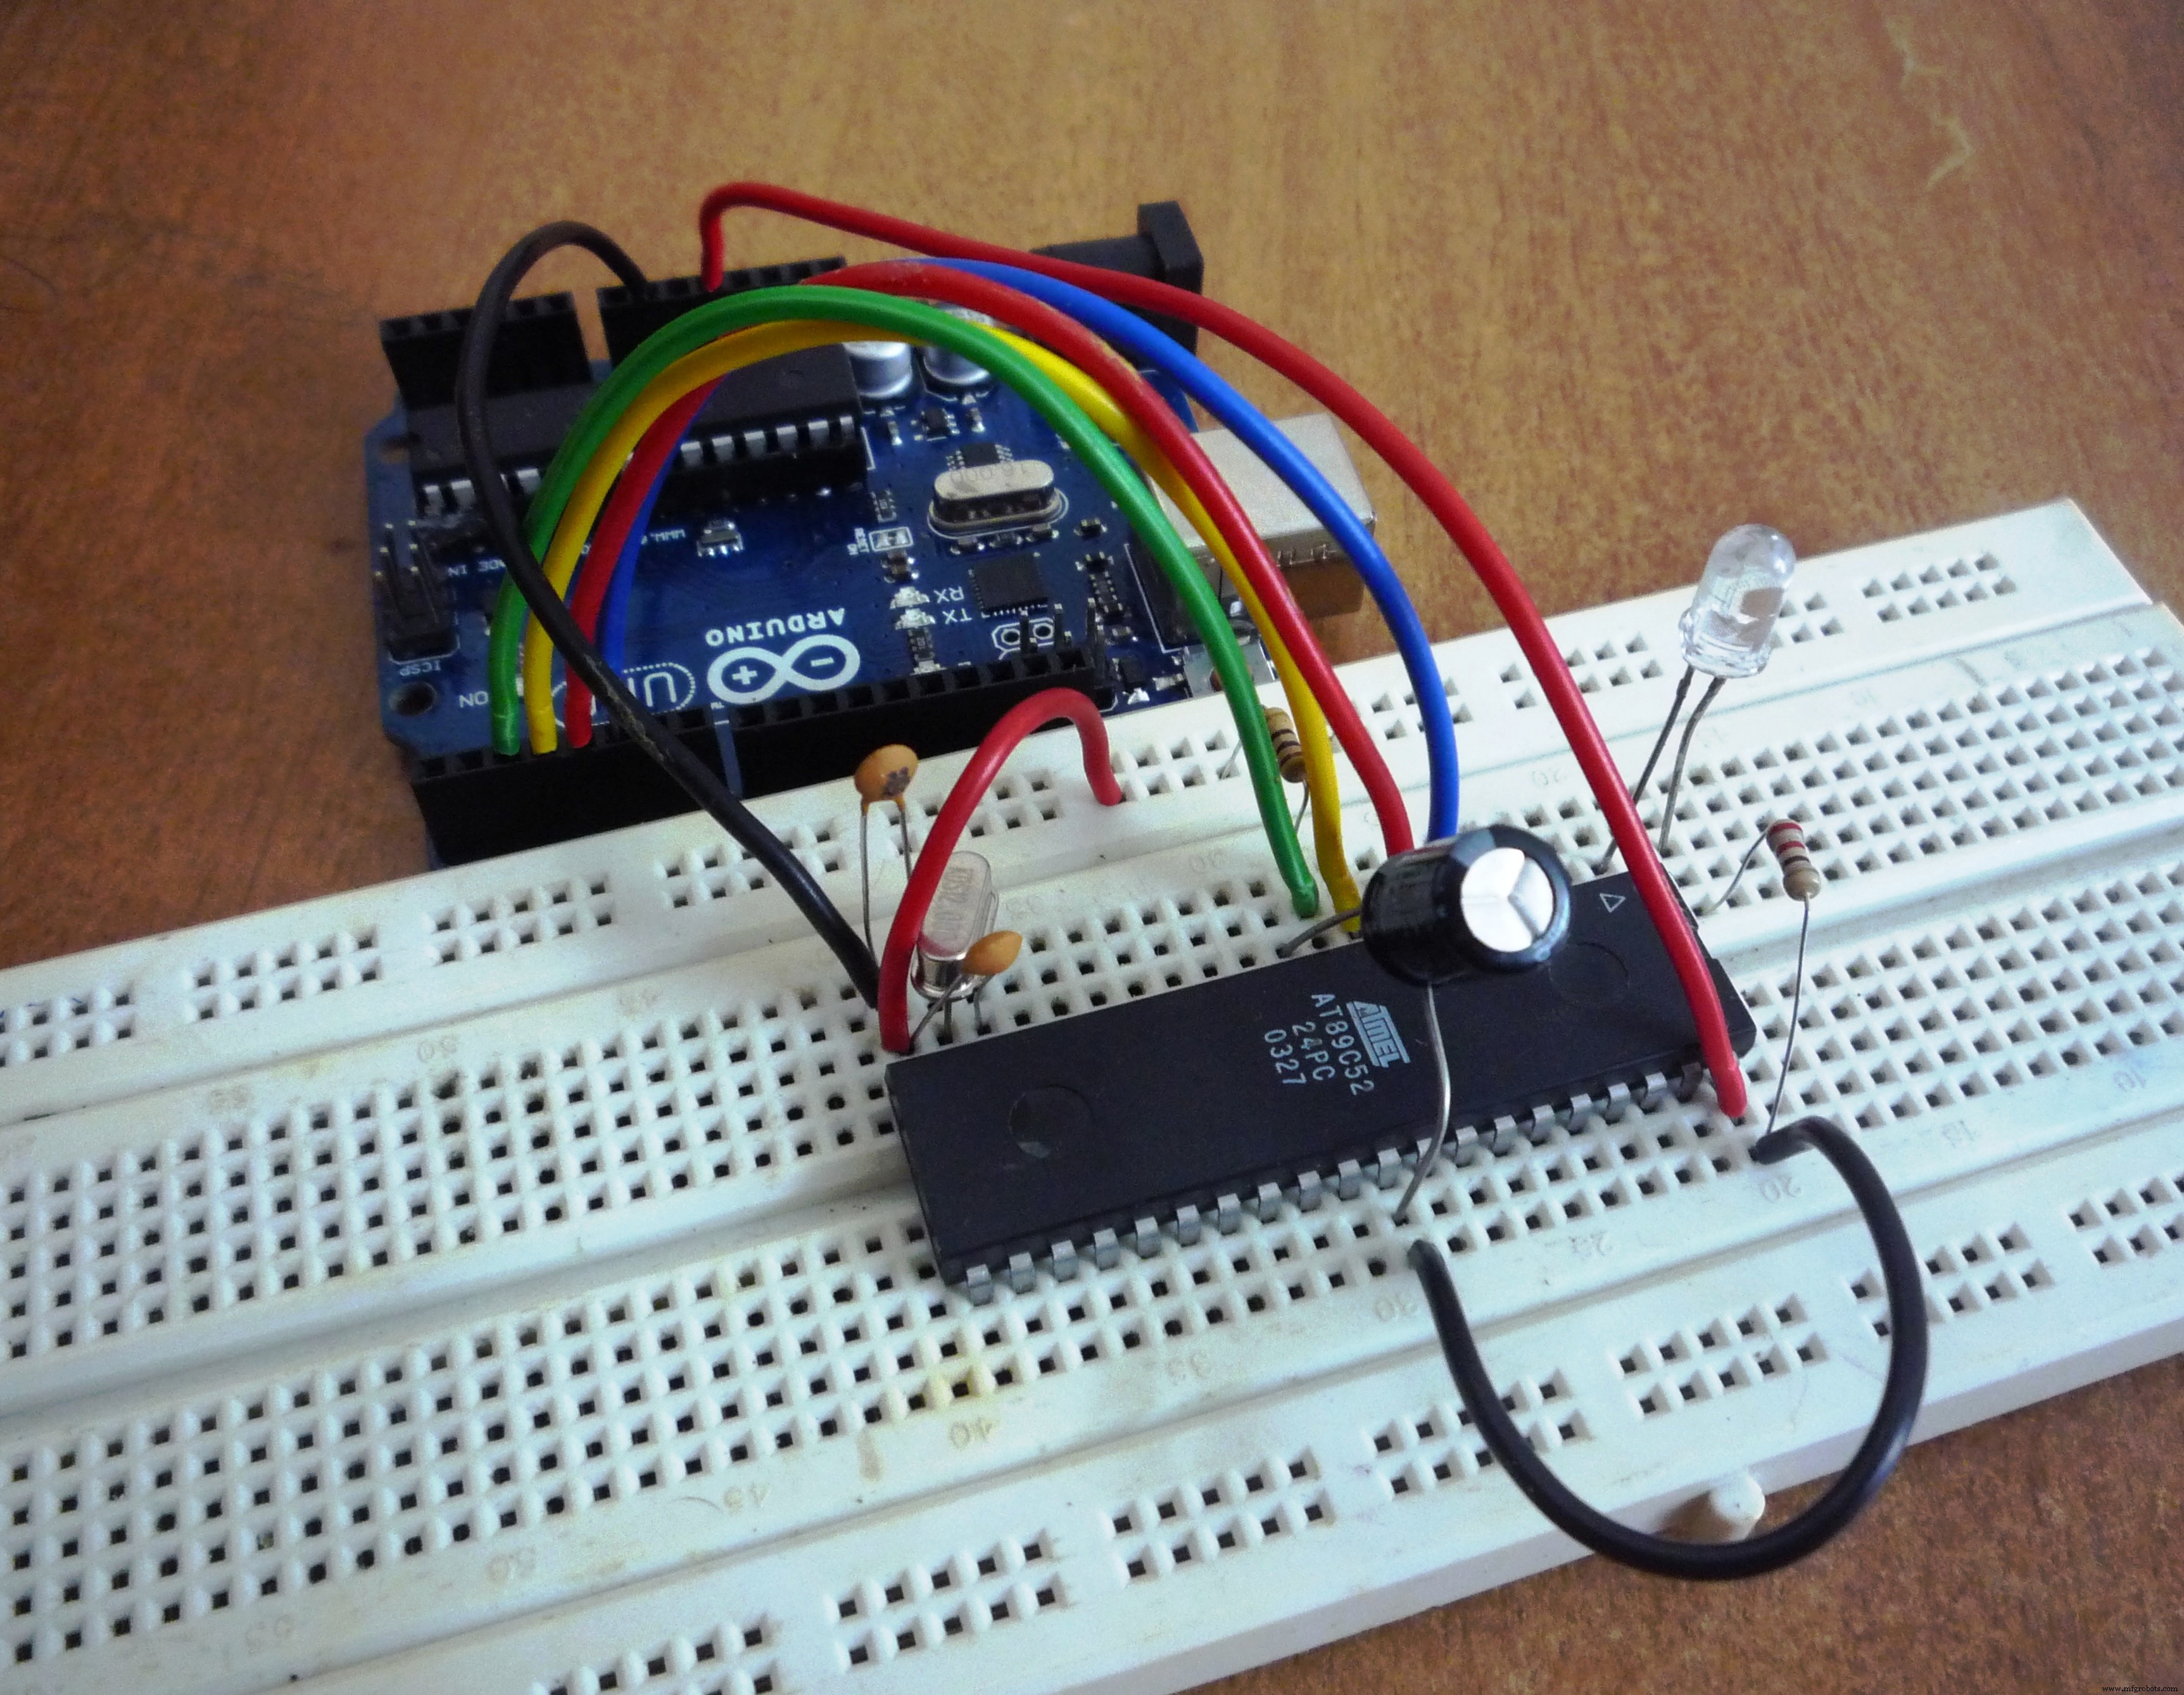
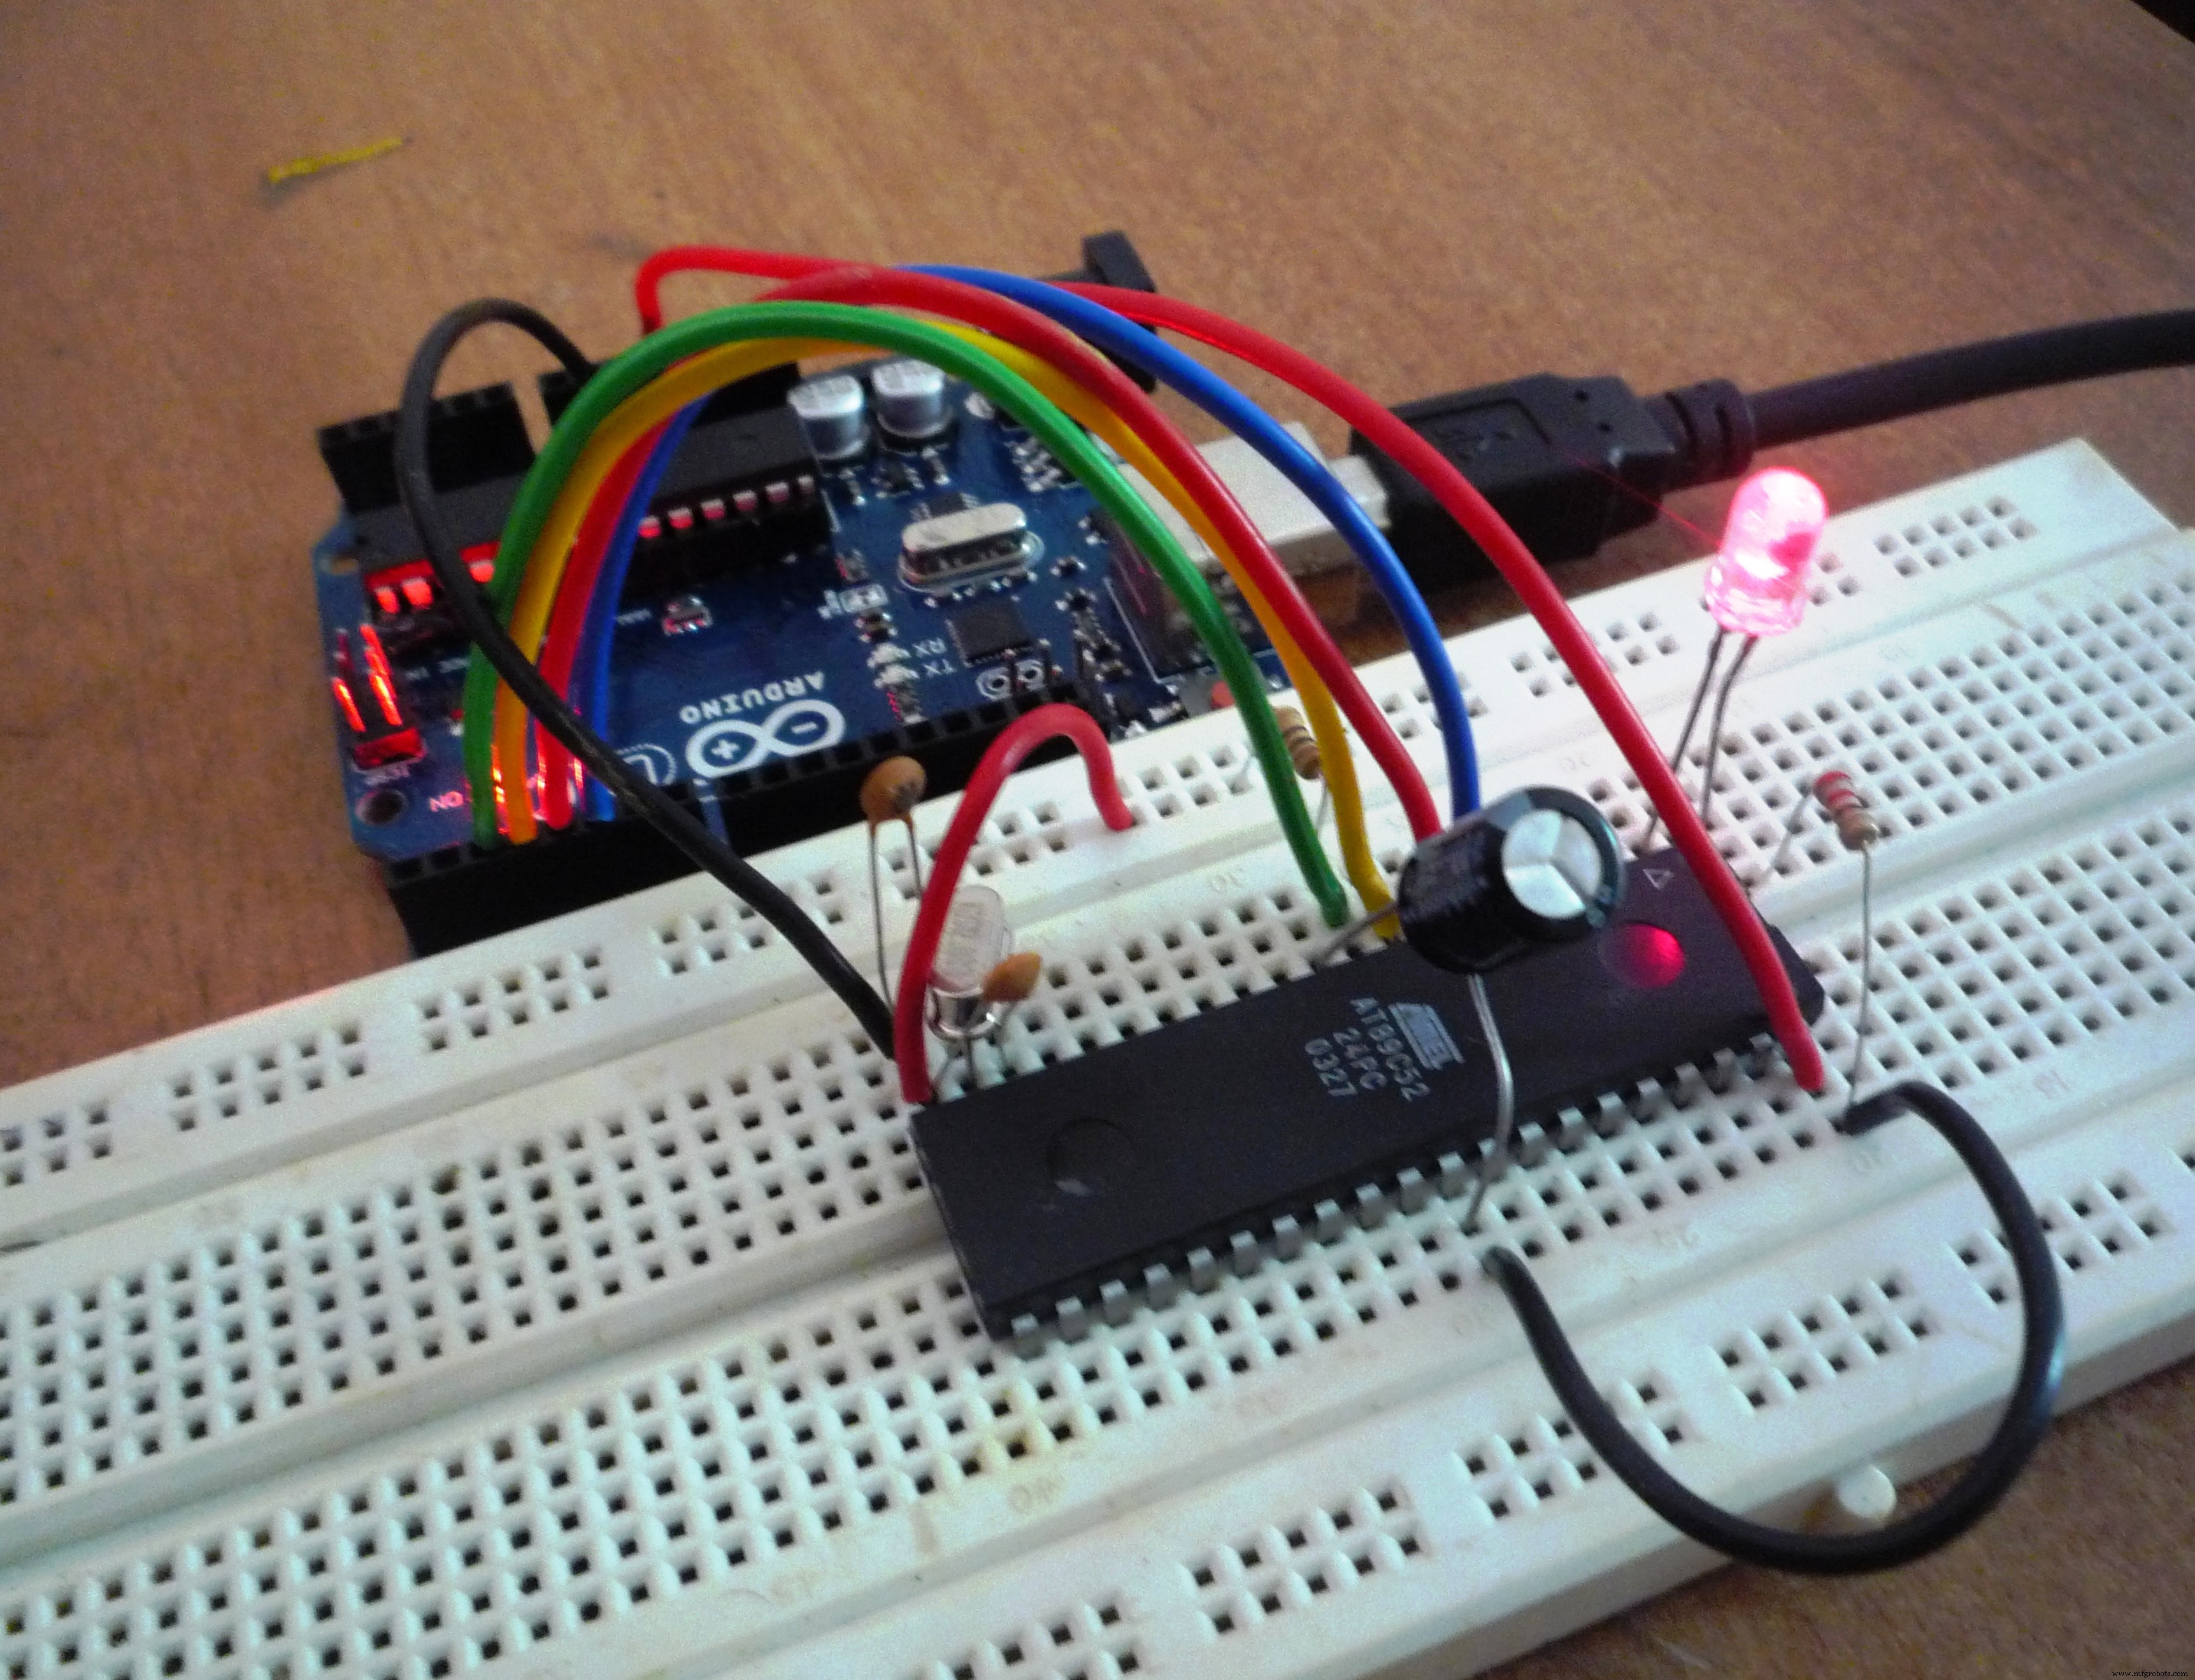
Interface LED with the help of Circuit Diagram provided in Schematics Section.
Step 6: Software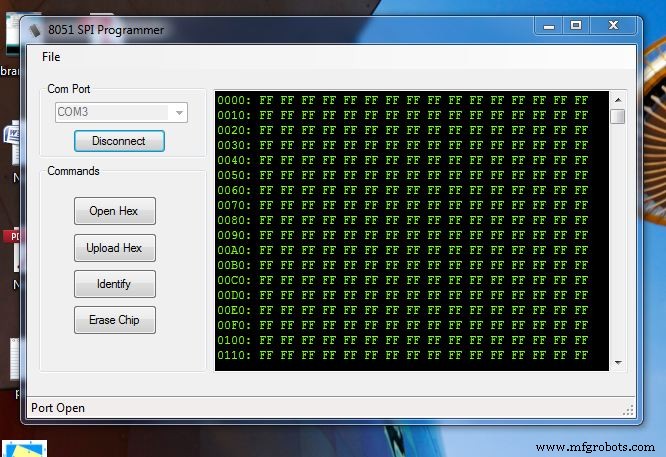
We need 8051 SPI Programmer to Burn Hex File To 89c52. The Link is Provided in Software Section. Upload Code provided to Arduino UNO and your Programmer is ready.
Code
- Untitled file
Untitled fileC/C++
#define dummyData 0xAA
#define RDY 75
#define NRDY 76

const int _MISO = 4;
const int _MOSI = 5;
const int _CLK = 3;
const int RST = 2;

/* Variable definition block */

byte data;
byte AL,AH; // 16-bit address
byte lockByte; // embed lock bits here
byte SigH,SigL; // Signature Bytes

void setup()
{
pinMode(_MISO, INPUT);
pinMode(_MOSI, OUTPUT);
pinMode(_CLK, OUTPUT);
pinMode(RST, OUTPUT);
Serial.begin(115200); // depends on the setting of the host PC

}


void loop()
{
  while (!Serial.available()); // wait for character
        if (Serial.available() > 0)
        switch (Serial.read())
        {
        case 'p': Serial.write(progEnable());
                  break;
        case 'r': readProgmem();
                  Serial.write(data);
                  break;
        case 'a': while(!Serial.available());
                  AL = Serial.read();
                  break;
        case 'A': while(!Serial.available());
                  AH = Serial.read();
                  break;
        case 'd': while(!Serial.available());
                  data = Serial.read();
                  break;
        case 'S': AH = 0;
                  AL = 0;
                  SigH = readSign();
                  Serial.write(SigH);
                  break;
        case 's': AH = 2;
                  AL = 0;
                  SigL = readSign();
                  Serial.write(SigL);
                  AH = 1;
                  AL = 0;
                  SigL = readSign();
                  Serial.write(SigL);
                  break; // read SigL
        case 'o': digitalWrite(RST,1);break;
        case 'c': digitalWrite(RST,0);break;
        case 'e': eraseChip();
                  Serial.write(RDY);
                  break;
        case 'j': break;
        case 'w': writeProgmem();
                  break;
        }


}


unsigned char SendSPI(unsigned char data)
{
  uint8_t retval = 0;
  uint8_t intData = data;
  int t;

    for (int ctr = 0; ctr < 7; ctr++)
      {
         if (intData & 0x80) digitalWrite(_MOSI,1);
            else digitalWrite(_MOSI,0);

        digitalWrite(_CLK,1);
        delayMicroseconds(1);

        t = digitalRead(_MISO);
        digitalWrite(_CLK,0);

        if (t) retval |= 1; else retval &= 0xFE;
            retval<<=1;
            intData<<= 1;
        delayMicroseconds(1);
    }


  if (intData & 0x80) digitalWrite(_MOSI,1);
    else digitalWrite(_MOSI,0);

    digitalWrite(_CLK,1);
    delayMicroseconds(1);

    t = digitalRead(_MISO);
    digitalWrite(_CLK,0);

    if (t) retval |= 1;
    else retval &= 0xFE;

    return retval;
}


byte progEnable()
{
    SendSPI(0xAC);
    SendSPI(0x53);
    SendSPI(dummyData);

   return SendSPI(dummyData);
}

void eraseChip()
{
     SendSPI(0xAC);
     SendSPI(0x9F);
     SendSPI(dummyData);
     SendSPI(dummyData);

     delay(520);
}

void readProgmem()
{

    SendSPI(0x20);
    SendSPI(AH);
    SendSPI(AL);
    data = SendSPI(dummyData);
}

void writeProgmem()
{
    SendSPI(0x40);
    SendSPI(AH);
    SendSPI(AL);
    SendSPI(data);
}

void writeLockBits()
{
    SendSPI(0xAC);
    SendSPI(lockByte);
    SendSPI(dummyData);
    SendSPI(dummyData);
}

void readLockBits()
{
    SendSPI(0x24);
    SendSPI(dummyData);
    SendSPI(dummyData);
    lockByte = SendSPI(dummyData);
}

byte readSign()
{
    SendSPI(0x28);
    SendSPI(AH);
    SendSPI(AL);
    return SendSPI(dummyData);
}
Schematics
Manufacturing process
- Arduino UNO & WiFi Shield: Real-Time Temperature Display on the Web via Serial
- Wireless Arduino Programming Shield with HC-05 Bluetooth – No USB Needed
- Build an Arduino Calculator with 16x2 LCD and Keypad
- Arduino-Driven LED Candle Lights: DIY Smart Lighting Project
- Arduino Web-Controlled Light Bulb: Step-by-Step Guide
- Bluetooth Integration with Arduino & Android: Build Wireless Projects
- Programming the ATmega8 Microcontroller with Arduino IDE – Step‑by‑Step Guide
- Send Door-Opening Alerts via Gmail with Arduino Uno – Beginner’s Step‑by‑Step Guide
- Efficiently Program ATtiny85 Using Arduino Uno: A Cost‑Effective Multi‑Sensor Solution
- Complete Guide to the Arduino Nano Pinout: Specs, Pin Functions & Programming Tips