


Send Door-Opening Alerts via Gmail with Arduino Uno – Beginner’s Step‑by‑Step Guide
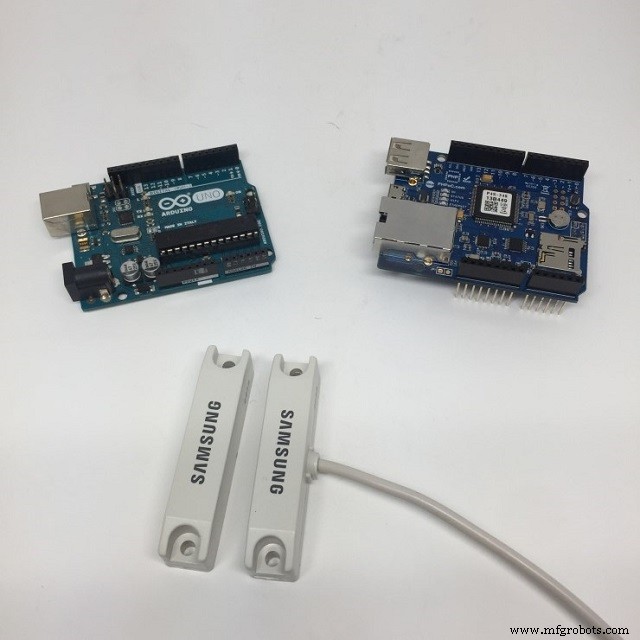
Components and supplies
 |
| × | 1 | |||
 |
| × | 1 | |||
| × | 1 |
About this project
If you are a beginner, you can learn about wifi and sensor in Arduino - Wifi and Arduino - Door Sensor tutorials.
In this tutorial, I am going to show you how to detect the door-opening event and send a notification via Gmail using Arduino Uno. I made this tutorial for beginners! It is really easy!
Let's get started!
Detecting Door-Opening EventMagnetic sensor I used includes two parts: sensor and magnet. When two parts are in proximity, the output pin of the sensor is HIGH, otherwise the output pin is LOW. Taking advantage of this feature, I installed one part of the sensor on the door leaf and the other on the door frame. By checking state of the output pin, we can detect when door is opened and then make an alert or send a notification.
Handling EventIn this project, when an event occurs, a notification is sent via Gmail.
LibraryThe below code uses two library: PHPoC and Button libraries
The Best Arduino Starter Kit for BeginnerIf you are looking for an Arduino kit, see The Best Arduino Kit for Beginners
Function References- loop()
- setup()
- Serial.begin()
- Serial.println()
- delay()
- for loop
- while loop
- if else
- String.toInt()
Code
- Source Code
Source CodeArduino
#include <Phpoc.h>
#include <ezButton.h>

PhpocEmail email;
ezButton button(A0);  // create Button object that attach to pin A0;

void setup() {
  Serial.begin(9600);

  Phpoc.begin(PF_LOG_SPI | PF_LOG_NET | PF_LOG_APP);

  //Phpoc.beginIP6(); uncomment this line if you are going to use IPv6

  button.setDebounceTime(100); // set debounce time to 100 milliseconds
}

void loop() {
  button.loop(); // MUST call the loop() function first

  if(button.isPressed()) {    // if door is opened...
    email.setOutgoingServer("smtp.gmail.com", 587);
    email.setOutgoingLogin("Google ID", "Google Password");

    email.setFrom("Gmail address ", "Sender Name");
    email.setTo("Receiver email address", "Receiver Name");

    email.setSubject("Door is opened. [#905]");  // Mail Subject

    // Mail Contents
    email.beginMessage();
    email.println("#905");
    email.println("");
    email.println("Door is opened.");
    email.endMessage();

    if (email.send() > 0)  // Send Email
      Serial.println("Your Mail has been sent successfully");
    else
      Serial.println("Your Mail is not sent");
  } else if (button.isReleased()) { // if door is closed...
        // Write codes in the same way
  }
}
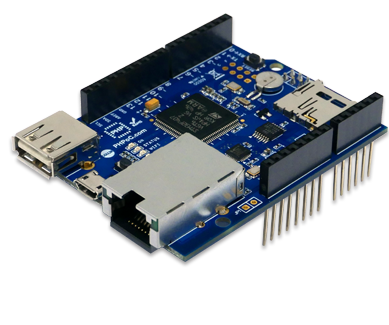
PHPoC library for Arduino
This library communicates with PHPoC Shield to connect to the Internet. It's also contains Gmail library. How to install library: http://www.phpoc.com/support/manual/phpoc_shield_for_arduino/ https://github.com/phpoc/arduino/Schematics
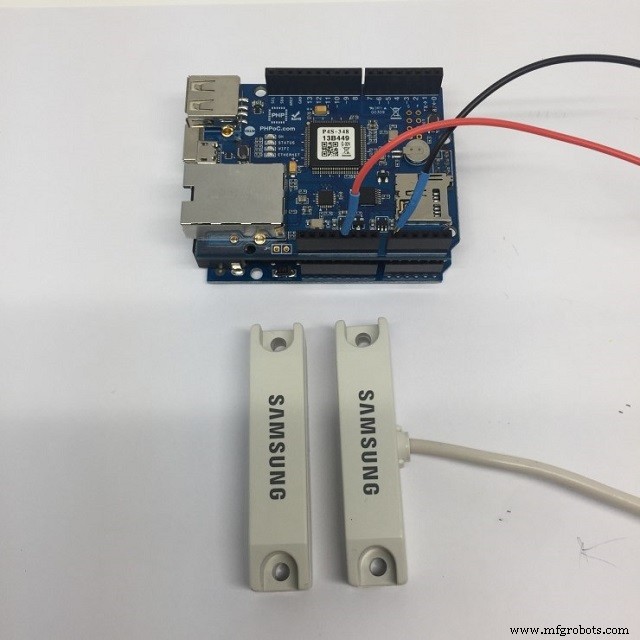
 1. Stack PHPoC Shield on Arduino
2. Connect LAN cable or USB wifi Dongle to the shield for Ethernet
3. Pin wiring between Arduino and Sensor.
----5V--------red pin
----A0-------black pin
Manufacturing process
- K30 CO2 Sensor: Real‑Time Indoor Air Quality Monitoring
- Build a Sensor Tower with Arduino Cloud: Temperature, Motion & Gas Monitoring
- Smart Health Monitoring Station: Arduino, Bluetooth, and Sensors
- Arduino Door Sensor: Real‑Time Facebook Messenger Alerts via IFTTT
- Smartphone-Based Temperature Monitoring System with Arduino and Bluetooth
- Arduino Nano Fingerprint Sensor Project – Step‑by‑Step Tutorial
- Real‑Time Environmental Monitoring with Arduino MKR1000 & Environment Click Sensors
- Arduino-Based Indoor Air Quality & Comfort Sensor Kit
- Build an IR Sensor Project with Arduino UNO – Simple Guide
- SmartAgro: Advanced IoT Solutions for Precision Farming