


Build an Arduino Calculator with 16x2 LCD and Keypad
Components and supplies
 |
| × | 1 | |||
 |
| × | 1 | |||
 |
| × | 1 | |||
 |
| × | 1 | |||
 |
| × | 1 |
About this project
At the end of this project you will know how to use a 16x2 LCD and Keypad with Arduino and also how easy it is to program for them using the readily available libraries. You will also understand how to program your Arduino for accomplishing a particular task.
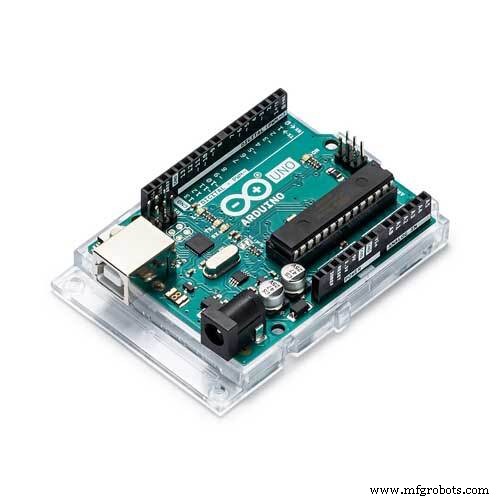
Materials Required:- Arduino Uno (Any version will work)
- 16×2 LCD Display
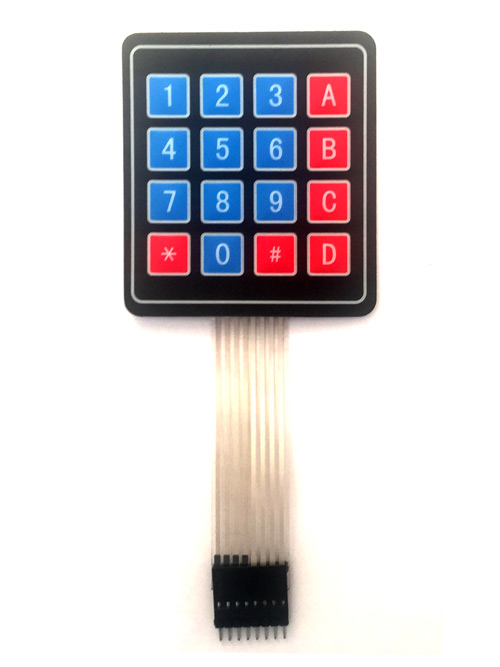
- 4×4 Keypad
- 9V Battery
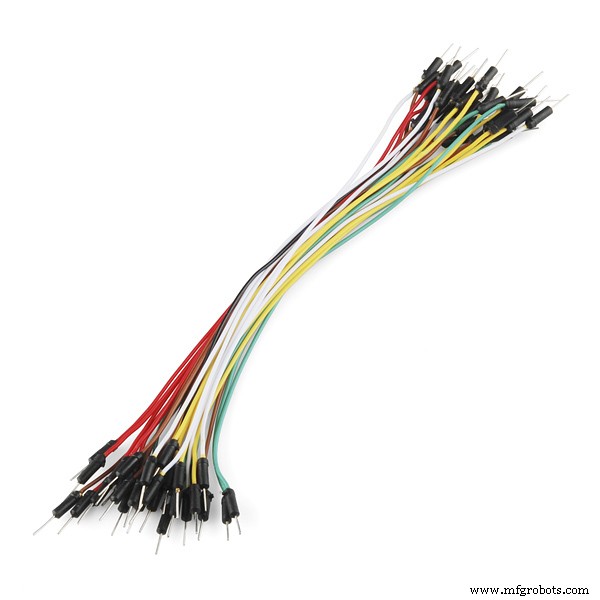
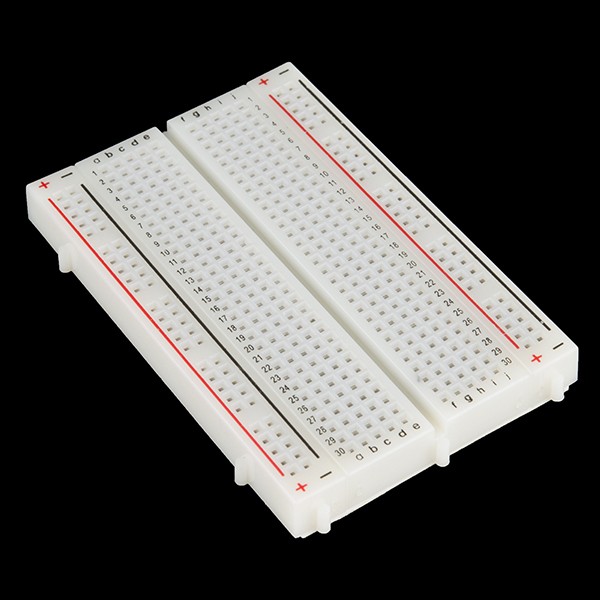
- Breadboard and Connecting wires
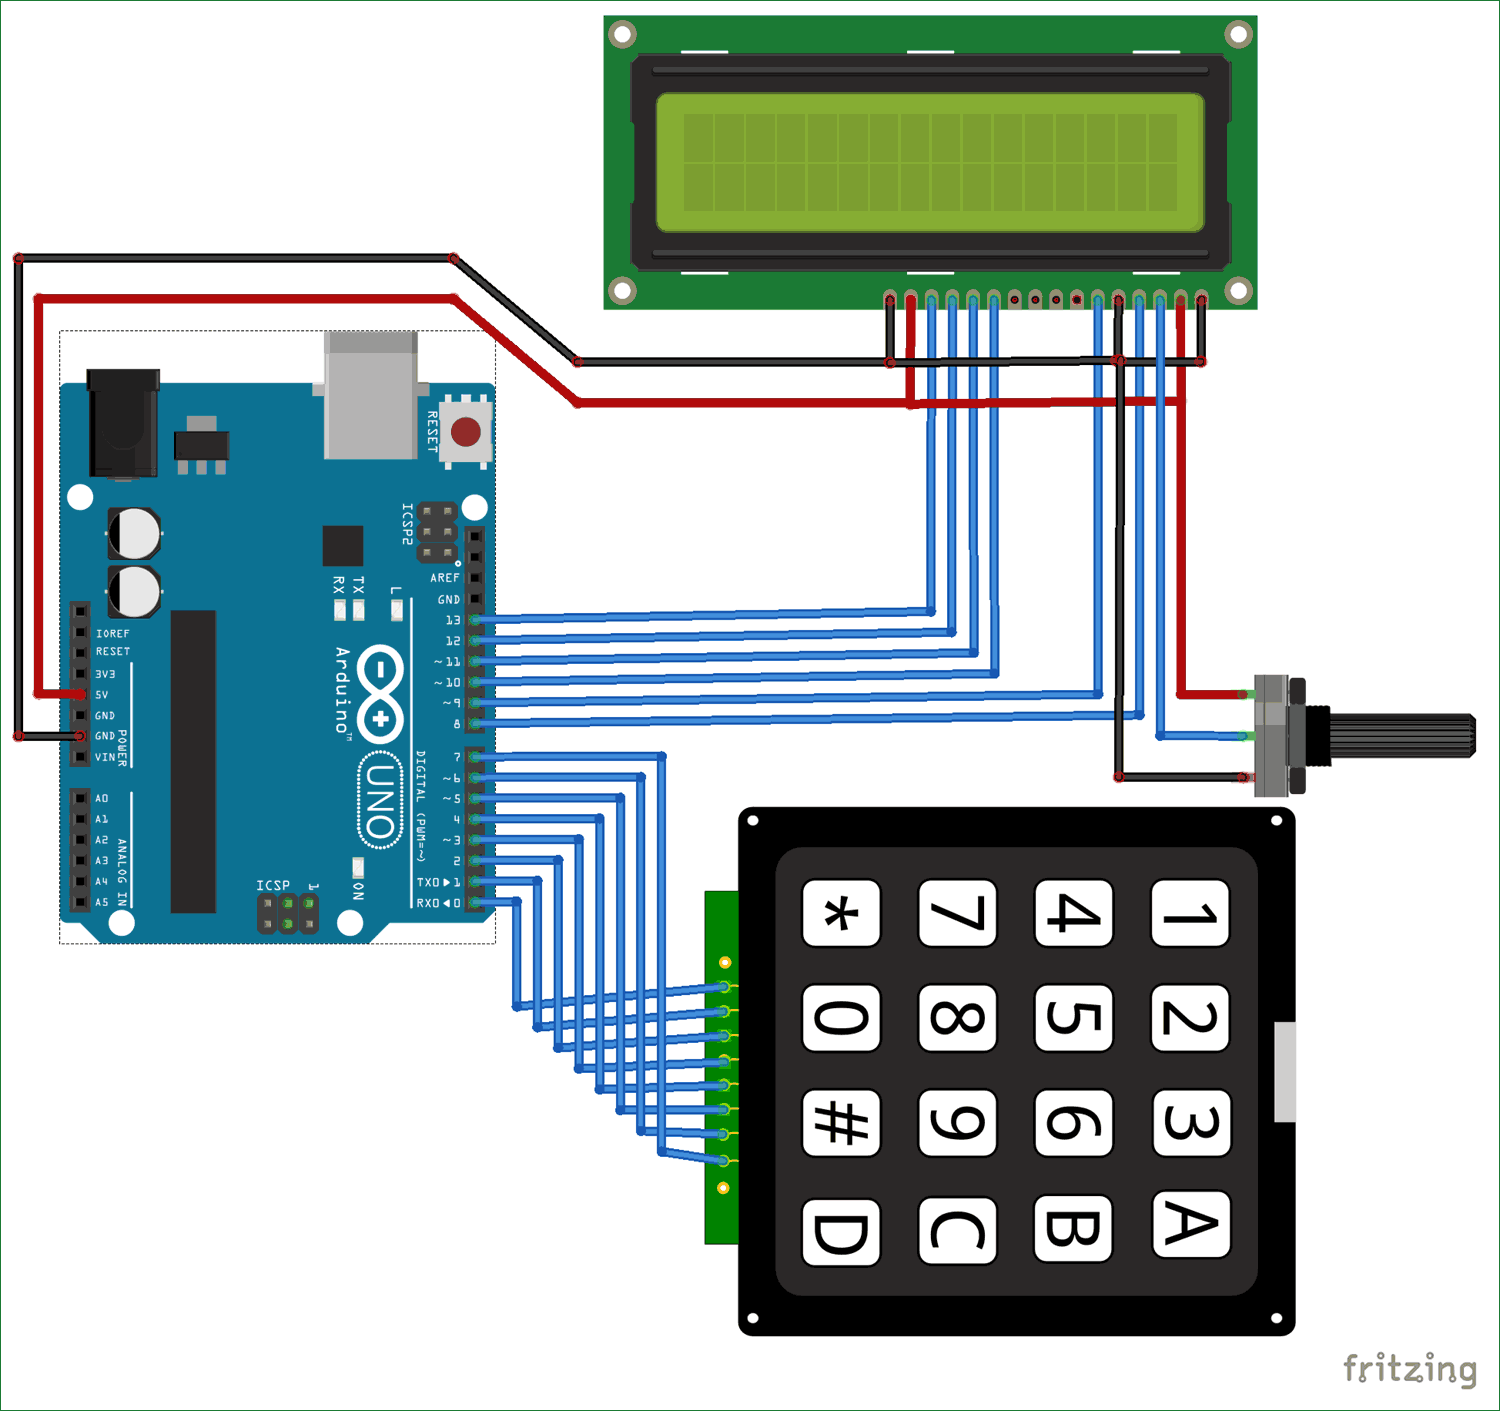
D0
1st pin of the keyboard
D1
2nd pin of the keyboard
D2
3rd pin of the keyboard
D3
4th pin of the keyboard
D4
5th pin of the keyboard
D5
6th pin of the keyboard
D6
7th pin of the keyboard
D7
8th pin of the keyboard
D8
Register select pin of LCD (pin 4)
D9
Enable pin of LCD (pin 6)
D10
Data pin 4 (pin 11)
D11
Data pin 4 (pin 11)
D12
Data pin 4 (pin 11)
D13
Data pin 4 (pin 11)
+5V
Connected to Vdd pin of LCD (pin 2)
Ground
Connected to Vss, Vee and RW pin of LCD (pin 1, 3 and 5)
Some Arduino boards might show an error while uploading program if there are anything connected to pin 0 and pin1, so if you experience any just remove the keypad while uploading the program.
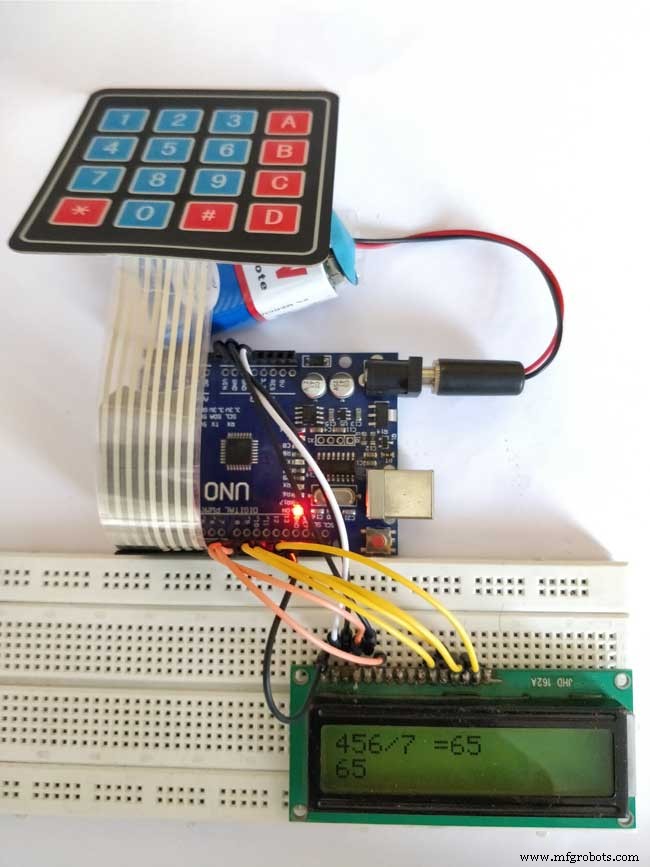
Once your connections are done your hardware will look something like this below
Code
- Untitled file
Untitled fileArduino
*
 * Arduino Keypad calculator Program
 */

#include <LiquidCrystal.h> //Header file for LCD from https://www.arduino.cc/en/Reference/LiquidCrystal
#include <Keypad.h> //Header file for Keypad from https://github.com/Chris--A/Keypad

const byte ROWS = 4; // Four rows
const byte COLS = 4; // Three columns

// Define the Keymap
char keys[ROWS][COLS] = {

  {'7','8','9','D'},

  {'4','5','6','C'},

  {'1','2','3','B'},

  {'*','0','#','A'}

};

byte rowPins[ROWS] = { 0, 1, 2, 3 };// Connect keypad ROW0, ROW1, ROW2 and ROW3 to these Arduino pins.
byte colPins[COLS] = { 4, 5, 6, 7 }; // Connect keypad COL0, COL1 and COL2 to these Arduino pins.

Keypad kpd = Keypad( makeKeymap(keys), rowPins, colPins, ROWS, COLS ); //  Create the Keypad

const int rs = 8, en = 9, d4 = 10, d5 = 11, d6 = 12, d7 = 13; //Pins to which LCD is connected
LiquidCrystal lcd(rs, en, d4, d5, d6, d7);

 long Num1,Num2,Number;
 char key,action;
 boolean result = false;

void setup() {
  lcd.begin(16, 2); //We are using a 16*2 LCD display
  lcd.print("DIY Calculator"); //Display a intro message
  lcd.setCursor(0, 1);   // set the cursor to column 0, line 1
  lcd.print("-CircuitDigest"); //Display a intro message

   delay(2000); //Wait for display to show info
    lcd.clear(); //Then clean it
}

void loop() {

key = kpd.getKey(); //storing pressed key value in a char

if (key!=NO_KEY)
DetectButtons();

if (result==true)
CalculateResult();

DisplayResult();
}

void DetectButtons()
{
     lcd.clear(); //Then clean it
    if (key=='*') //If cancel Button is pressed
    {Serial.println ("Button Cancel"); Number=Num1=Num2=0; result=false;}

     if (key == '1') //If Button 1 is pressed
    {Serial.println ("Button 1");
    if (Number==0)
    Number=1;
    else
    Number = (Number*10) + 1; //Pressed twice
    }

     if (key == '4') //If Button 4 is pressed
    {Serial.println ("Button 4");
    if (Number==0)
    Number=4;
    else
    Number = (Number*10) + 4; //Pressed twice
    }

     if (key == '7') //If Button 7 is pressed
    {Serial.println ("Button 7");
    if (Number==0)
    Number=7;
    else
    Number = (Number*10) + 7; //Pressed twice
    }


    if (key == '0')
    {Serial.println ("Button 0"); //Button 0 is Pressed
    if (Number==0)
    Number=0;
    else
    Number = (Number*10) + 0; //Pressed twice
    }

     if (key == '2') //Button 2 is Pressed
    {Serial.println ("Button 2");
     if (Number==0)
    Number=2;
    else
    Number = (Number*10) + 2; //Pressed twice
    }

     if (key == '5')
    {Serial.println ("Button 5");
     if (Number==0)
    Number=5;
    else
    Number = (Number*10) + 5; //Pressed twice
    }

     if (key == '8')
    {Serial.println ("Button 8");
     if (Number==0)
    Number=8;
    else
    Number = (Number*10) + 8; //Pressed twice
    }


    if (key == '#')
    {Serial.println ("Button Equal");
    Num2=Number;
    result = true;
    }

     if (key == '3')
    {Serial.println ("Button 3");
     if (Number==0)
    Number=3;
    else
    Number = (Number*10) + 3; //Pressed twice
    }

     if (key == '6')
    {Serial.println ("Button 6");
    if (Number==0)
    Number=6;
    else
    Number = (Number*10) + 6; //Pressed twice
    }

     if (key == '9')
    {Serial.println ("Button 9");
    if (Number==0)
    Number=9;
    else
    Number = (Number*10) + 9; //Pressed twice
    }

      if (key == 'A' || key == 'B' || key == 'C' || key == 'D') //Detecting Buttons on Column 4
  {
    Num1 = Number;
    Number =0;
    if (key == 'A')
    {Serial.println ("Addition"); action = '+';}
     if (key == 'B')
    {Serial.println ("Subtraction"); action = '-'; }
     if (key == 'C')
    {Serial.println ("Multiplication"); action = '*';}
     if (key == 'D')
    {Serial.println ("Devesion"); action = '/';}

    delay(100);
  }

}

void CalculateResult()
{
  if (action=='+')
    Number = Num1+Num2;

  if (action=='-')
    Number = Num1-Num2;

  if (action=='*')
    Number = Num1*Num2;

  if (action=='/')
    Number = Num1/Num2;
}

void DisplayResult()
{
  lcd.setCursor(0, 0);   // set the cursor to column 0, line 1
  lcd.print(Num1); lcd.print(action); lcd.print(Num2);

  if (result==true)
  {lcd.print(" ="); lcd.print(Number);} //Display the result

  lcd.setCursor(0, 1);   // set the cursor to column 0, line 1
  lcd.print(Number); //Display the result
}
Schematics
Manufacturing process
- The Rolling Pin: From Etruscan Origins to Modern Craftsmanship
- Preventing USB HID Attacks: Arduino Leonardo Keyboard Exploit Demo
- Effortlessly Program Atmel AT89 Series with Arduino Uno – Step‑by‑Step Guide
- Decode RC Receiver PPM Signals with Arduino: A Step‑by‑Step Guide
- Turn Your MIDI Keyboard into a Smart Piano Tutor with Arduino, LEDs, and MuseScore
- Create a Custom Punchable Keyboard Button with Arduino: A Step-by-Step Guide
- Build a Basic Calculator with Arduino UNO – Easy Project
- ThimbleKrox: Finger-Mounted Mouse Control Using Arduino Micro & MPU-6050
- Arduino 64-Key Prototype Keyboard Matrix – Build a Custom Keyboard with Shift Registers
- 25 kHz 4‑Pin PWM Fan Control Using Arduino Uno – Build, Code & Test