


Smart Self‑Lacing Shoes with Built‑In Energy Harvesting
Components and supplies
 |
| × | 1 | |||
| × | 1 | ||||
| × | 1 | ||||
| × | 1 | ||||
 |
| × | 1 | |||
 |
| × | 1 | |||
 |
| × | 1 | |||
 |
| × | 1 |
Apps and online services
|
About this project
I started this project for science fair and making this project I gained experience about Arduino servo and many things. And I am sure you will enjoy making this project .
Step 1: Parts Needed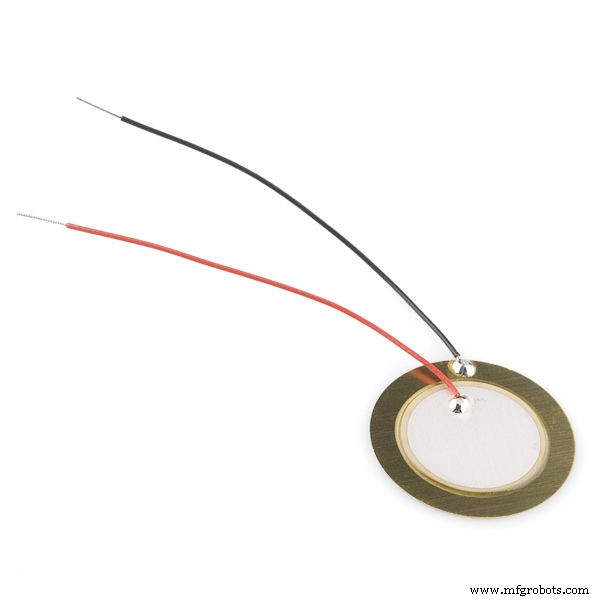

For Generating Electricity:
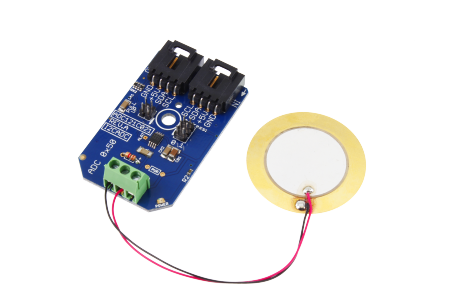
- Piezo disc
- Diode (n4001)
- Power Bank
- Acrylic Sheet
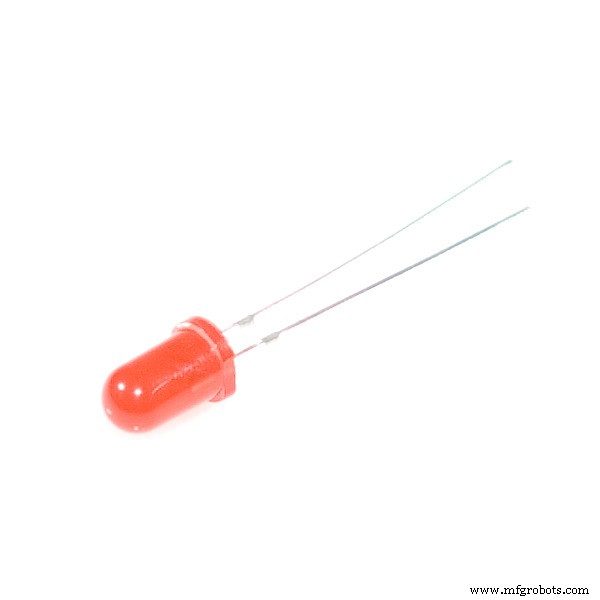
- Led
- Switch
For Auto-Lacing:
- Shoes
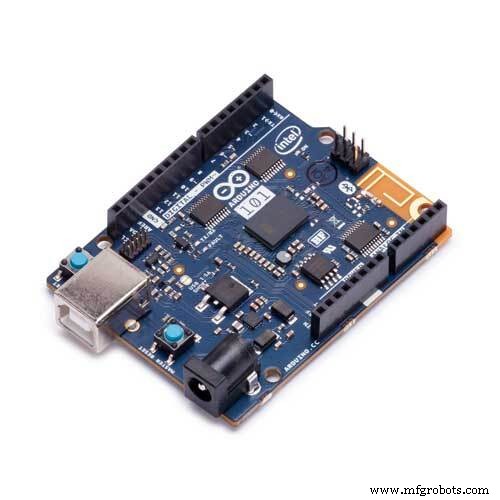
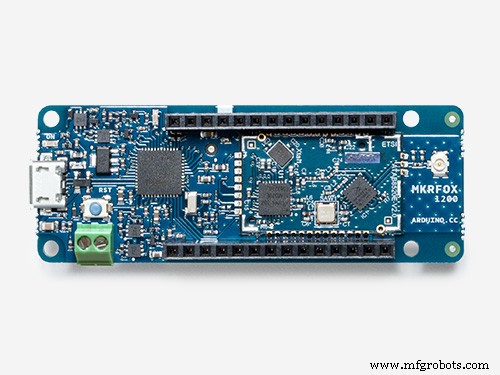
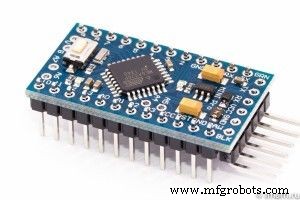
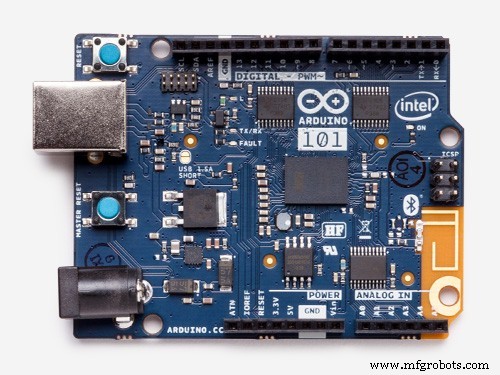
- Arduino pro mini 5v or Arduino 101 or MKRFOX1200
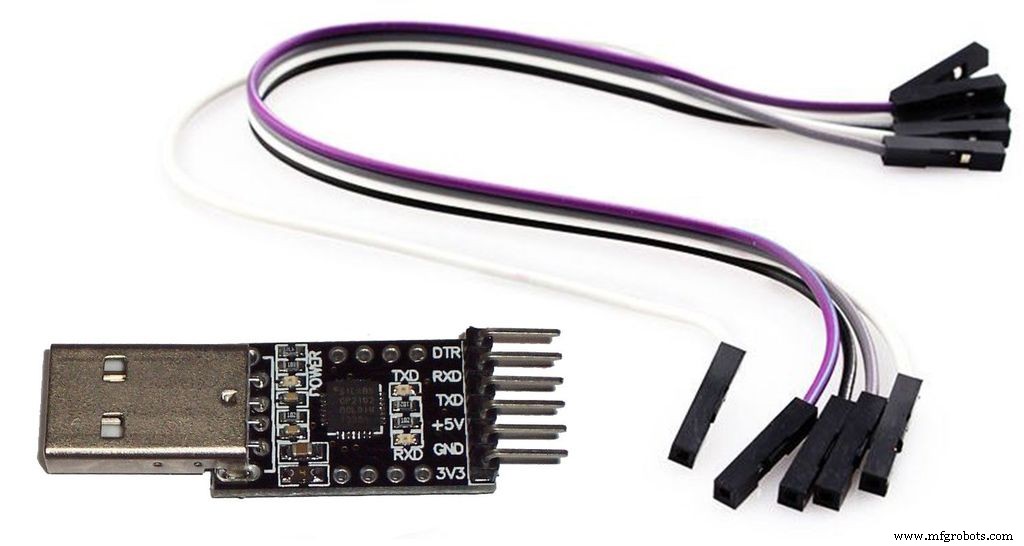
- CP2102 USB 2.0 to TTL UART Serial Converter Module (If you use Aruino 101 or MKRFOX1200 you don't need this)
- Servo(more than 10 kg torque)
- Ziptie
For Step Counter:
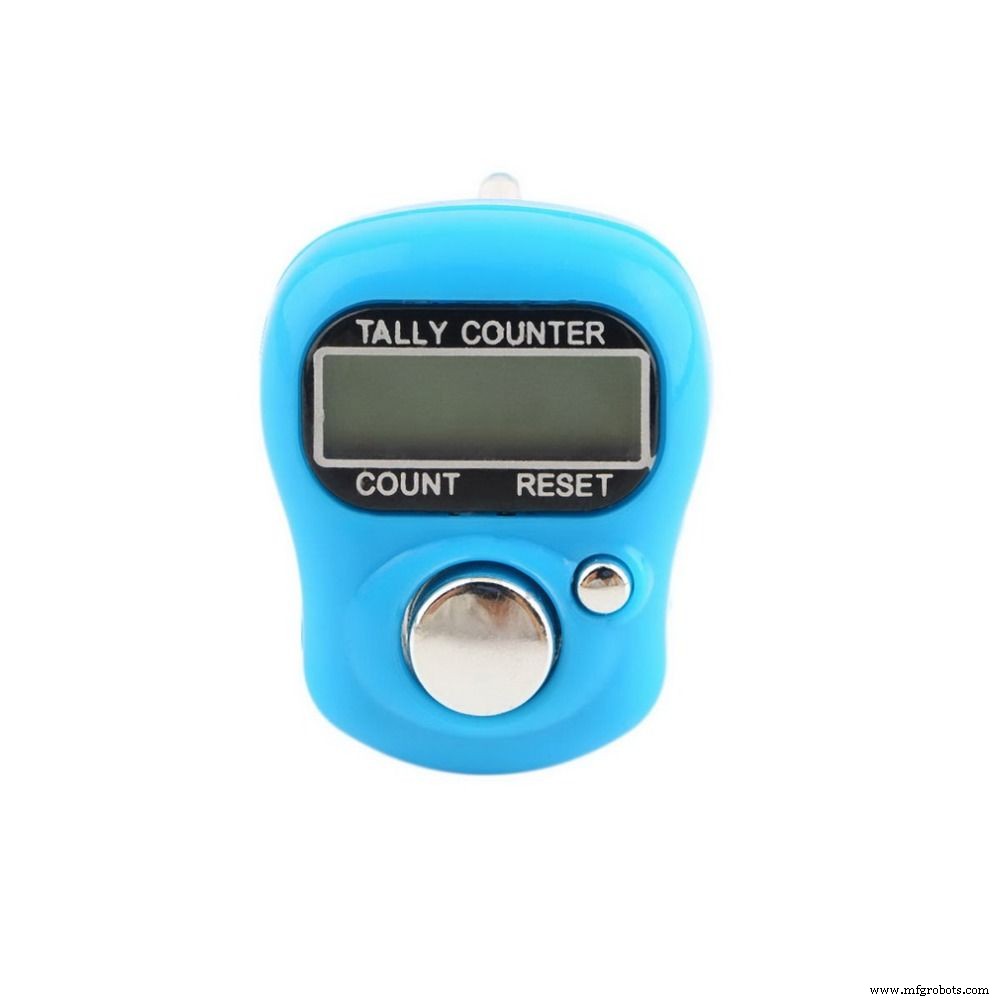
- Counter
- Push Button
- Wire
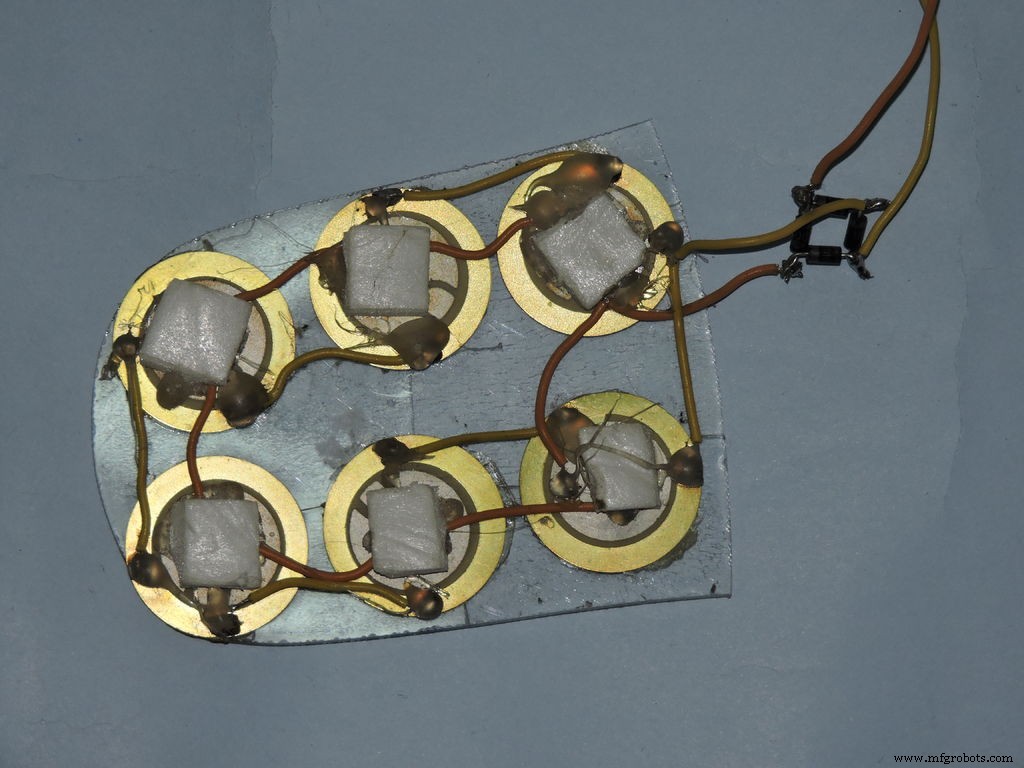
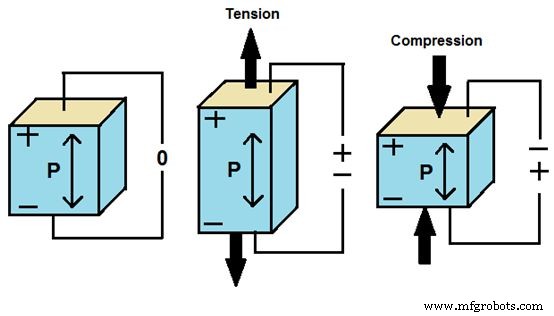
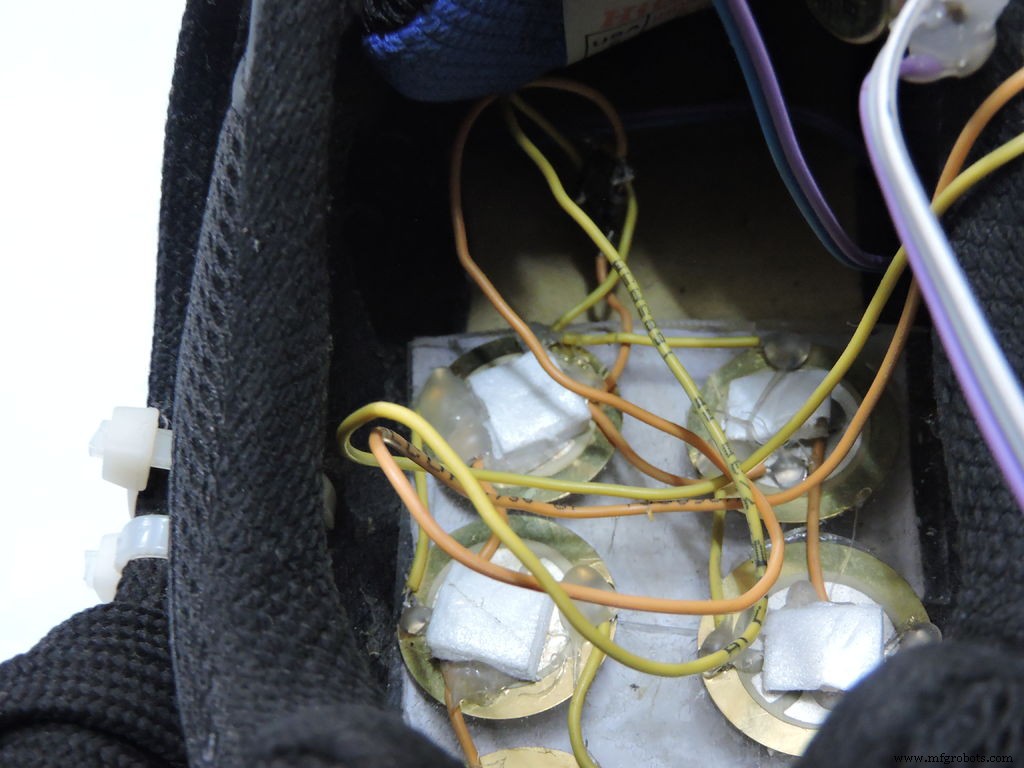
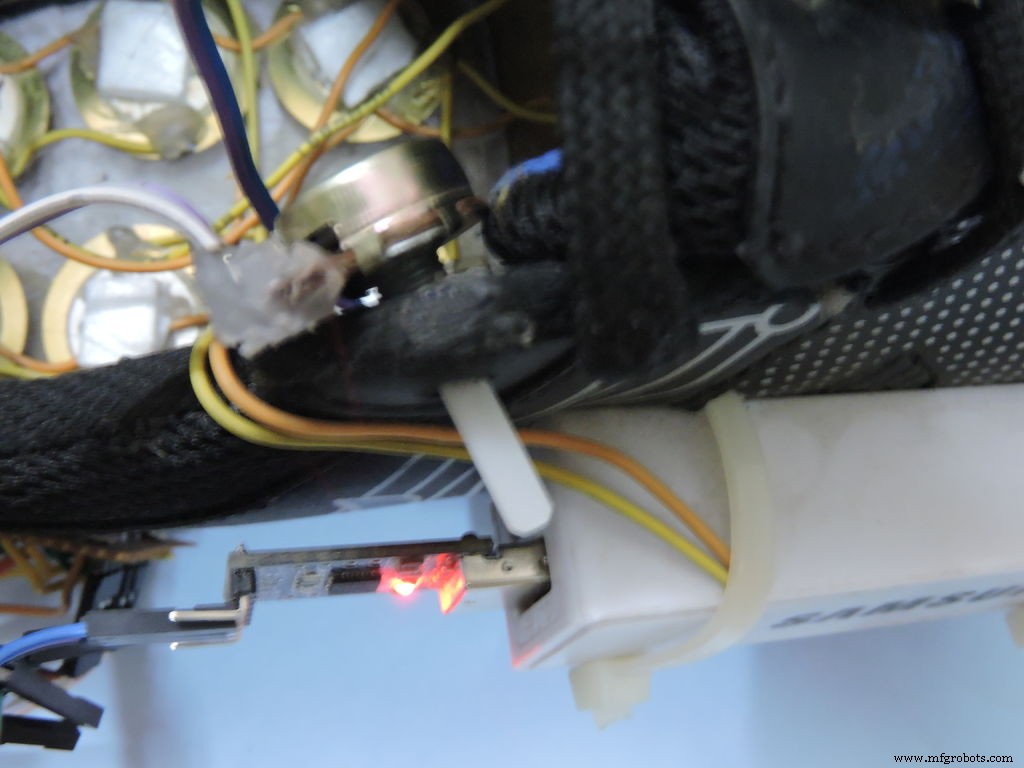
I made a acrylic base for Piezo to stick on it and make sure to drill holes below every Piezo else it won't generate electricity because Piezo need tension and compression to generate electricity. And place piece of foam or some same type of material.
Connect all Piezo elements together in parallel.
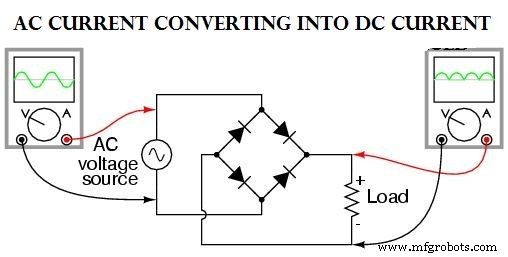
Rectifier is converting AC current into DC current.
Step 3: Auto Lacing
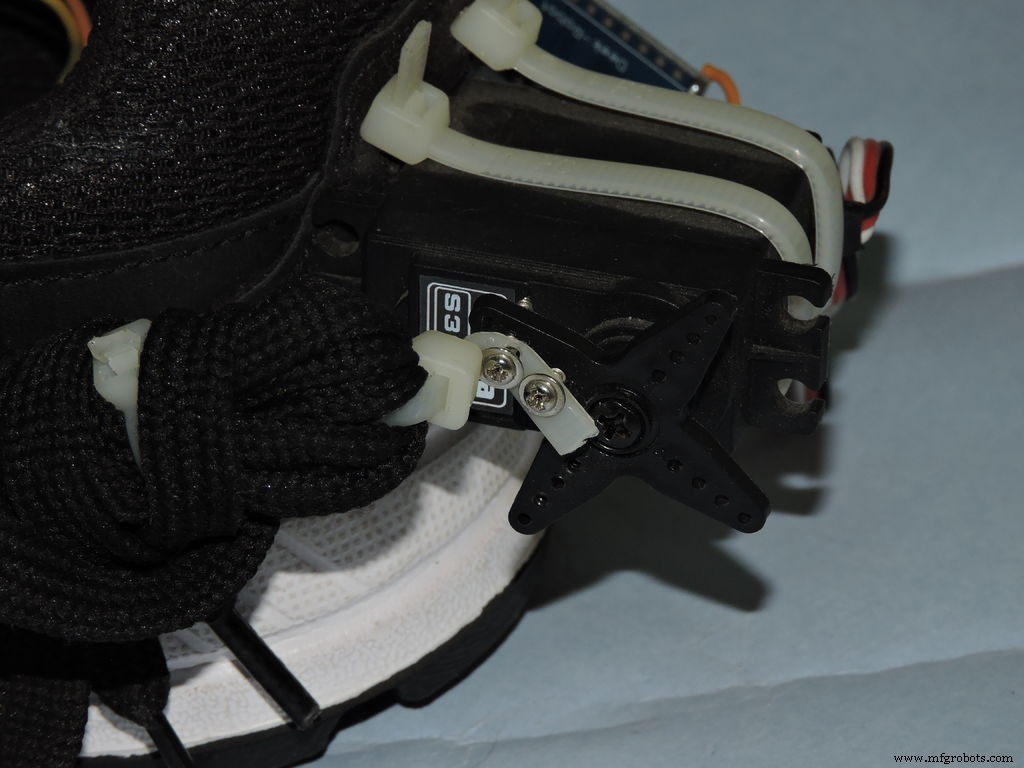
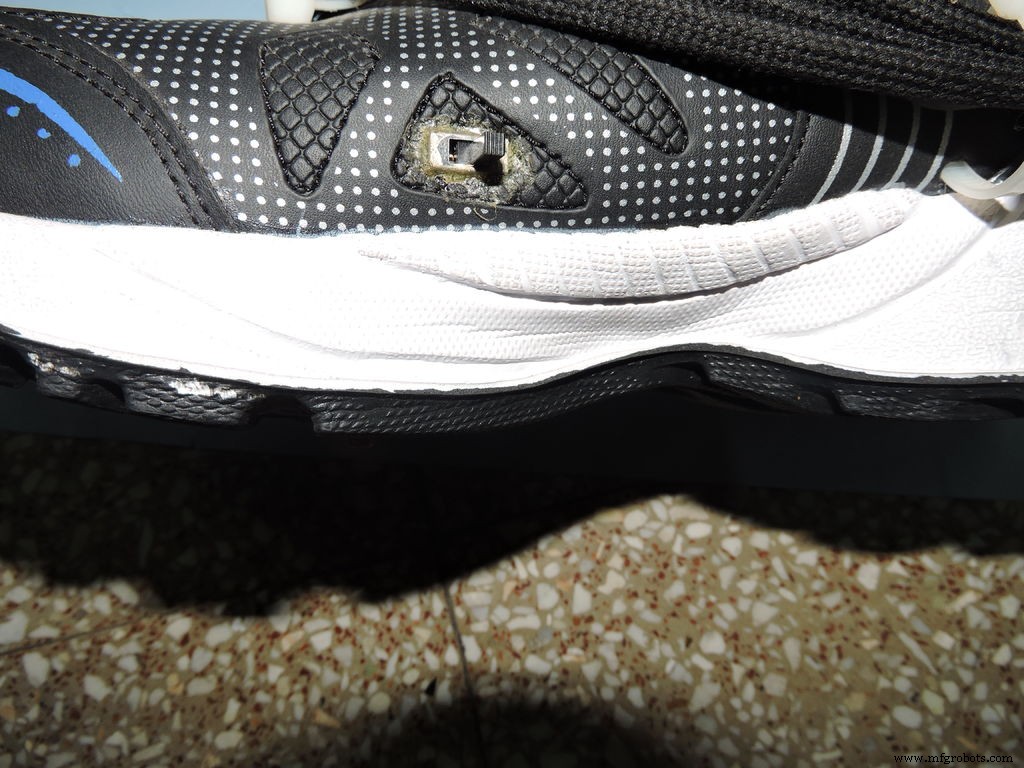
Used drill machine or dremel to make holes in the shoe. And zip ties to direct the laces towards the servo.
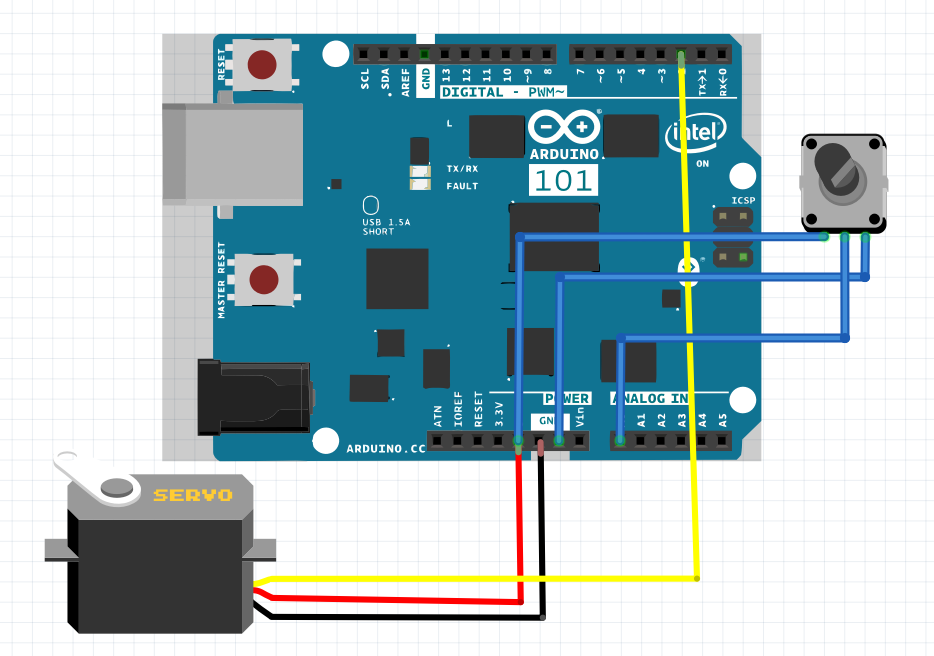
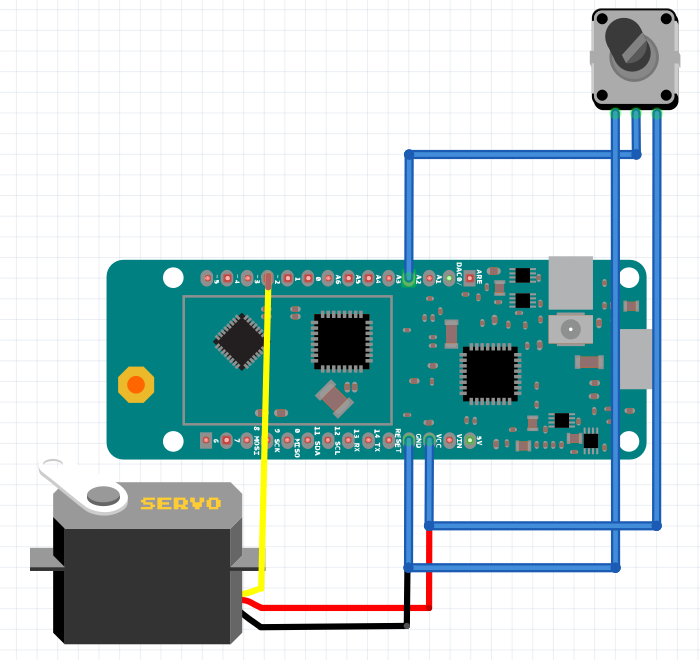
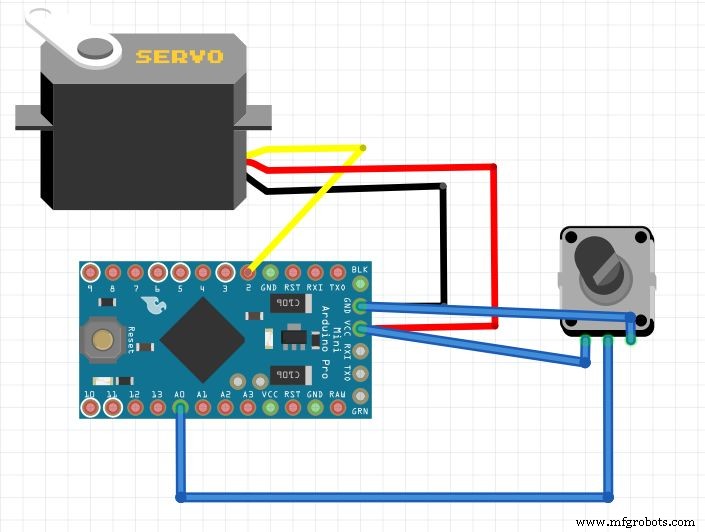
You can use different things to direct the laces but I couldn't find anything then the zip tie. I used servo knob code you can also use different code to control servo. You need to know the basics to code Arduino Pro Mini or Arduino 101 or Google it which one you use. (I was not able to afford Arduino 101 so i made my project with pro mini but it will work with both)
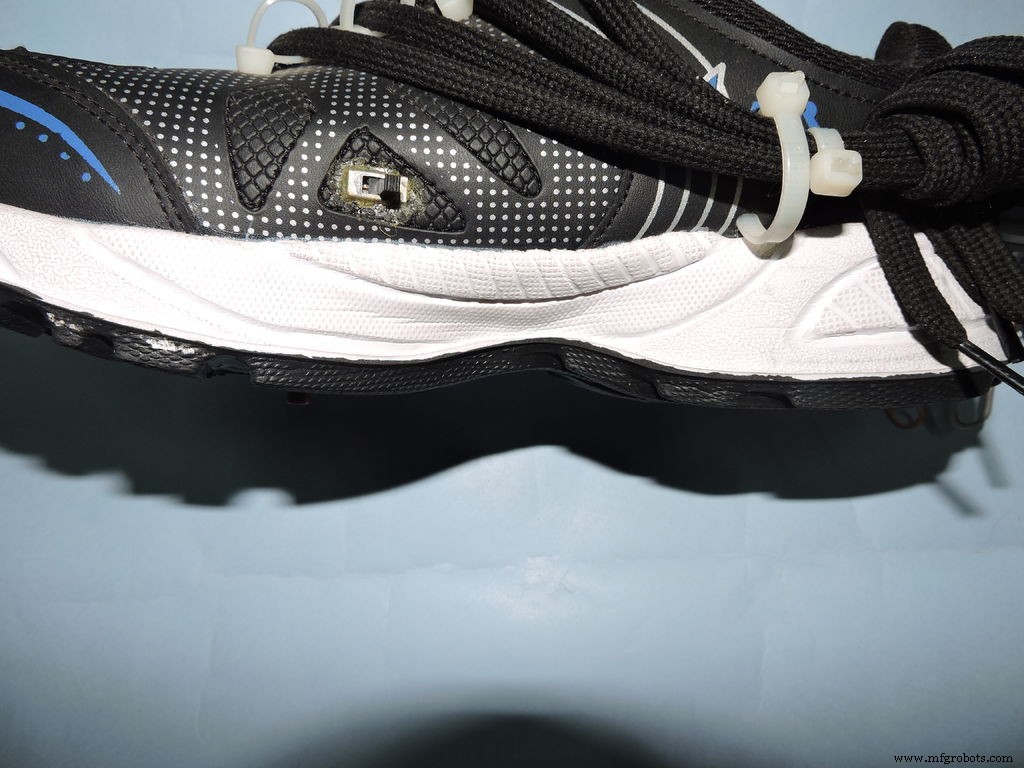
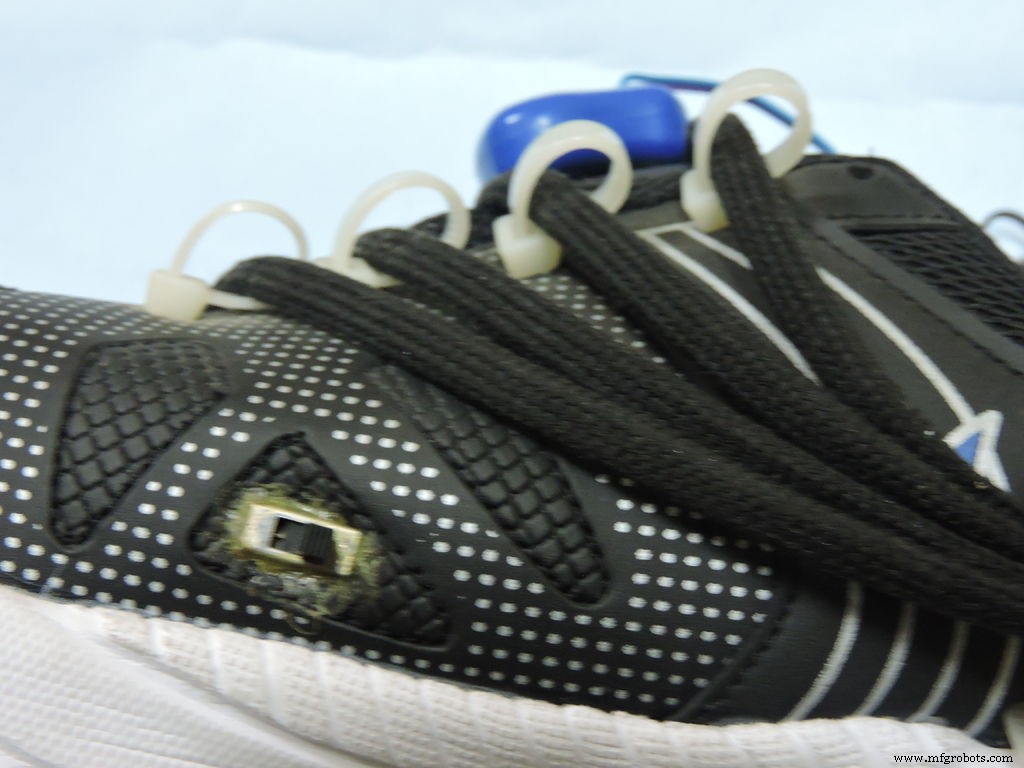
CodeFYQPAKLIW6PQ6C4.txtStep 4: Step Counting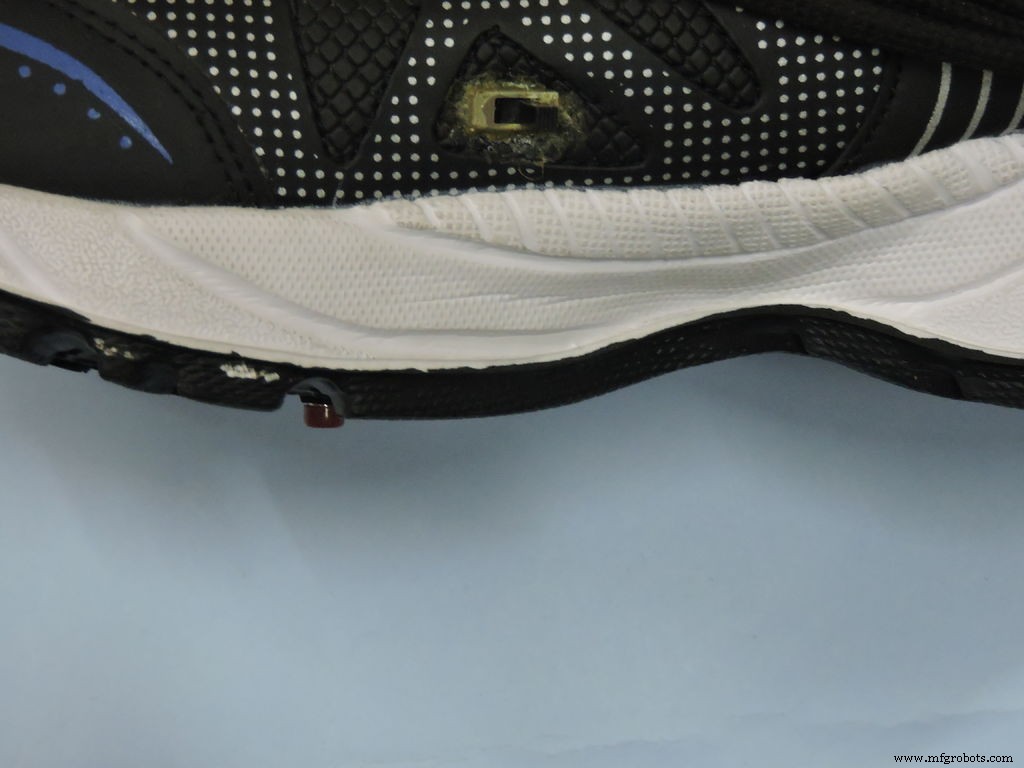
I used the tally counter to count steps.When you open this type of tally counter you can attach two wire to the count button's two terminal and attach a push button (But this was only by one shoe). So you will require this app I made to enter the number on counter and your weight .And the app will count average cal burned ,distance (in km) and obviously the steps.
And I didn't take picture while I was making this project because I didn't knew about tutorials.
F94YI9GIW6PNCKA.apkStep 5: Adding Some Led's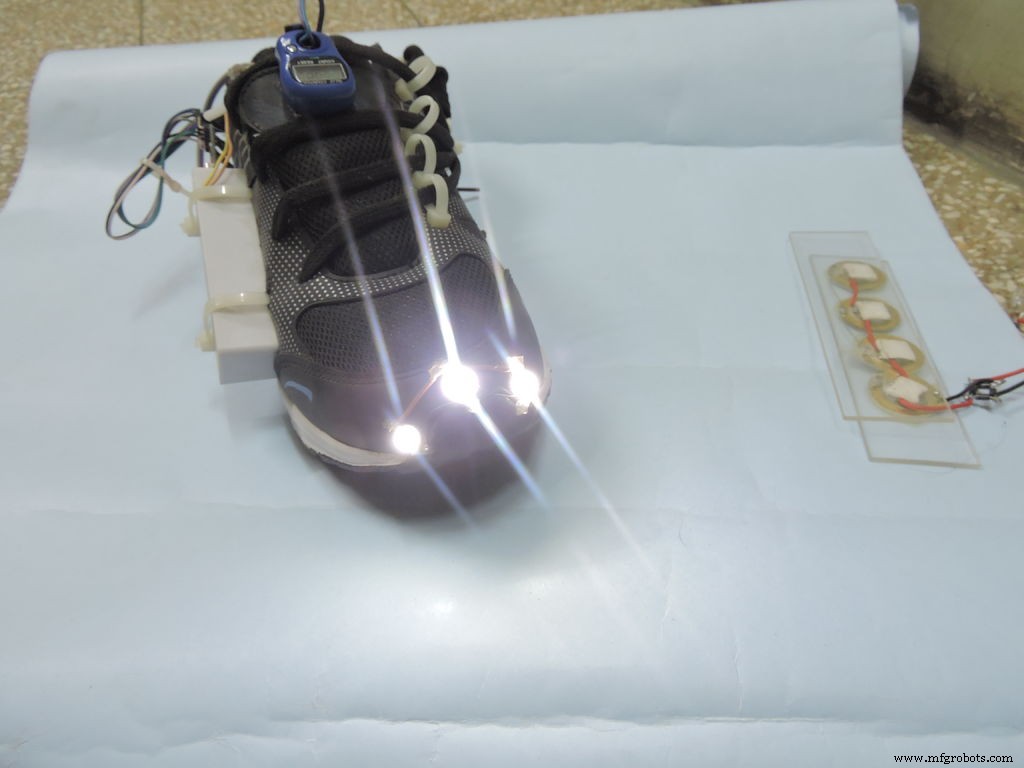
Here I added 3 led's in parallel with a switch and used the power bank to power it.
Pro's of smart shoes:- It generates electricity so we can charge our phones.And that's very helpful while we go for trekking.
- Auto lacing helps children who don't know how to lace and old people who have back problem.
- Step counting helps runners and joggers.And people who are on diet too because the app shows cal burned.
- And the light will be helpful to see in dark.
And you can always ask questions in comment section. And if you like the project please Like. Thank you!
Step 6: Here Is a Full Working Video!If you are not able to see videos on mobile application click here: Link
I want to make a better version but I cant afford doing more projects so if anyone want to help please contact me. Thanks!
Code
- Code to upload on pro mini or arduino 101
Code to upload on pro mini or arduino 101 Arduino
Basically it works on any Arduino#include <Servo.h>
Servo myservo; // create servo object to control a servo
int potpin = 0; // analog pin used to connect the potentiometer
int val; // variable to read the value from the analog pin
void setup() {
myservo.attach(2); // attaches the servo on pin 2 to the servo object
}
void loop() {
val = analogRead(potpin); // reads the value of the potentiometer (value between 0 and 1023)
val = map(val, 0, 1023, 0, 180); // scale it to use it with the servo (value between 0 and 180)
myservo.write(val); // sets the servo position according to the scaled value
delay(15); // waits for the servo to get there
}
Schematics

Manufacturing process
- Real-Time Distance Measurement with Arduino Sonar & Processing Visualization
- Seamless LED Brightness Control Using Bolt IoT and Arduino UNO
- Build a Smart Arduino‑Controlled Robotic Arm: Easy DIY Tutorial
- Arduino Yun‑Based Smart Air Purifier System with Sharp Plasmacluster
- Arduino‑Powered Smart Coffee Maker with Bluetooth Control and Temperature Monitoring
- Create an Animated Smart LED Strip Controlled by Alexa Using Arduino
- Smart AC Lighting with Arduino UNO and Relay – Automatic Control
- Arduino-Based Pressure Sensor & Data Logger for Accurate Air Pressure Monitoring
- Bluetooth-Enabled Smart Thermostat & Lighting Control System
- Building an IoT Device with ESP8266‑01 and Arduino Nano: A Complete Guide