


DIY Frequency Meter – Measure Up to 6.5 MHz with Arduino Nano
Components and supplies
 |
| × | 1 | |||
 |
| × | 1 | |||
 |
| × | 1 | |||
 |
| × | 1 | |||
 |
| × | 1 | |||
| × | 1 |
Necessary tools and machines
 |
|
Apps and online services
 |
|
About this project
The device presented in the video is a frequency meter made using an Arduino Nano microcontroller. It can measure the frequency of signals with rectangular, sinusoidal and triangular shapes.
Its measurement range is from a few hertz to 6.5 Megahertz. Three measurement time intervals are also available - 0.1, 1 and 10 seconds. If we measure only rectangular signals, then there is no need for a shaping amplifier and the signal is fed directly to the digital pin 5 from Arduino.
The code is very simple thanks to the "FreqCount" library which you can also download below.
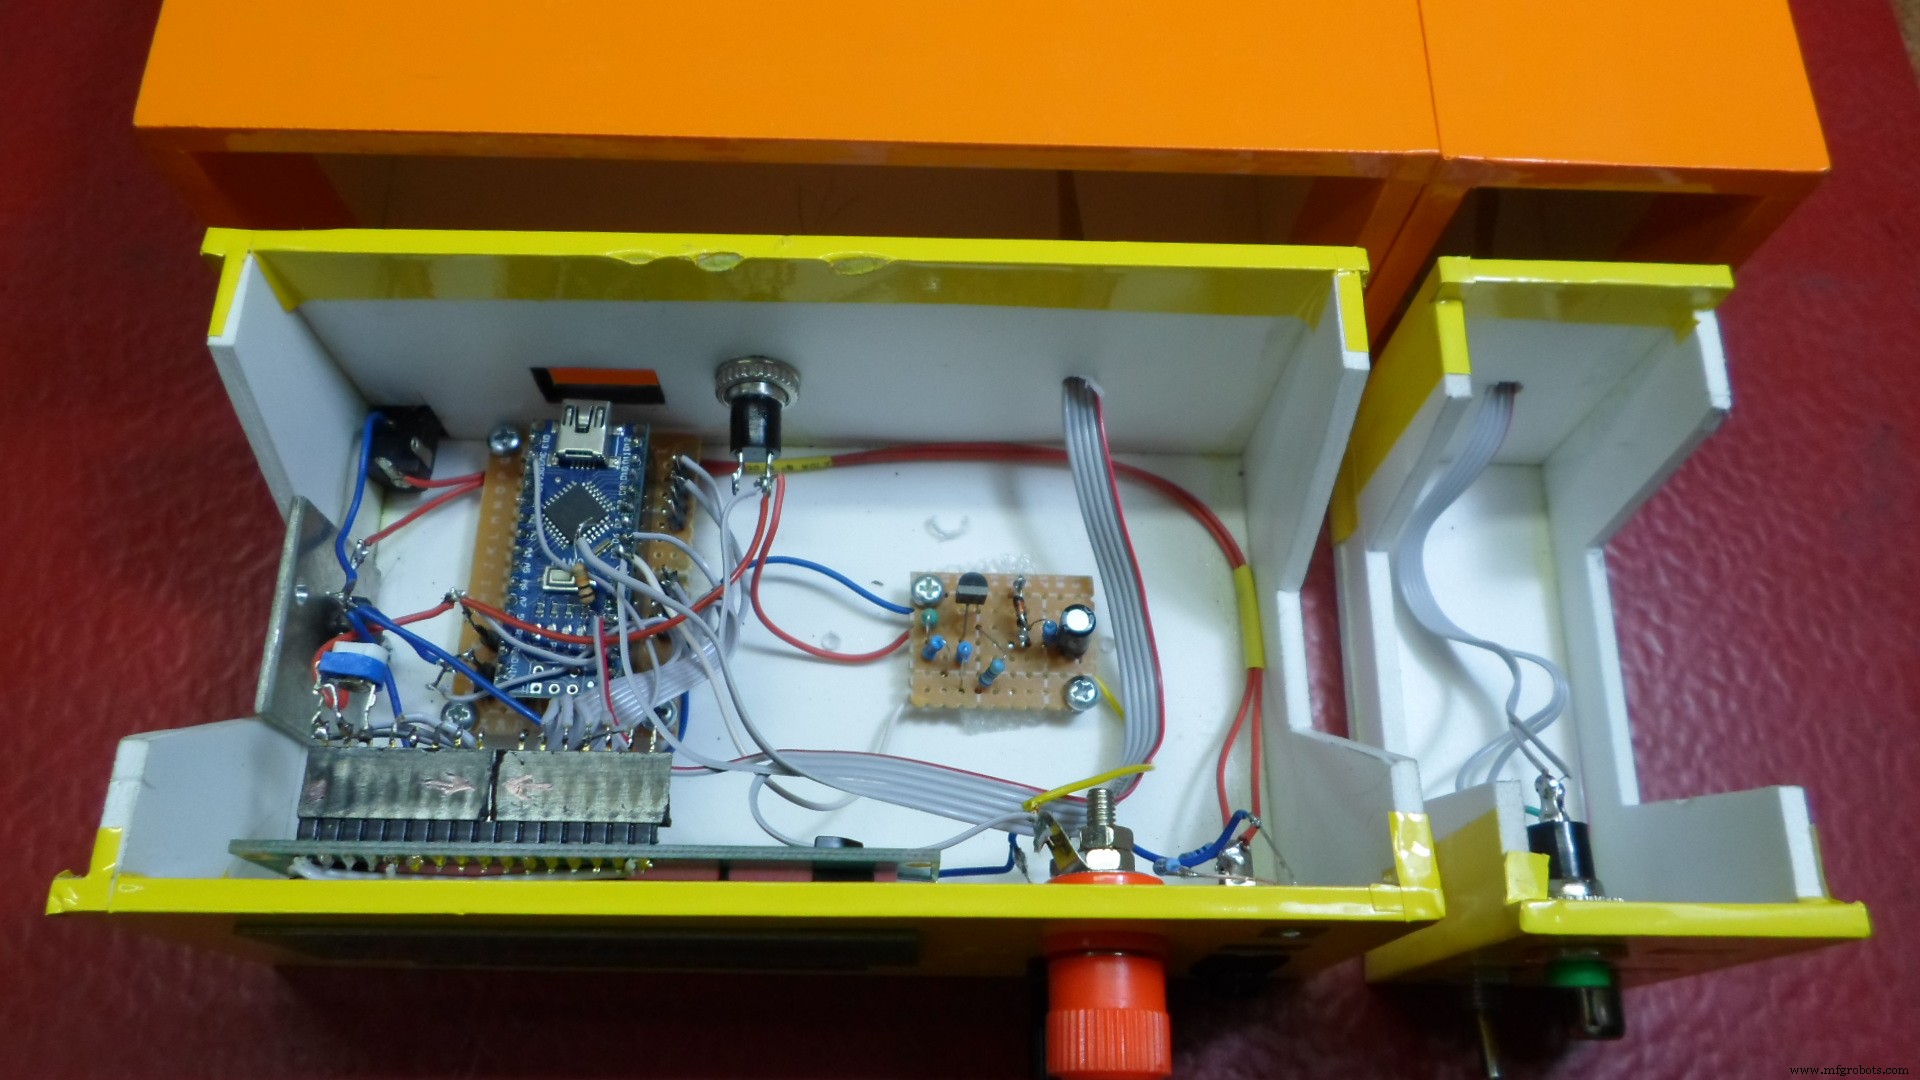
The device is very simple and consists of several components:
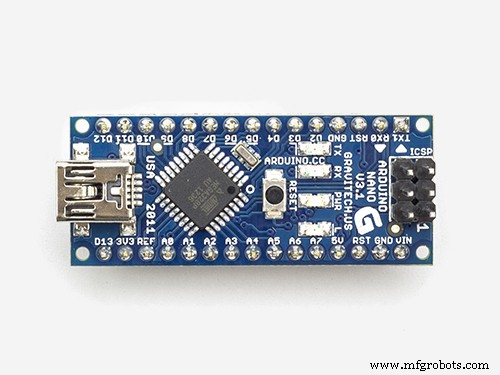
- Arduino Nano microcontroller
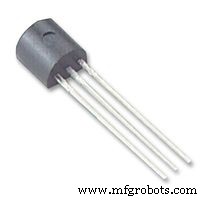
- Shaping amplifier board
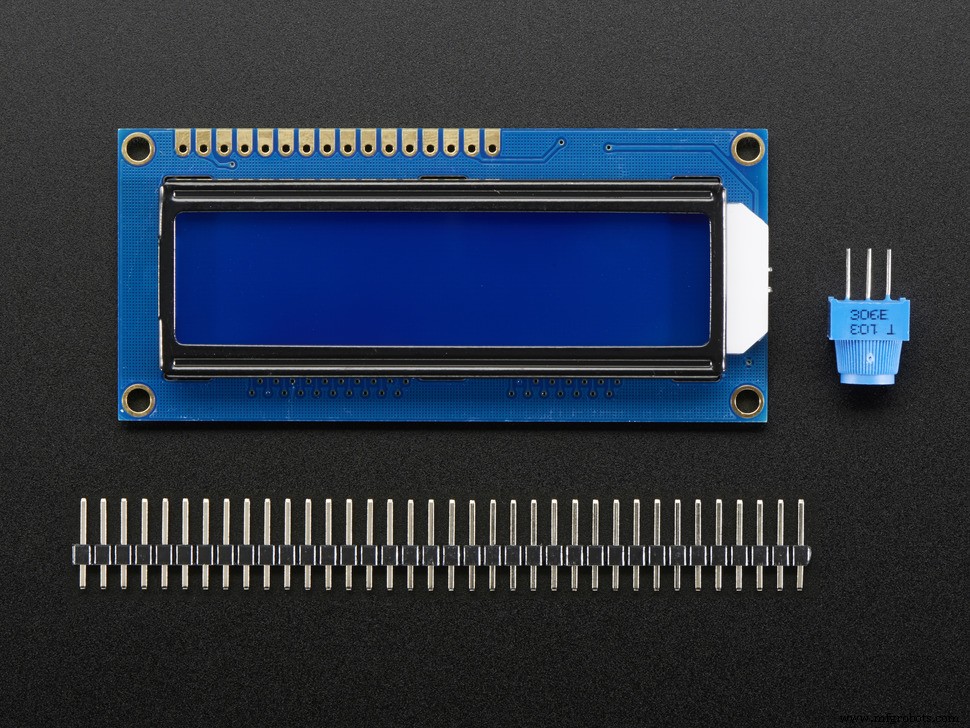
- LCD display
- Input signal shape selector
- Input JACK
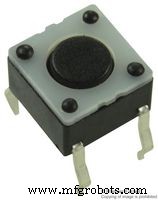
- and Time interval switch : we can choose three intervals 0.1 -1 -and 10 seconds.
As you can see in the video, the instrument is very precise in the whole range, and we can also calibrate the frequency meter with the simple procedure described below:
In the Arduino libraries folder find the FreqCount library,
in the FreqCount.cpp file find the lines:
#if defined (TIMER_USE_TIMER2) && F_CPU == 12000000L
float correct = count_output * 0.996155;
and replace them with:
#if defined (TIMER_USE_TIMER2) && F_CPU == 16000000L
float correct = count_output * 1.000000;
where 1.000000 is your correction factor, the
correction must be carried out by applying 1 MHz to the input of the frequency meter.
After changing the file, upload a new sketch to the Arduino board.
Finally, the frequency meter is built into a suitable plastic box and is another useful instrument in the electronic laboratory.
Code
- Code
- FreqCount-master
CodeC/C++
#include <FreqCount.h>//https://github.com/PaulStoffregen/FreqCount/archive/master.zip
#include <LiquidCrystal.h>

LiquidCrystal lcd(12, 11, 6, 4, 3, 2);// RS,E,D4,D5,D6,D7
void setup() {
  lcd.begin(16, 2);// LCD 16X2
  pinMode(7,INPUT);
  FreqCount.begin(1000);
}
unsigned long f;float f0;
int x,n=3,r;

void loop() {

  if(digitalRead(7)==HIGH){n++;x=0;delay(100);}
    lcd.setCursor(0,1);
  if(n==1){x++;if(x==1){FreqCount.begin(100);}r=-1;lcd.print("T = 0.1 s ");}
  if(n==2){x++;if(x==1){FreqCount.begin(10000);}r=1;lcd.print("T = 10 s ");}
  if(n==3){x++;if(x==1){FreqCount.begin(1000);}r=0;lcd.print("T = 1 s  ");}
  if(n>3){n=1;}
    lcd.setCursor(0,0);
    lcd.print("F = ");
  if(f>=1000000 && n==3){f0=f/1000000.0;lcd.print(f0,6+r);lcd.print(" MHz");}
  if(f<1000000 && n==3){f0=f/1000.0;lcd.print(f0,3+r);lcd.print(" kHz");}
  if(f>=100000 && n==1){f0=f/100000.0;lcd.print(f0,6+r);lcd.print(" MHz");}
  if(f<100000 && n==1){f0=f/100.0;lcd.print(f0,3+r);lcd.print(" kHz");}
  if(f>=10000000 && n==2){f0=f/10000000.0;lcd.print(f0,6+r);lcd.print("MHz");}
  if(f<10000000 && n==2){f0=f/10000.0;lcd.print(f0,3+r);lcd.print(" kHz");}

  if (FreqCount.available()) {

    f = FreqCount.read();

   lcd.setCursor(10,1);lcd.print("***");
  }
   delay(200);
   lcd.clear();
}
FreqCount-masterC/C++
No preview (download only).
Schematics

Manufacturing process
- Multimeters: From Analog to Digital – A Comprehensive Guide
- Build Your Own 37‑LED Roulette Game with Arduino Nano
- DIY ADXL335 Earthquake Detector – Low‑Power 3‑Axis Accelerometer Project
- Build a Precise DIY Measuring Wheel with Arduino Nano & Rotary Encoder
- DIY Autoranging Capacitance Meter (10 pF–10 µF) – Easy Arduino Build
- Build Your Own Universal CNC Machine – Complete DIY Guide
- Never Ride Alone: Smart Bike Safety System
- DIY 1 MHz Square Wave Generator with Arduino Nano – Easy PWM Circuit
- Build a Sensitive Metal Detector with Arduino Nano – DIY Guide
- Build a DIY Logic Analyzer with Arduino UNO – Step‑by‑Step Guide