


Using a Thermistor Made Easy: Step‑by‑Step Arduino Guide
Components and supplies
| × | 1 | ||||
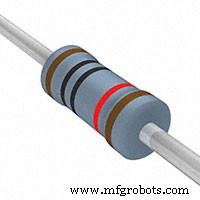 |
| × | 1 | |||
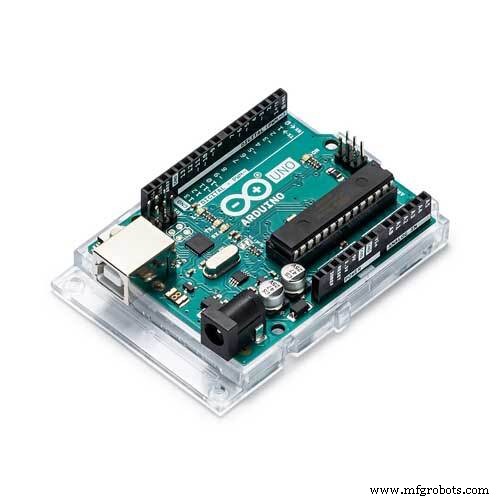 |
| × | 1 | |||
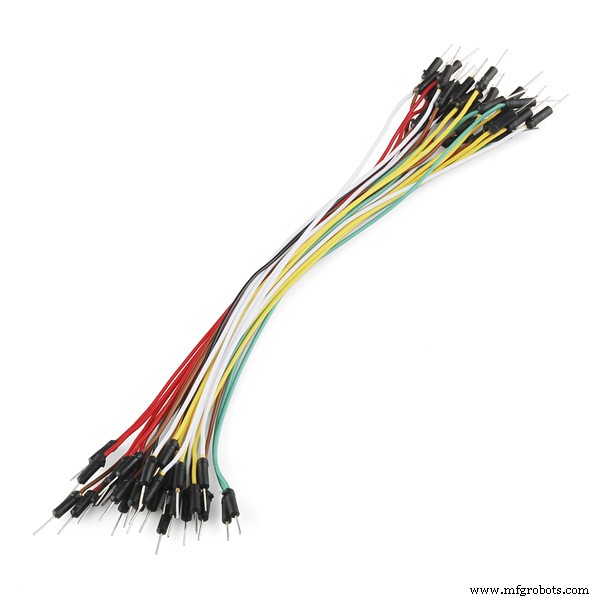 |
| × | 1 | |||
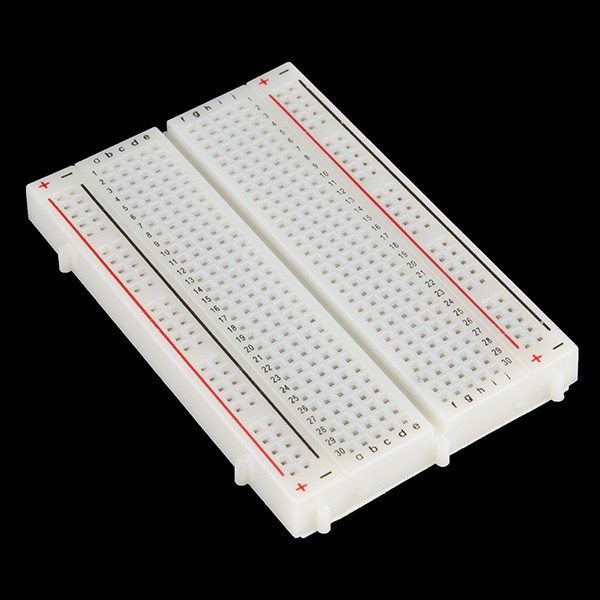 |
| × | 1 |
Apps and online services
 |
| |||
 |
|
About this project
How easy is it to use a thermistor?!In this article I will explain how to use a thermistor. First of all, what is it a Thermistor? A thermistor is a type of resistor whose resistance is dependent on temperature. There are two opposite types of thermistor:
- PTC (Positve Temperature Coefficent), resistance increases as temperature rises
- NTC (Negative Temperature Coefficent), resistance decreases as temperature rises
In this case I use NTC.
A little bit of math.To calculate the thermistor resistance using a simple formula called equation with parameter B (with only NTC termistor).
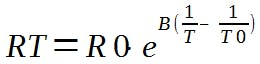
Where:
eis the base of natural logarithm
R0is the resistance of the thermistor measured at the temperature T0
Bis a constant coefficient that depends on the characteristics of the material, it is a constant expressed in K, and its value is indicated by the manufacturers on the technical sheets
To calculate the temperature we need know the resistance RT using the Ohm's laws.

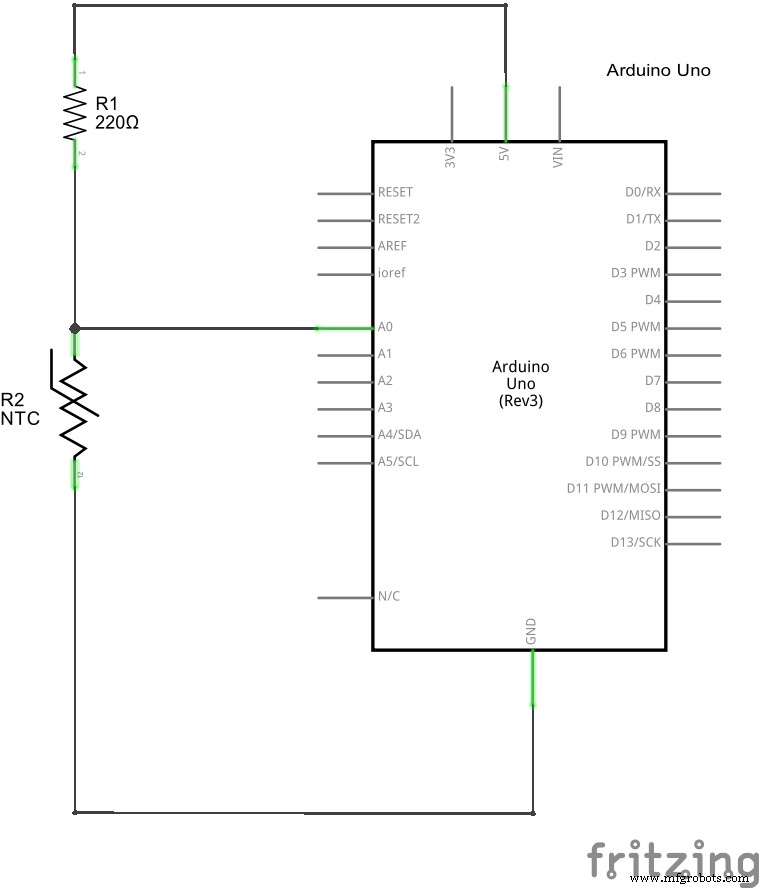
This is a schematic version of circuit.
RT = VRT / (VR/R)
Now we have all the data to calculate the temperature.
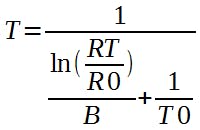
Remember to convert all parameters (for example T0) to Kelvin before the calculations, and also the result is in Kelvin.
This is the result.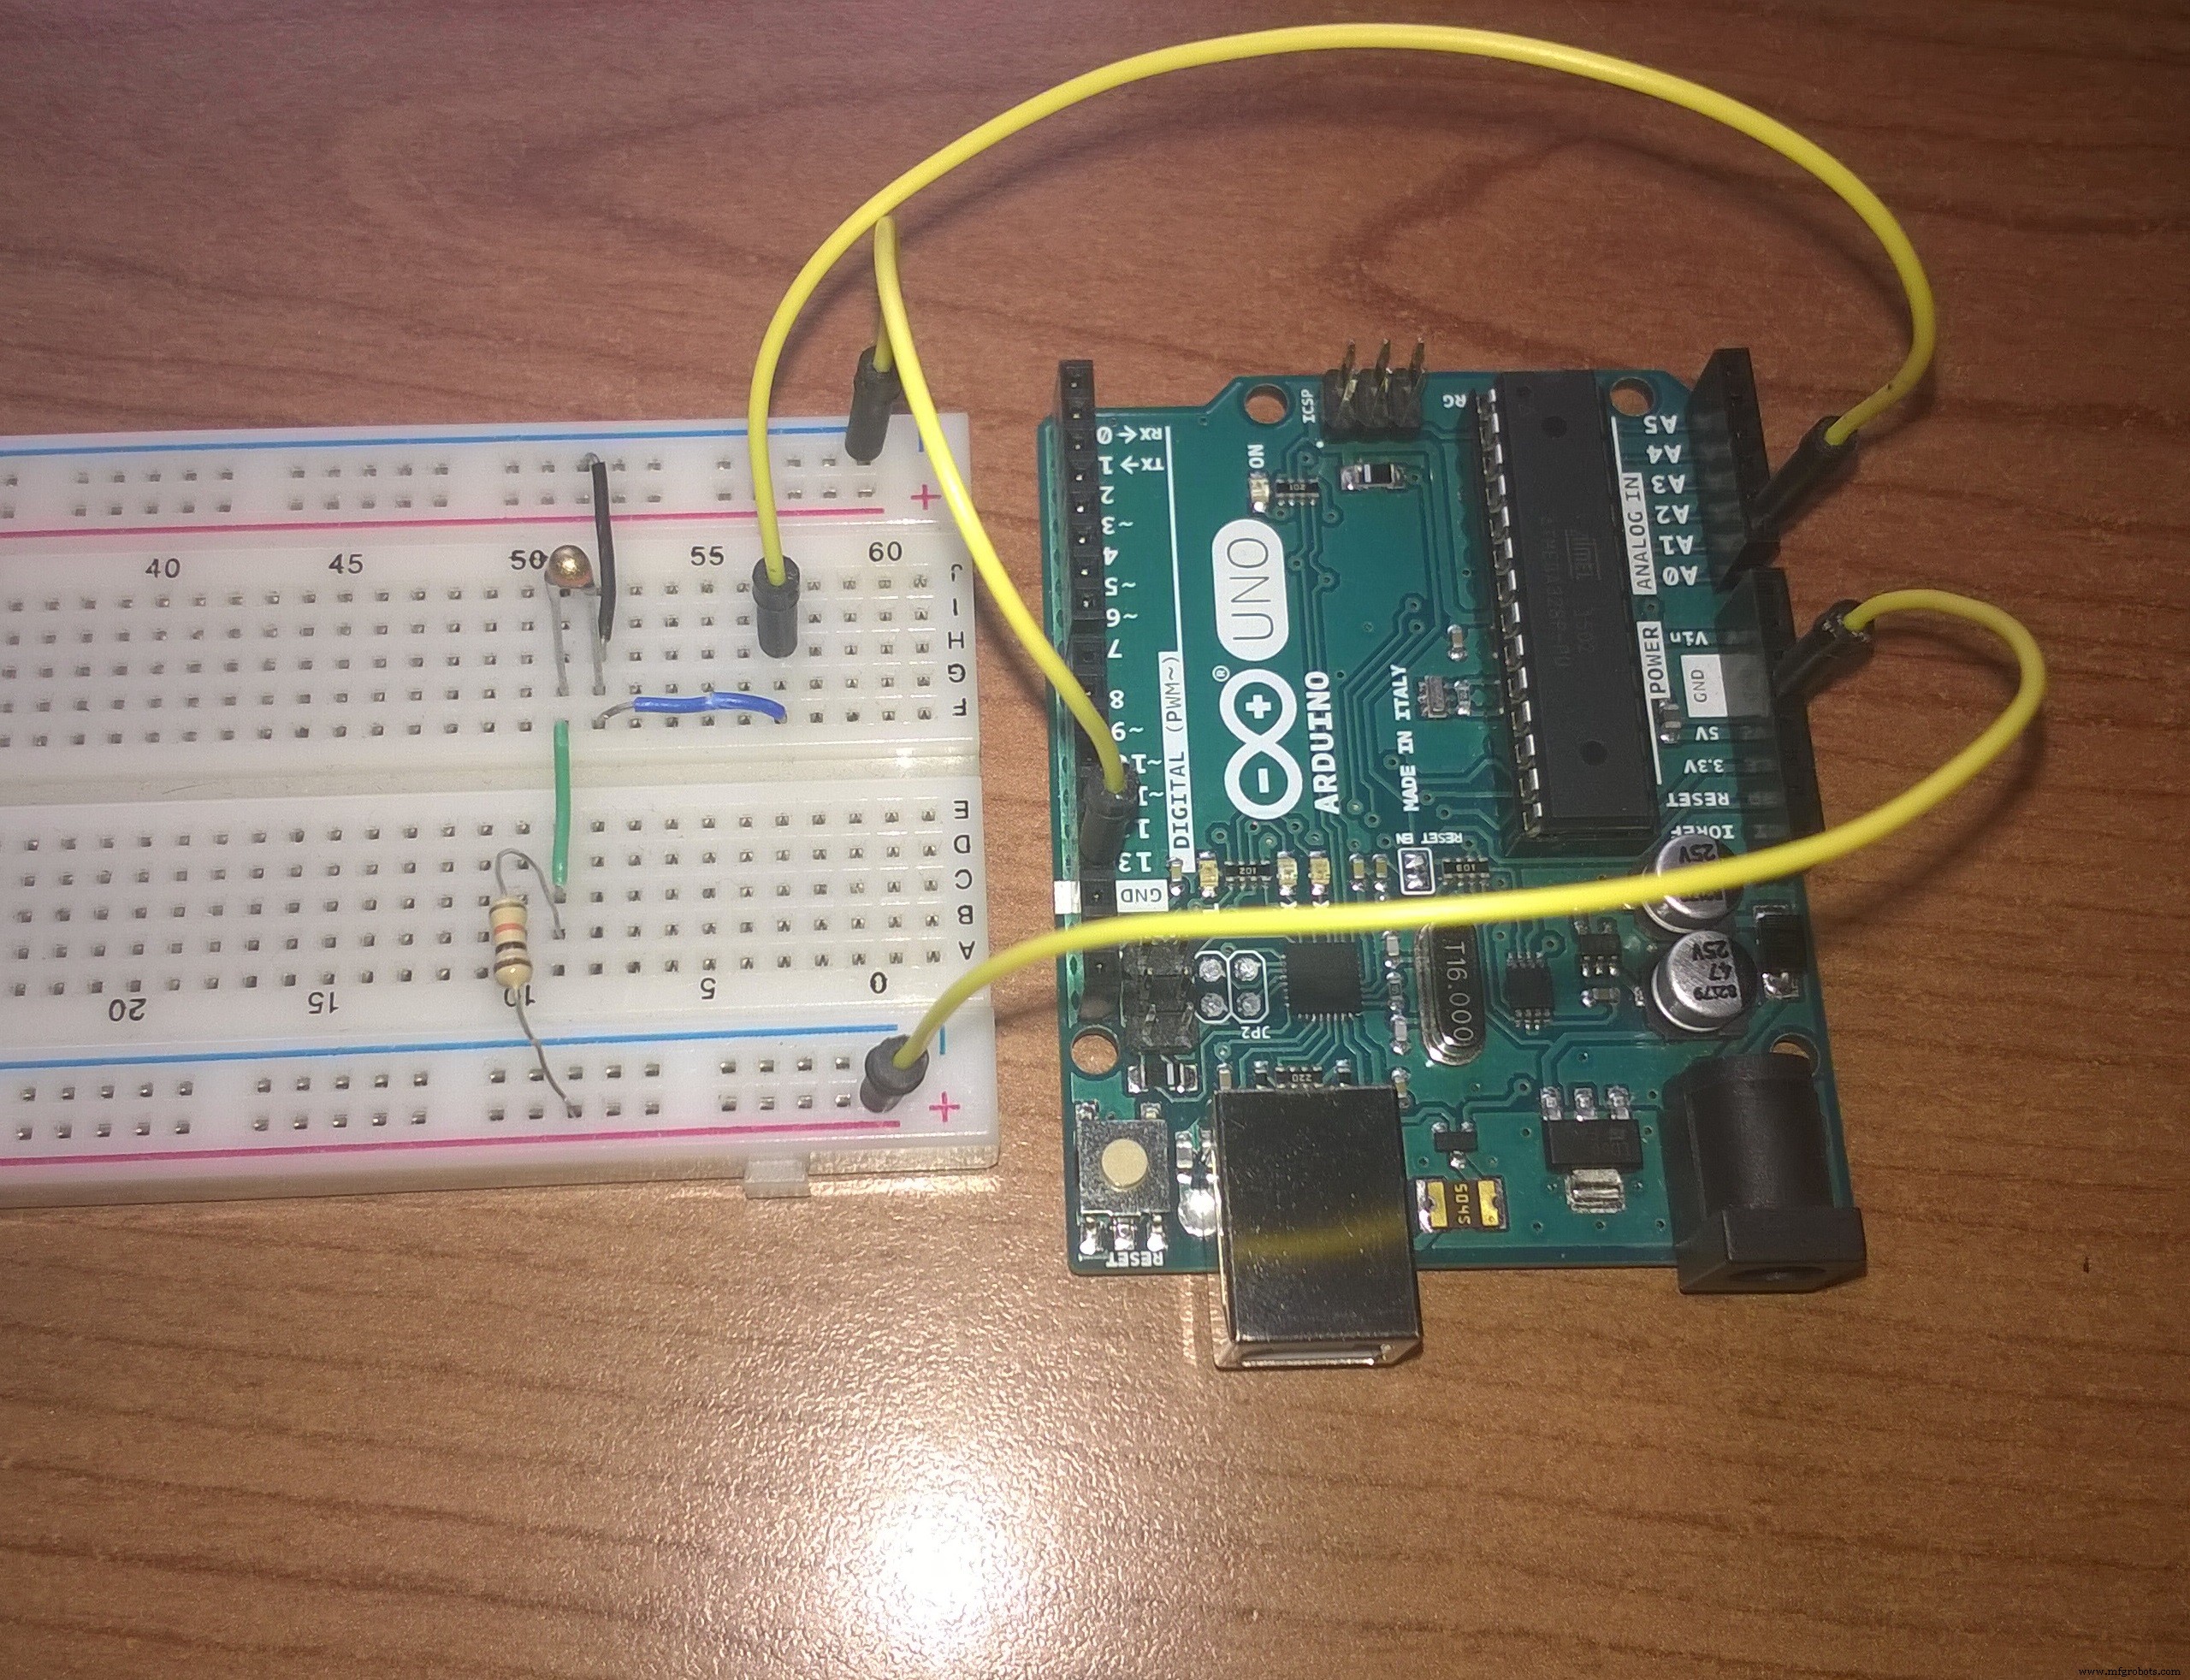
Code
- Thermistor
ThermistorArduino
//Thermometer with thermistor
/*thermistor parameters:
* RT0: 10 000 Ω
* B: 3977 K +- 0.75%
* T0: 25 C
* +- 5%
*/
//These values are in the datasheet
#define RT0 10000 // Ω
#define B 3977 // K
//--------------------------------------
#define VCC 5 //Supply voltage
#define R 10000 //R=10KΩ
//Variables
float RT, VR, ln, TX, T0, VRT;
void setup() {
Serial.begin(9600);
T0 = 25 + 273.15; //Temperature T0 from datasheet, conversion from Celsius to kelvin
}
void loop() {
VRT = analogRead(A0); //Acquisition analog value of VRT
VRT = (5.00 / 1023.00) * VRT; //Conversion to voltage
VR = VCC - VRT;
RT = VRT / (VR / R); //Resistance of RT
ln = log(RT / RT0);
TX = (1 / ((ln / B) + (1 / T0))); //Temperature from thermistor
TX = TX - 273.15; //Conversion to Celsius
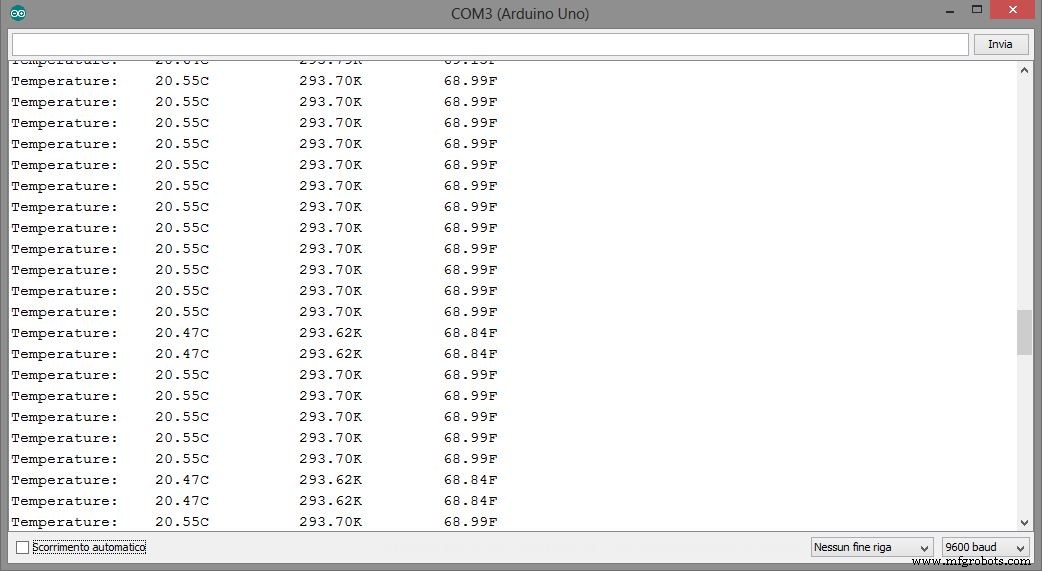
Serial.print("Temperature:");
Serial.print("\t");
Serial.print(TX);
Serial.print("C\t\t");
Serial.print(TX + 273.15); //Conversion to Kelvin
Serial.print("K\t\t");
Serial.print((TX * 1.8) + 32); //Conversion to Fahrenheit
Serial.println("F");
delay(500);
}
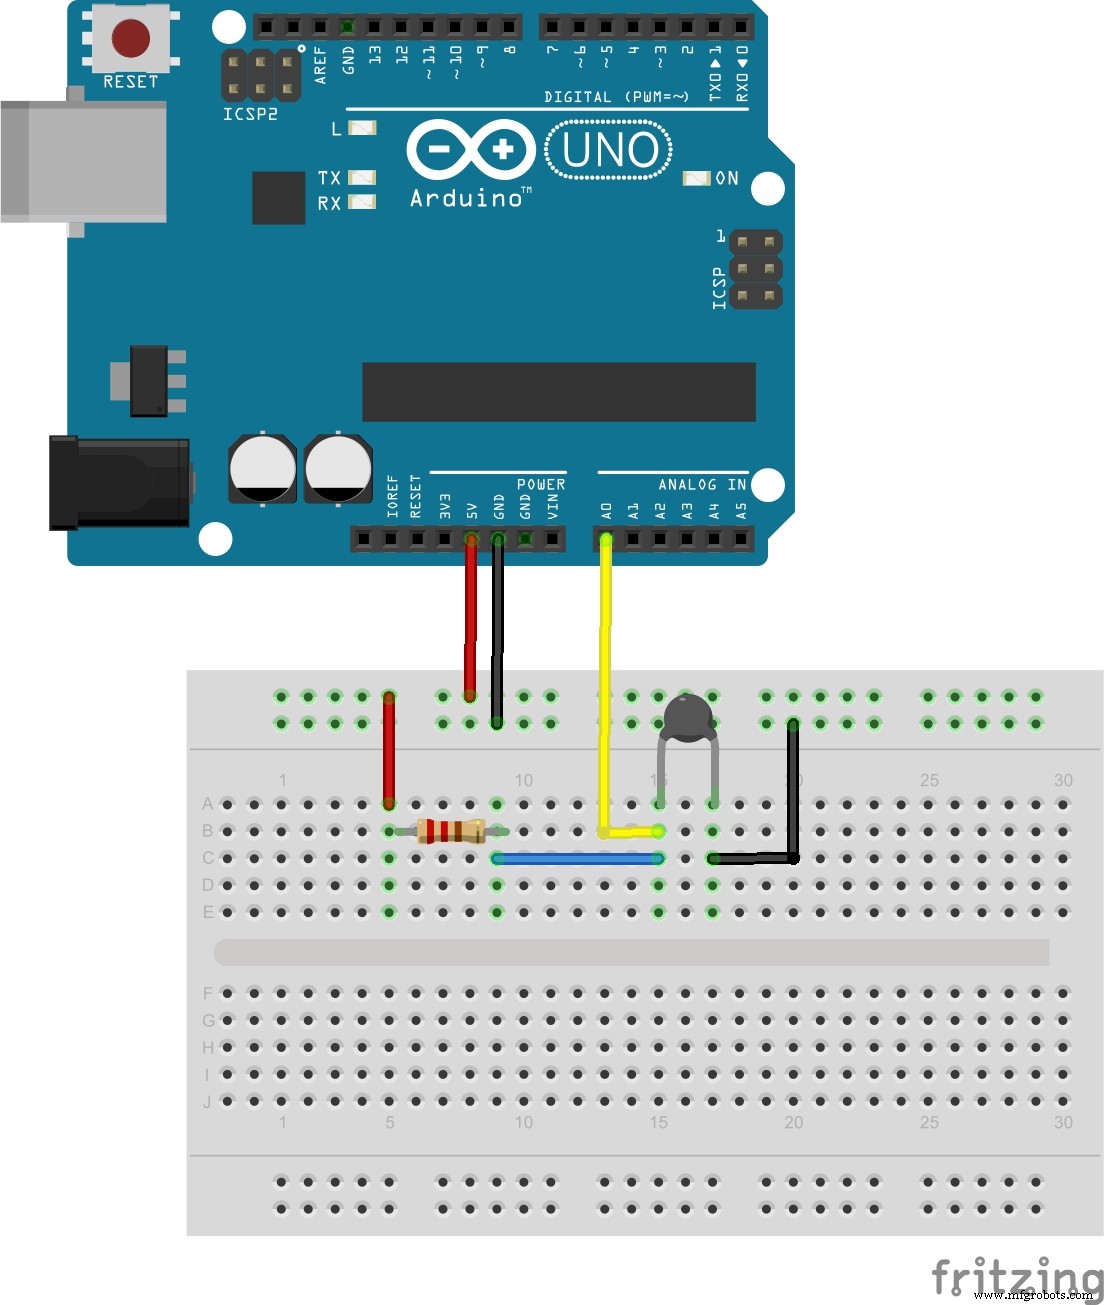
Schematics
Manufacturing process
- Build a Universal IR Remote with Arduino: Step‑by‑Step Guide
- Connecting Arduino to NMEA‑0183: A Step‑by‑Step Guide
- Master Modbus on Arduino: Step‑by‑Step Guide
- Master Rotary Encoders with Arduino: How They Work & Step‑by‑Step Integration
- PIR Motion Sensor: Working Principles & Arduino Integration Guide
- Mastering RGB LEDs with Arduino: A Step-by-Step Tutorial
- Build a Simple Arduino Speaker – Step‑by‑Step Guide
- Master the 28BYJ-48 Stepper Motor: A Complete Arduino Integration Guide
- Arduino SD Card 101: Setup, Connection, and Usage Guide
- Mastering Cutter Grinder Techniques: A Practical Guide