


Build an Arduino Nano-Based Eating Robot – Step-by-Step Guide
Components and supplies
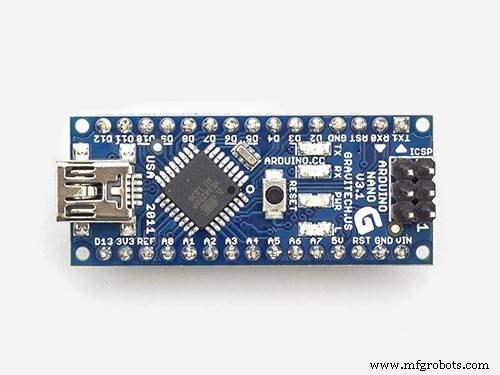 |
| × | 1 | |||
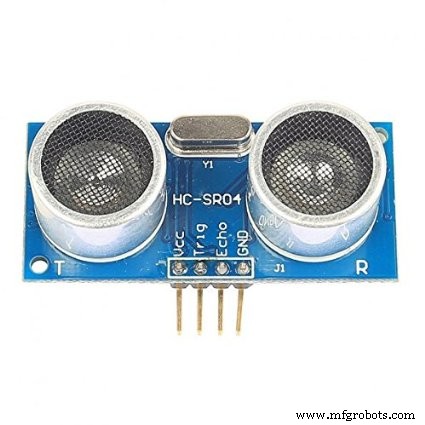 |
| × | 1 | |||
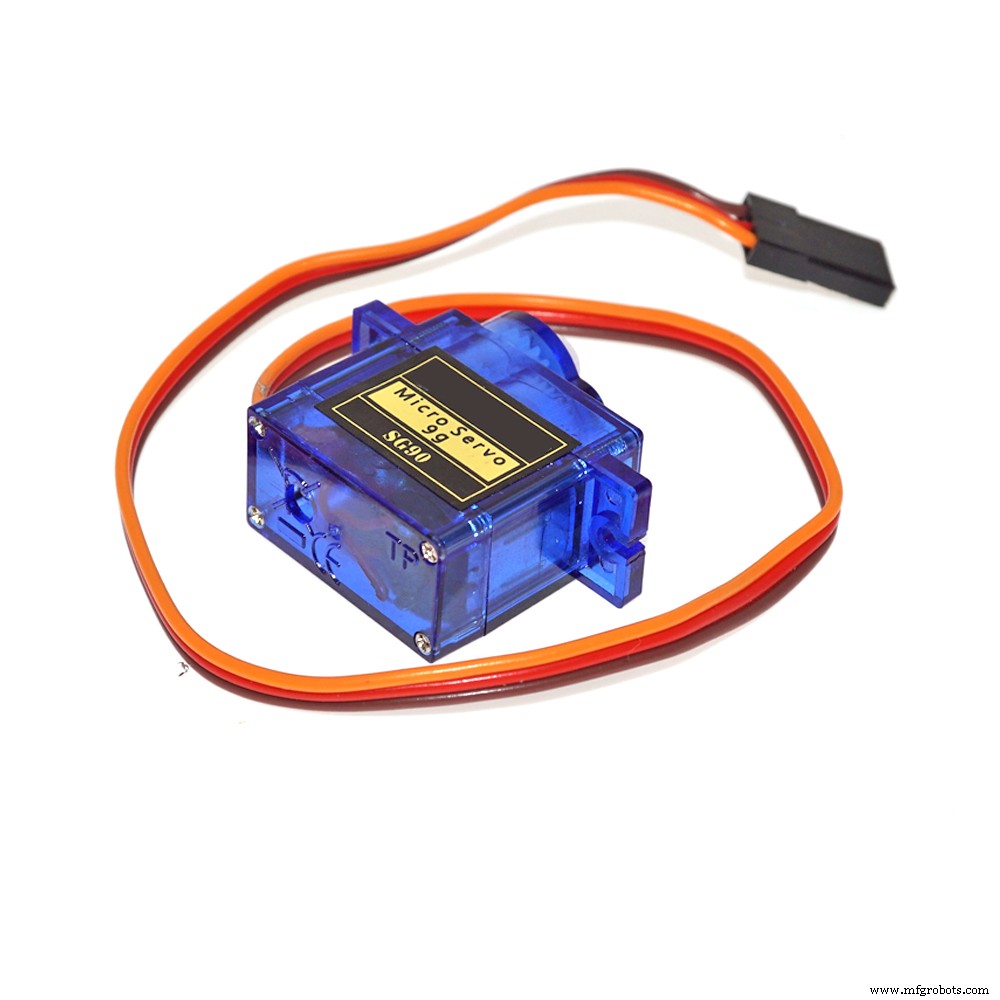
 |
| × | 1 | |||
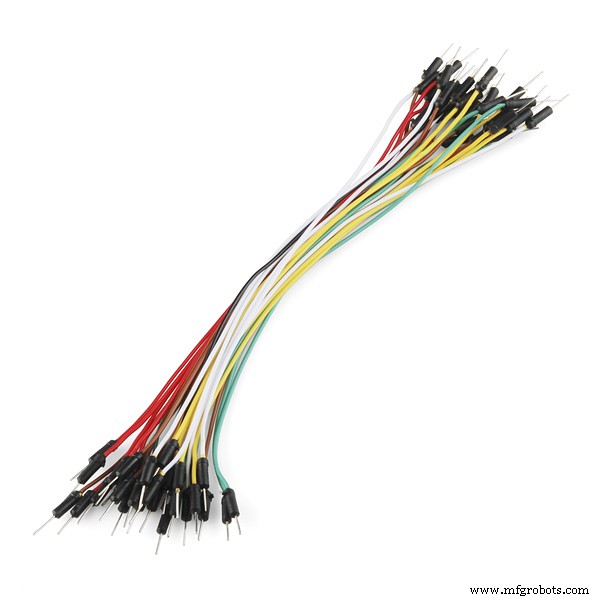
 |
| × | 1 | |||
 |
| × | 1 |
Necessary tools and machines
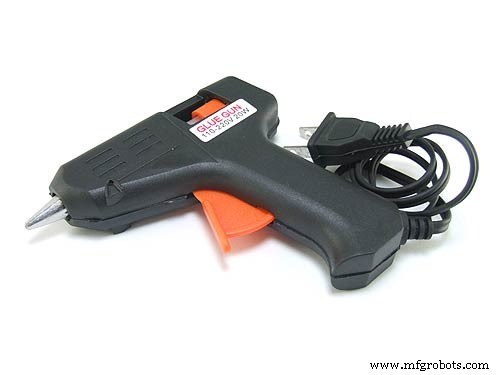 |
|
Apps and online services
 |
| |||
 |
|
About this project
The idea for this project came from my daughter.
She wants a robot, and this robot can open its mouth so that it can put food in its mouth.
So, I searched indoors for things that were available: cardboard, Arduino Nano, ultrasonic sensor, servo motor... to be able to create a robot for girls to play in the fastest time, and at the lowest possible cost.
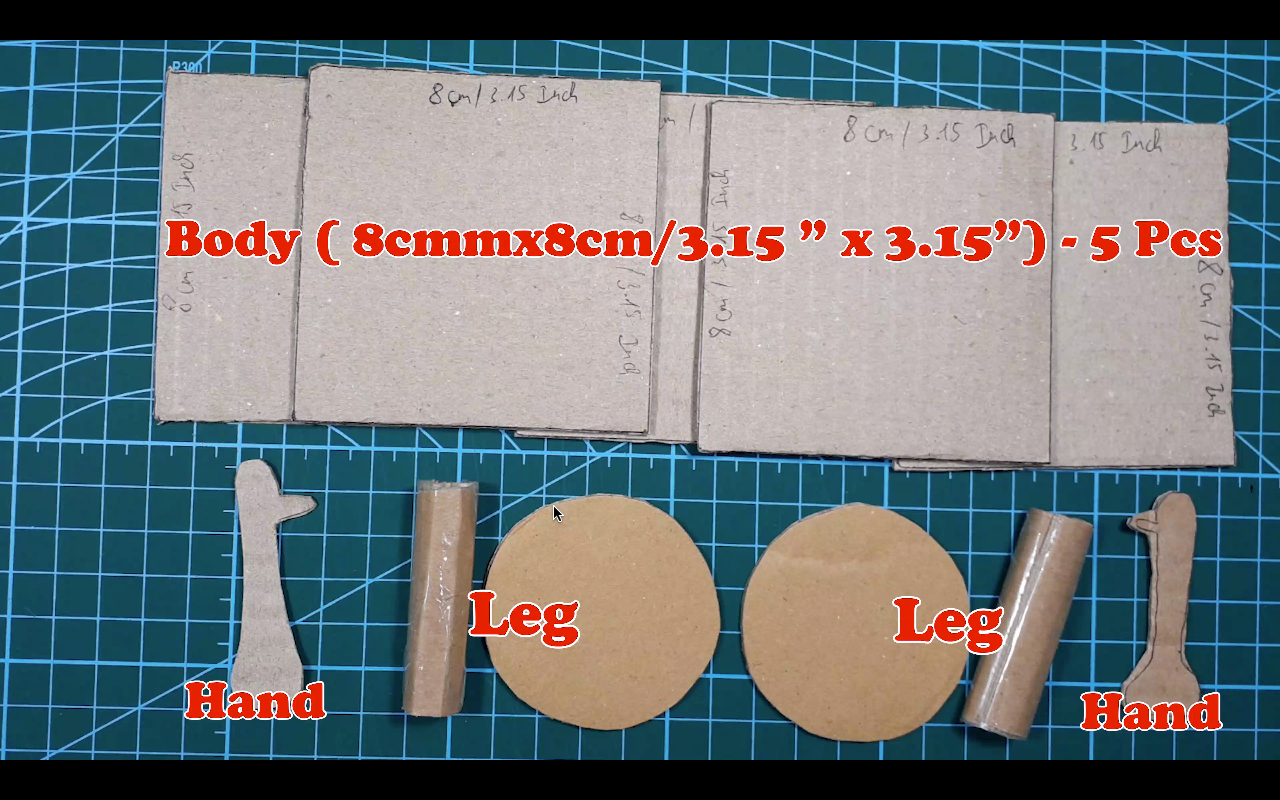
Create BodyI'm using cardboard to make body of robot
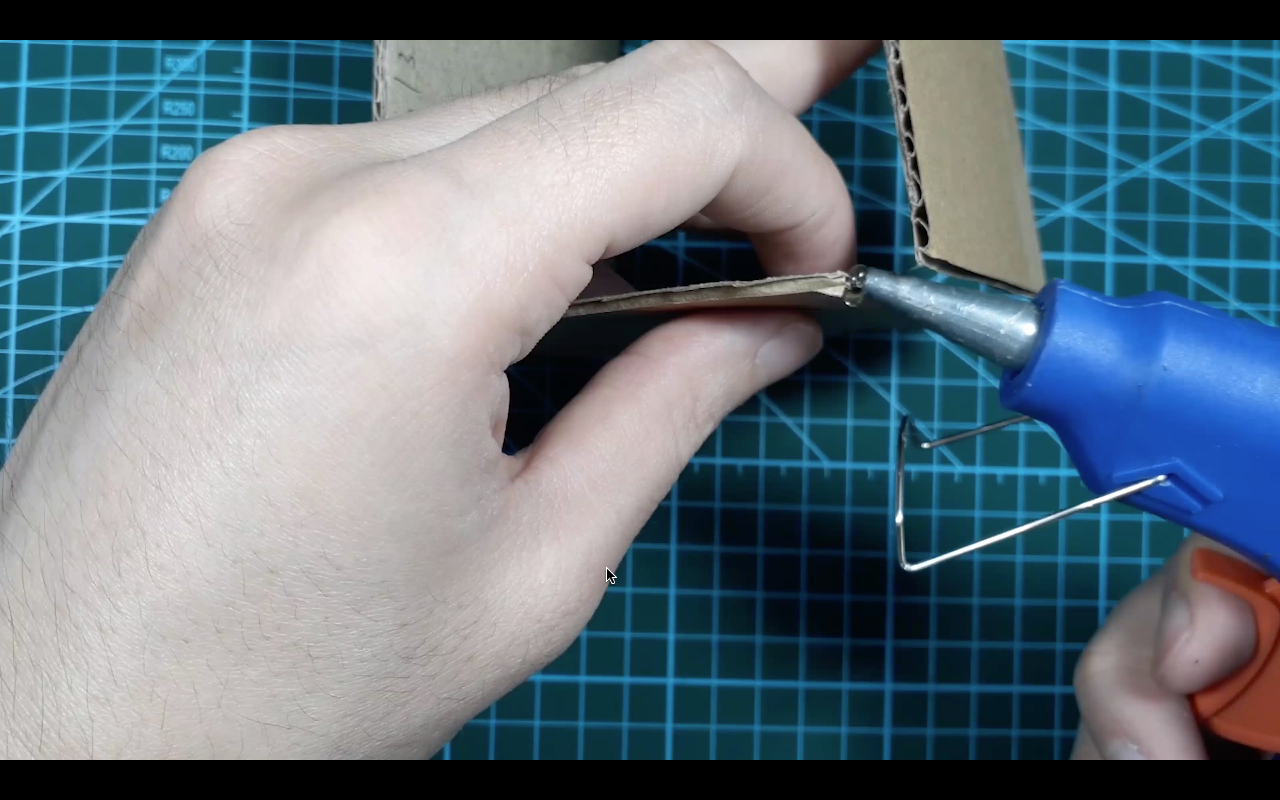
Using hot glue to connect all the parts
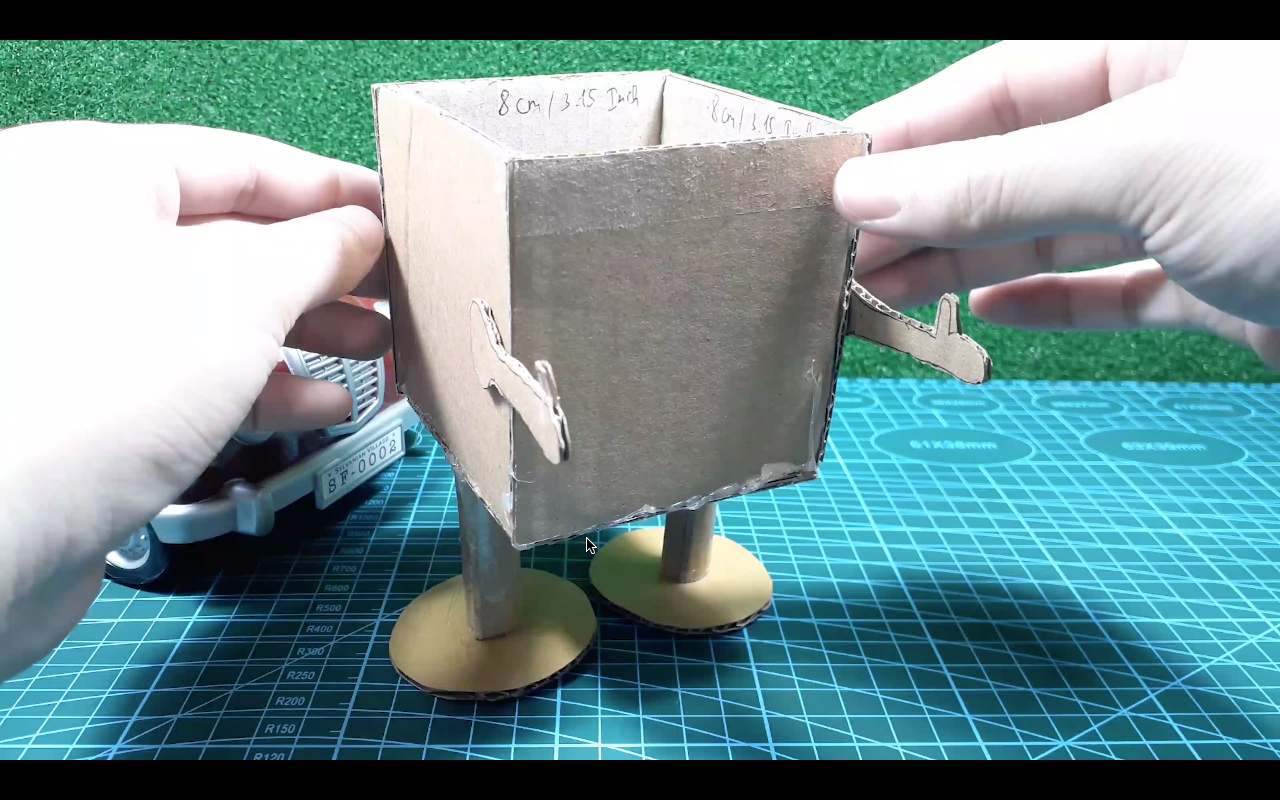
The most of body done
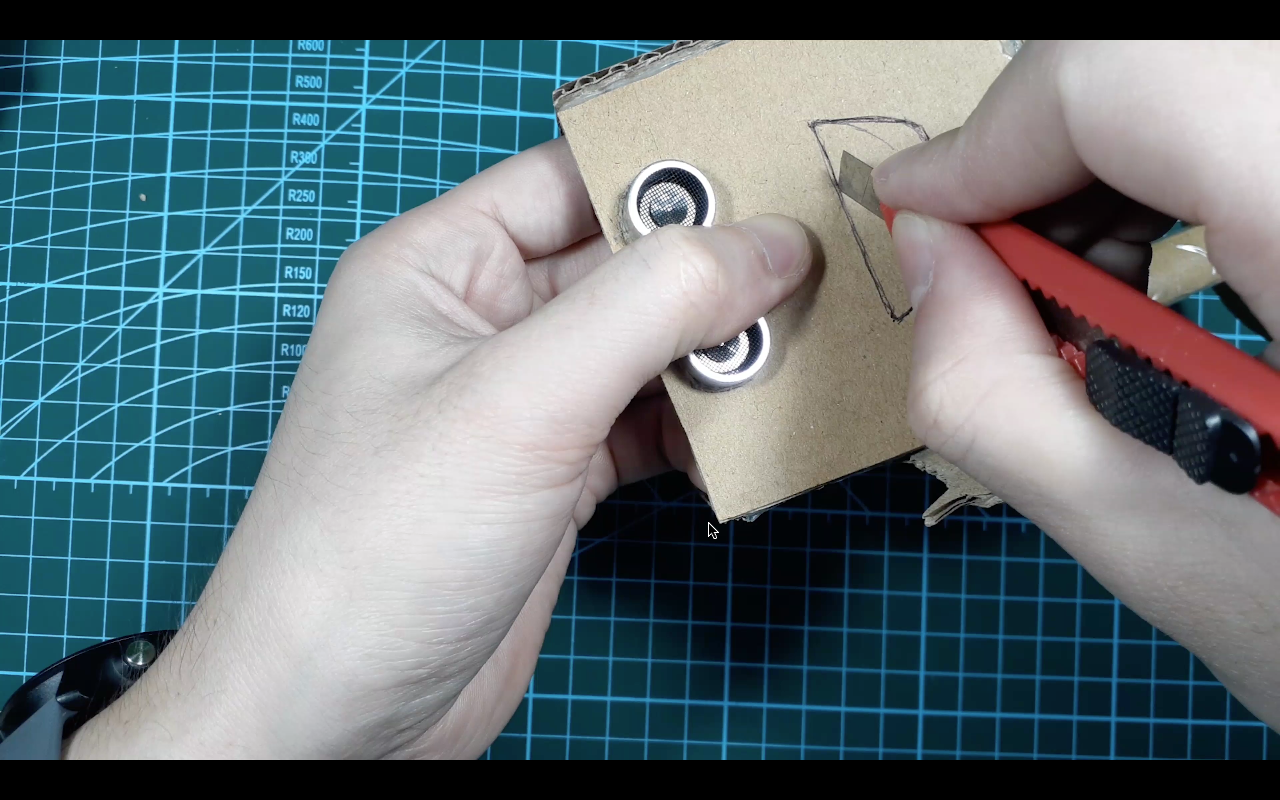
Make eye holes

Make mouth
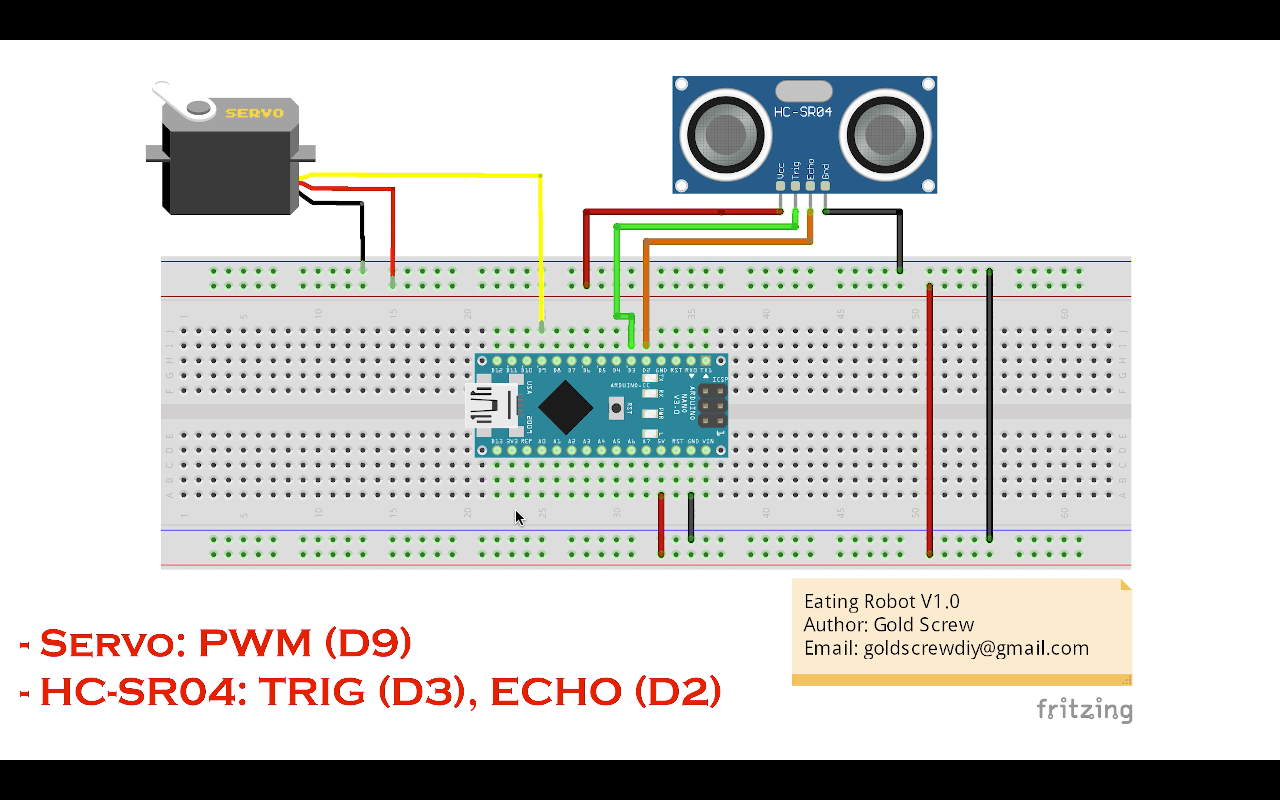
Components/parts connection diagram
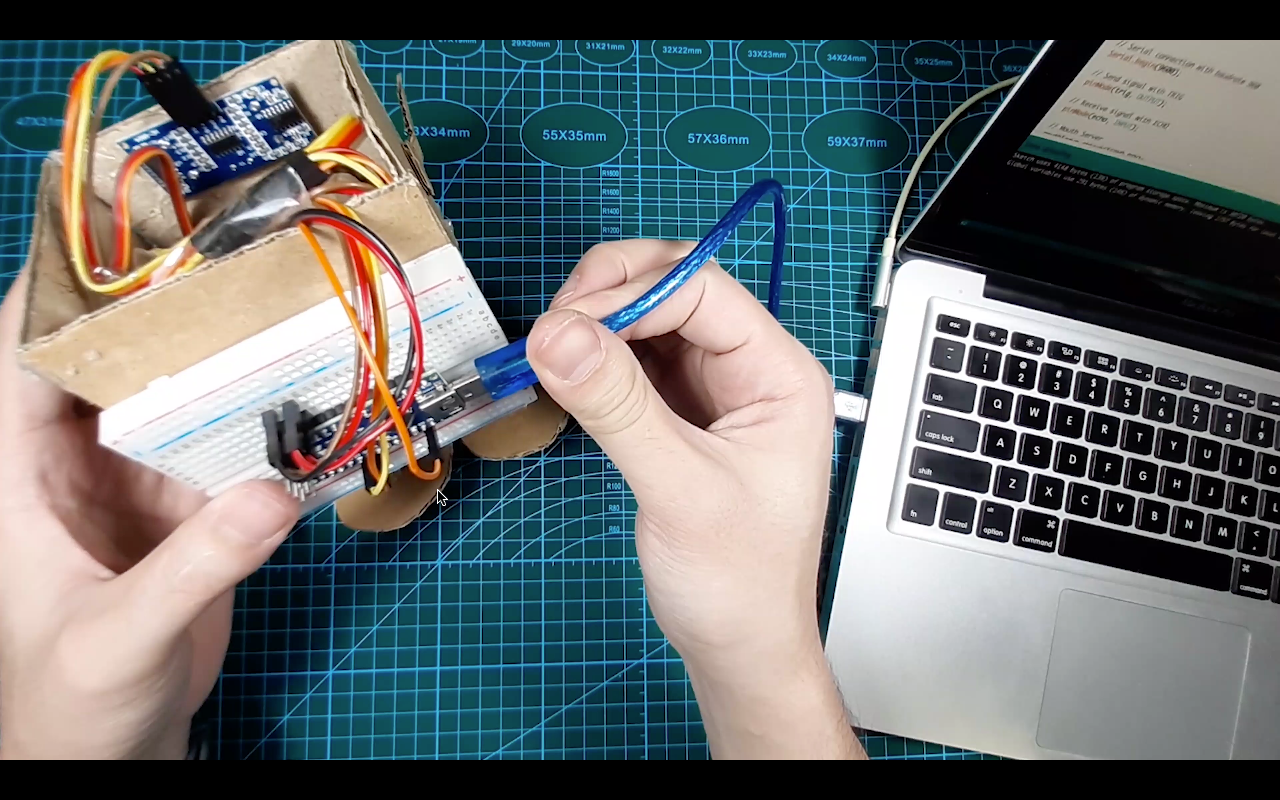
Connect USB power
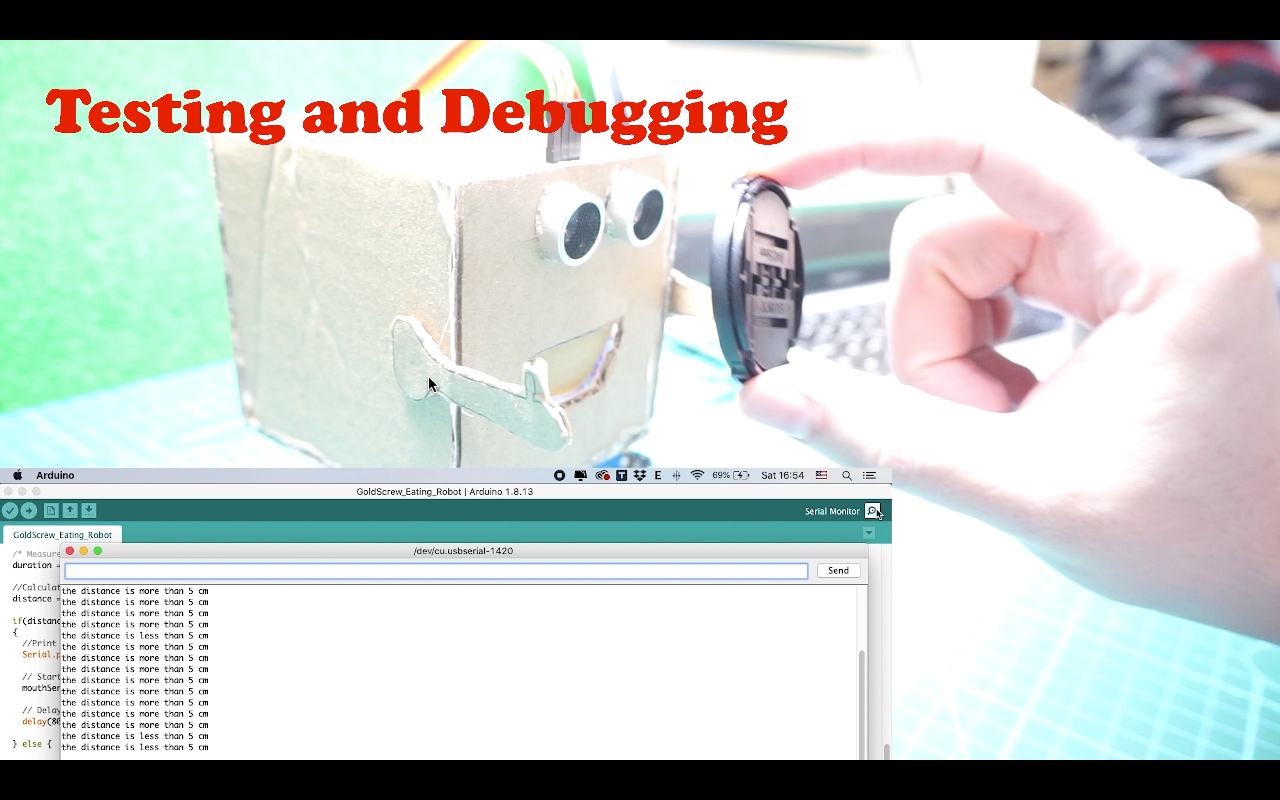
Testing and Debugging
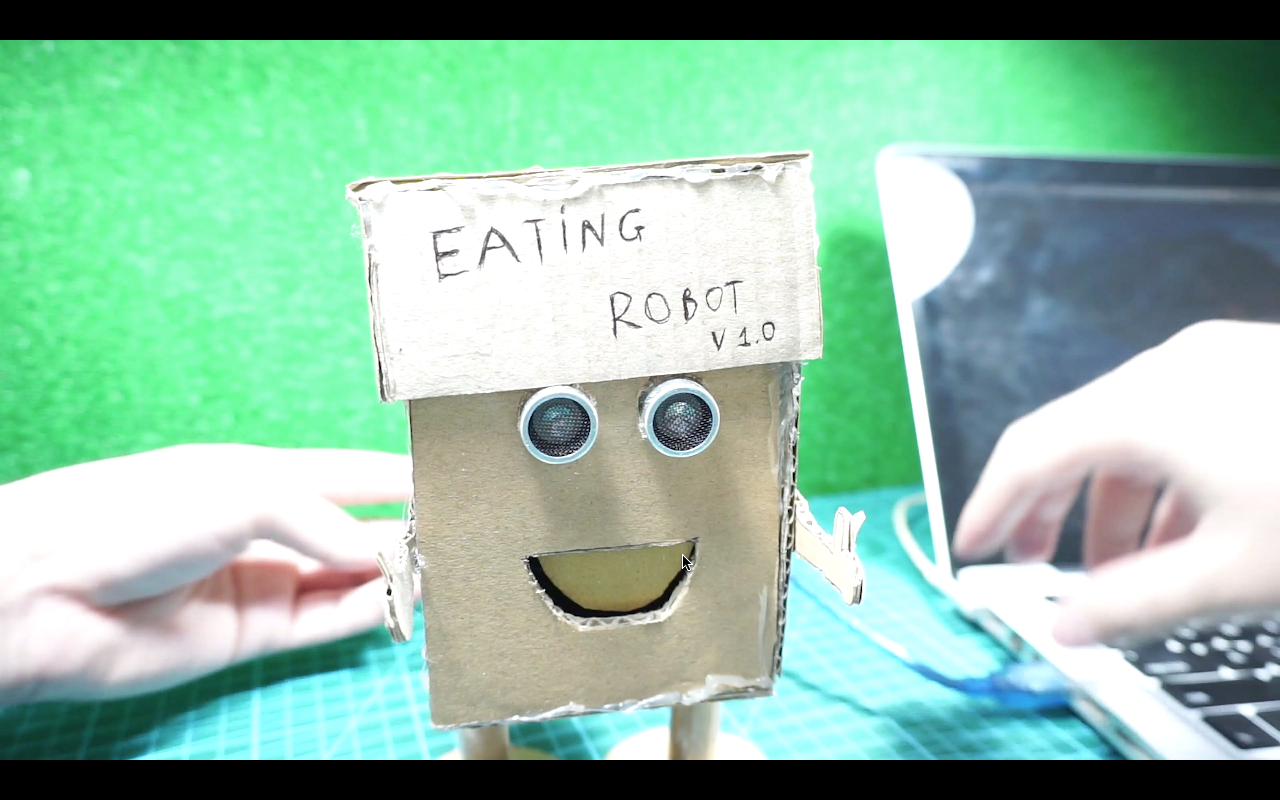
It's done!
Code
- GoldScrew_EatingRobot.ino
GoldScrew_EatingRobot.inoArduino
/*
 * Cartboard eating Robot
 * Author: GoldScrew
 * Email: goldscrewdiy@gmail.com
 * Description: It's using HC-SR04 (Detect food by distance <= 5 cm) and Server (to open and close the mouth)
 */

#include <Servo.h>
#define SERVO_PIN 9 // Set pin 9 for servo

// HC-SR04 ultrasonic sensor
const int trig = 3;     // trig of HC-SR04
const int echo = 2;     // echo of HC-SR04

// Servo
Servo mouthServo;

void setup()
{
  // Serial connection with baudrate 960
  Serial.begin(9600);

  // Send signal with TRIG
  pinMode(trig, OUTPUT);

  // Receive signal with ECHO
  pinMode(echo, INPUT);

  // Mouth Server
  mouthServo.attach(SERVO_PIN);
  mouthServo.write(90);

}
void loop()
{
  /* Duration */
  unsigned long duration;
  int distance; //Distance

  /* Send signal from TRIG pin */
  digitalWrite(trig, 0); //Stop trig pin
  delayMicroseconds(2); //Delay 2 micro seconds
  digitalWrite(trig, 1); //Send signal from TRIG pin
  delayMicroseconds(10); //Delay 10 micro seconds
  digitalWrite(trig, 0); //Stop trig pin

  /* Measure HIGH pulse width at ECHO pin */
  duration = pulseIn(echo, HIGH);

  //Calculate distance
  distance = int(duration/2/29.412);

  if(distance <= 5)
  {
    //Print distance
    Serial.println("the distance is less than 5 cm");

    // Start open mouth
    mouthServo.write(0);

    // Delay
    delay(1200);

  } else {

    //Print distance
    Serial.println("the distance is more than 5 cm");

    // Close the mouth
    mouthServo.write(90);
  }

  // Delay
  delay(200);
}
Schematics
Build an Isolated Analog Input Circuit for Arduino
Smart Health Monitoring Station: Arduino, Bluetooth, and Sensors
Manufacturing process
- Build a Real-Time Gyroscope Game with Arduino Nano & MPU-6050 Sensor
- Unopad: Seamless Arduino MIDI Controller for Ableton Live
- Servo‑Driven Obstacle‑Avoiding Robot: Build with Arduino & HC‑SR04
- PiBot: The Arduino‑Powered Piano Robot for Precision Music Performance
- Create Musical Tones with Arduino: A Step‑by‑Step Guide
- Build a 4-Wheel Arduino Robot Controlled via Dabble App
- Master Modbus on Arduino: Step‑by‑Step Guide
- Build Your Own AI Assistant Robot Using Arduino & Python
- Build the Simplest Arduino Line‑Following Robot with SparkFun L298
- Build a Recordable Cardboard Robot Arm – Easy DIY with Arduino & Servos