


Smart Arduino-Powered Automated Parking Garage System
Components and supplies
 |
| × | 1 | |||
| × | 1 | ||||
 |
| × | 3 | |||
 |
| × | 1 | |||
 |
| × | 1 |
Apps and online services
 |
|
About this project
An Arduino Automated Car Parking System that is too easy and too fun to make. When a car arrives it shows the number of empty slots (if available) and then opens the gate. if there is not any empty slot then the gate does not open. Amazing thing is that the whole project can just be POWERED using a POWER BANK!!
Watch the video for the full tutorial.
Note: you can use display instead of my hand made led sign display.
Now lets get started.
Step 1: Parts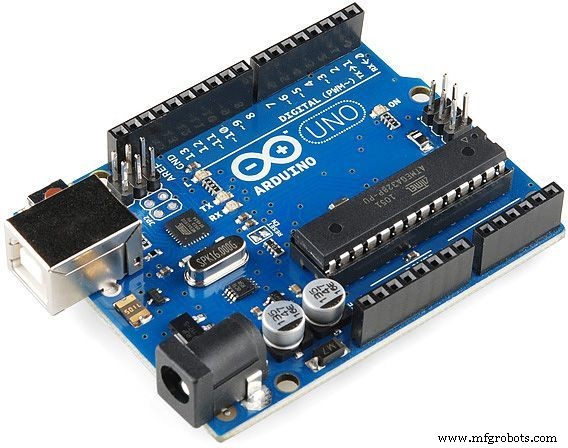


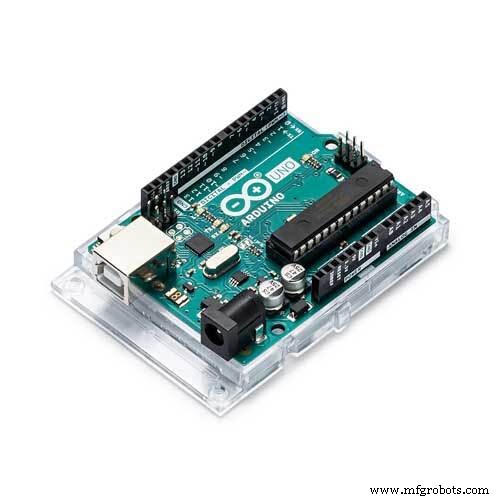
- Arduino - any board
- Infrared proximmity sensor (pic 2 & 3 - both are functional)
- 330r resistor
- some LED's
- Servo motor - any model or size you wish.

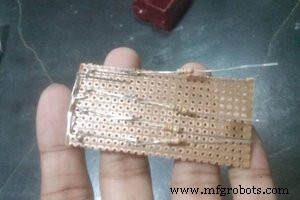
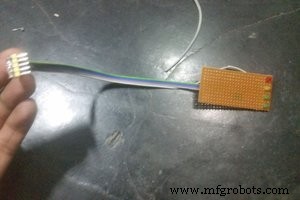
To make this LED display I have used a piece of bredboard then soldered the LED's and the 330r resistor. Then just added a ribbon cable for nice finish.
NOTE: I soldered the resistors on back so that they cant be seen from front to make the display.
It would be better if you use LCD display or cheap OLED display instead of this. I had not any, so I made this.
Step 3: Making the Parking Garage
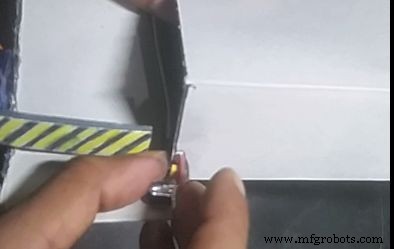
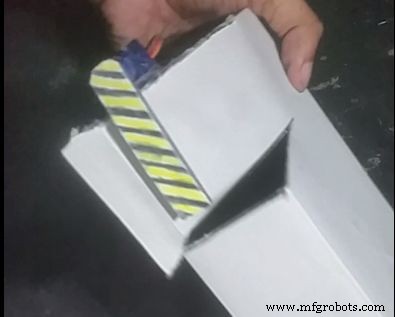

To make this I have used a card board box then cut it to make a nice slope. Then added a piece of cardboard on to the servo motor and hot glued it. Added one sensor on the entrance and another on each SLOT. Then hot glued two chopsticks with the display we have made and glue it to the box. And of course as we will use the usb cable of arduino to power the whole project cut some area of the box to access to that port.
Don't forget to paint it a little bit.
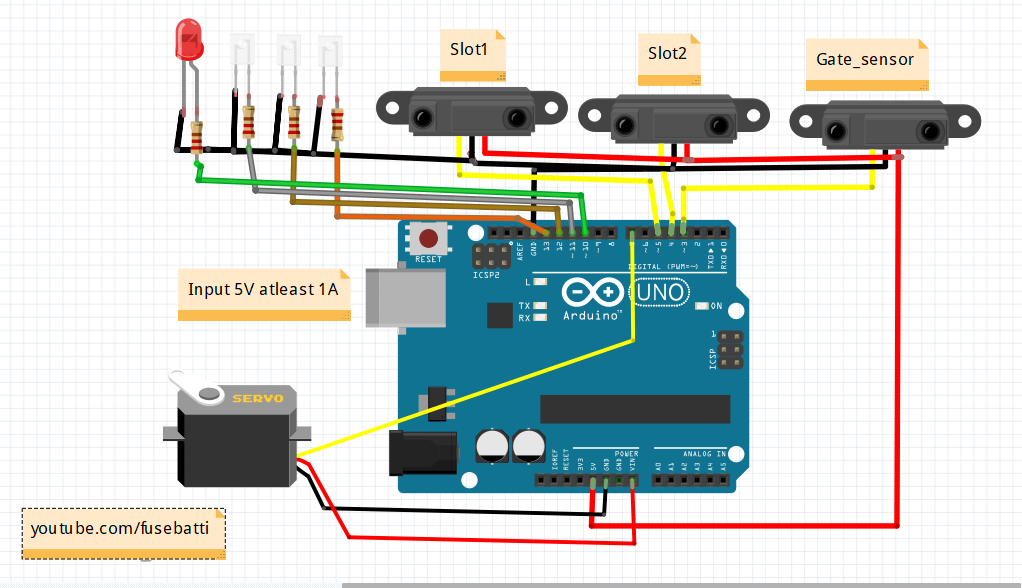
Step 4: The Circuit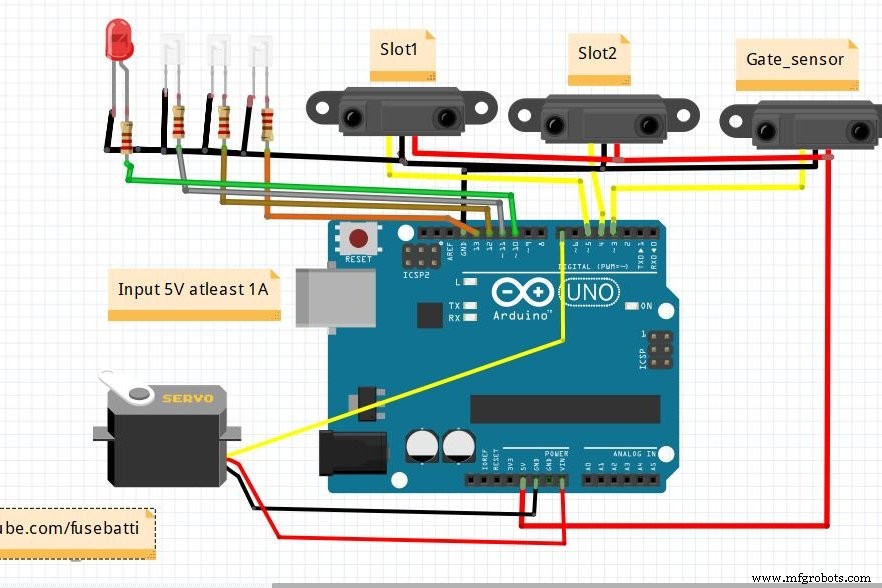
It looks a bit mess for the LED's but tell you what, this is really very much simple circuit.
NOTE: Proximity sensors use 5v to operate so you can just connect them to 5v source of arduino.
But what theee!! why has he connected servo to VIN!! Let me explain you. Power banks usually supplies 5v 1Amp current which is input to arduino via the usb cable, now there is a voltage regulator on arduino which gives.5Amp to the board. By connecting to VIN we are actually accessing the power from the power bank without an breadboard. This works and safe.
Step 5: The CodeUpload the following code to the arduino
download code https://github.com/ashraf-minhaj/Automated-Parking...
or copy CODE from below
Step 6: Finished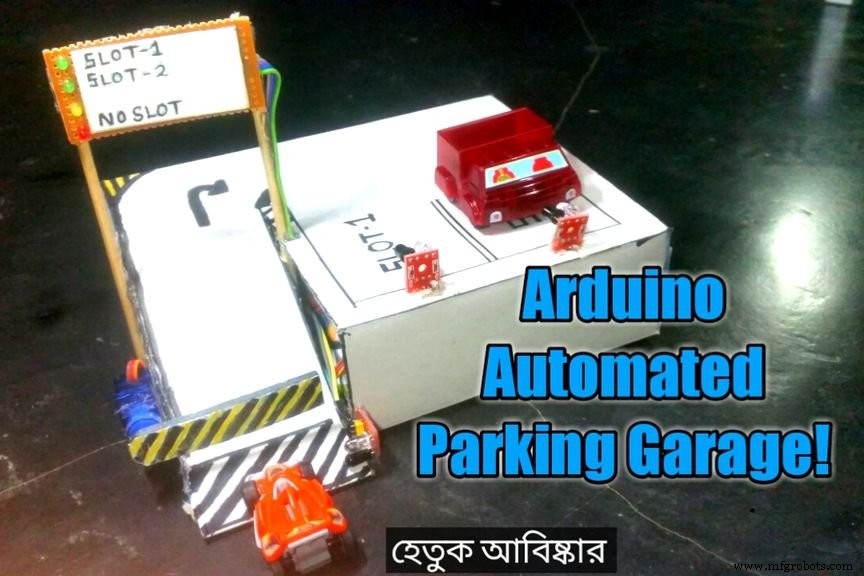
Now power the project using a USB cable to arduino and have fun.
Let me know how you are thinking to upgrade this and why.
Thank you.
Code
- automated parking garage,code.ashrafminhaj
automated parking garage,code.ashrafminhajC/C++
/*Automated Parking Garage by Ashraf Minhaj. www.youtube.com/c/fusebatti
 * for any query please mail me at ashraf_minhaj@yahoo.com*/

#include<Servo.h>   //adding Servo library
Servo gate;        //you may open or close gate using a Servo motor
int slot1 = 5;   //Connect IR sensor on digital pin5 for sLOT 1
int slot2 = 4;   //sLot2 pin on digital 4
int gateSensor = 3; //IR sensor on gate to arduino pin 3
int slot1_l = 13;
int slot2_l = 12;
int gate_grn = 11;
int gate_red = 10;


void setup()
{
 gate.attach(7);     //connecting the gate servo on pin 5
 pinMode(slot1,INPUT);  //setting slot pins  & gate IR sensor as input to arduino
 pinMode(slot2,INPUT);
 pinMode(gateSensor,INPUT);
 pinMode(slot1_l,OUTPUT);
 pinMode(slot2_l,OUTPUT);
 pinMode(gate_grn,OUTPUT);
 pinMode(gate_red,OUTPUT);
 Serial.begin(9600);       //initialzing Serial monitor

}

void loop()
{
     //the car arrives and sensor goes LOW

    if(   !(digitalRead(gateSensor)) && digitalRead(slot1) && digitalRead(slot2))   //slot1 & slot2 empty
     {
      Serial.println("Welcome, Available: sLOT1, sLOT2");  //print slot1 and slo2 available
      digitalWrite(slot1_l,HIGH);
      digitalWrite(slot2_l,HIGH);
      delay(1000);
      digitalWrite(gate_grn,HIGH);
      gate.write(75); //gate will open after the dealy of 1 second
     }

     if( !(digitalRead(gateSensor)) && !(digitalRead(slot1)) && digitalRead(slot2))  //car on slot1,slot2 free
      {
          Serial.println("Welcome, Available: sLOT2");  // slo2 available
          digitalWrite(slot1_l,LOW);
          digitalWrite(slot2_l,HIGH);
          delay(1000);
          digitalWrite(gate_grn,HIGH);
         gate.write(75); //gate will open after the dealy of 1 second
      }

       if( !(digitalRead(gateSensor)) && digitalRead(slot1) && !(digitalRead(slot2)))     //car on slot2,slot1 free
       {
         Serial.println("Welcome, Available: sLOT1");  // slo1 available
          digitalWrite(slot1_l,HIGH);
          digitalWrite(slot2_l,LOW);
          delay(1000);
         digitalWrite(gate_grn,HIGH);
         gate.write(75);
          delay(100);                //gate will open after the dealy of 1 second
       }


        if( !(digitalRead(gateSensor)) && !(digitalRead(slot1)) && !(digitalRead(slot2)))
         {
           Serial.println("Welcome, Parking Full");// No slot available
            digitalWrite(slot1_l,LOW);
            digitalWrite(slot2_l,LOW);
            delay(1000);
            digitalWrite(gate_red,HIGH);
            delay(100);
            digitalWrite(gate_red,LOW);
            delay(100);
            digitalWrite(gate_red,HIGH);
            delay(100);
            digitalWrite(gate_red,LOW);


         }

  if( digitalRead(gateSensor))    // no input detected
        { Serial.println("Welcome");
          gate.write(5);       //gate close
         digitalWrite(slot1_l,LOW);
         digitalWrite(slot2_l,LOW);
         digitalWrite(gate_red,LOW);
         digitalWrite(gate_grn,HIGH); //gate grin or yellow light will blink
         delay(100);
         digitalWrite(gate_grn,LOW);
         delay(100);


        }

}
automated parking garage,code.ashrafminhaj
https://github.com/ashraf-minhaj/Automated-Parking-Garage_Arduino.Version2 Code With LCD display
https://github.com/ashraf-minhaj/Automated-Parking-Garage_Arduino./blob/master/Parking_garage_with%20LCD_Code.cSchematics
Manufacturing process
- Build an Automated LEGO Star Wars Shooter with Arduino Uno
- Control an LED via Bluetooth with Arduino – Simple DIY Guide
- Build a Smart Arduino Quadruped Robot: Step‑by‑Step Guide
- Arduino RGB LED Color Mixer – Beginner‑Friendly DIY Project
- Outdoor DMX-Enabled RGB LED Flood Lights – Affordable & High-Performance
- Arduino-Driven Automated Dehumidifier Sump Pump – DIY System
- DIY LED Roulette Game – Build a One‑Person Arcade with Arduino Nano
- Arduino-Powered Garage Parking Rangefinder – Accurate Distance Alerts
- Build an Infinity Gauntlet: DIY Arduino LED Kit
- Smart Automated Garden System with Arduino UNO and Raspberry Pi