


Build a Digital Settlers of Catan Dice with Arduino UNO & LCD Display
Components and supplies
 |
| × | 1 | |||
 |
| × | 1 | |||
 |
| × | 1 |
About this project
I love a good game of Settlers of Catan, so why not build a digital dice? I first used seven red LEDs, when I realised you need two dices for Catan. I decided to use an LCD display.
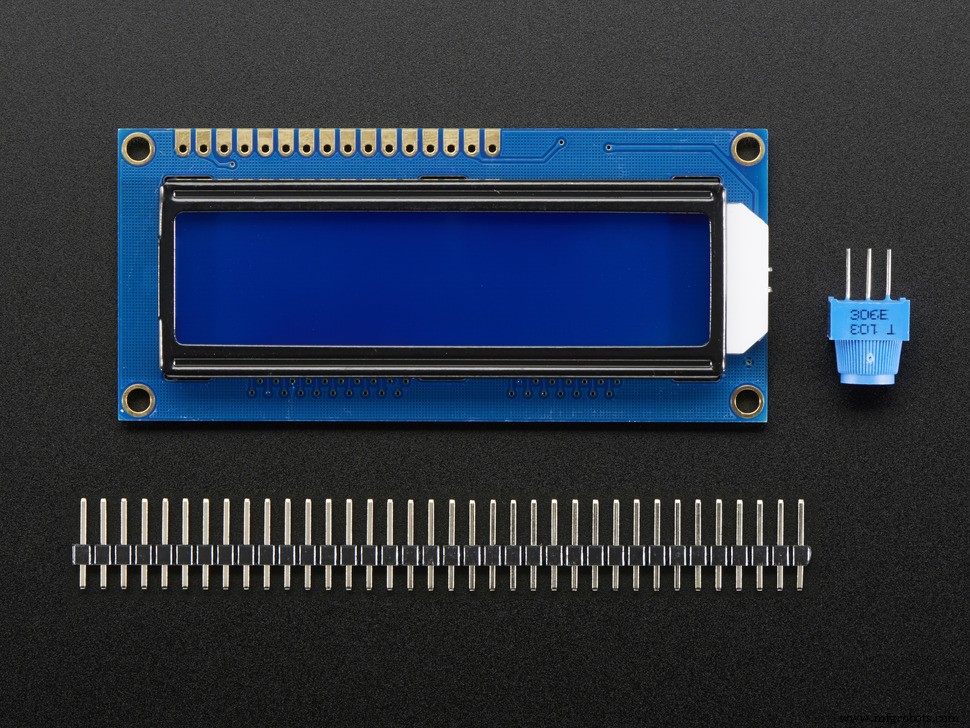
Set up the DisplaySetup the LCD display like you normally would. If you don't know how, follow these instructions.

Add a button that you'll push every time you want to roll the dice. You can also use a tilt sensor, to mimic the movement of rolling the dice.
The Code and Initial TextNow you're ready to add the code. Don't forget to include the Liquid Crystal library. In the setup I set the initial text on the display to "Roll the dice!" You can make it every text you want.
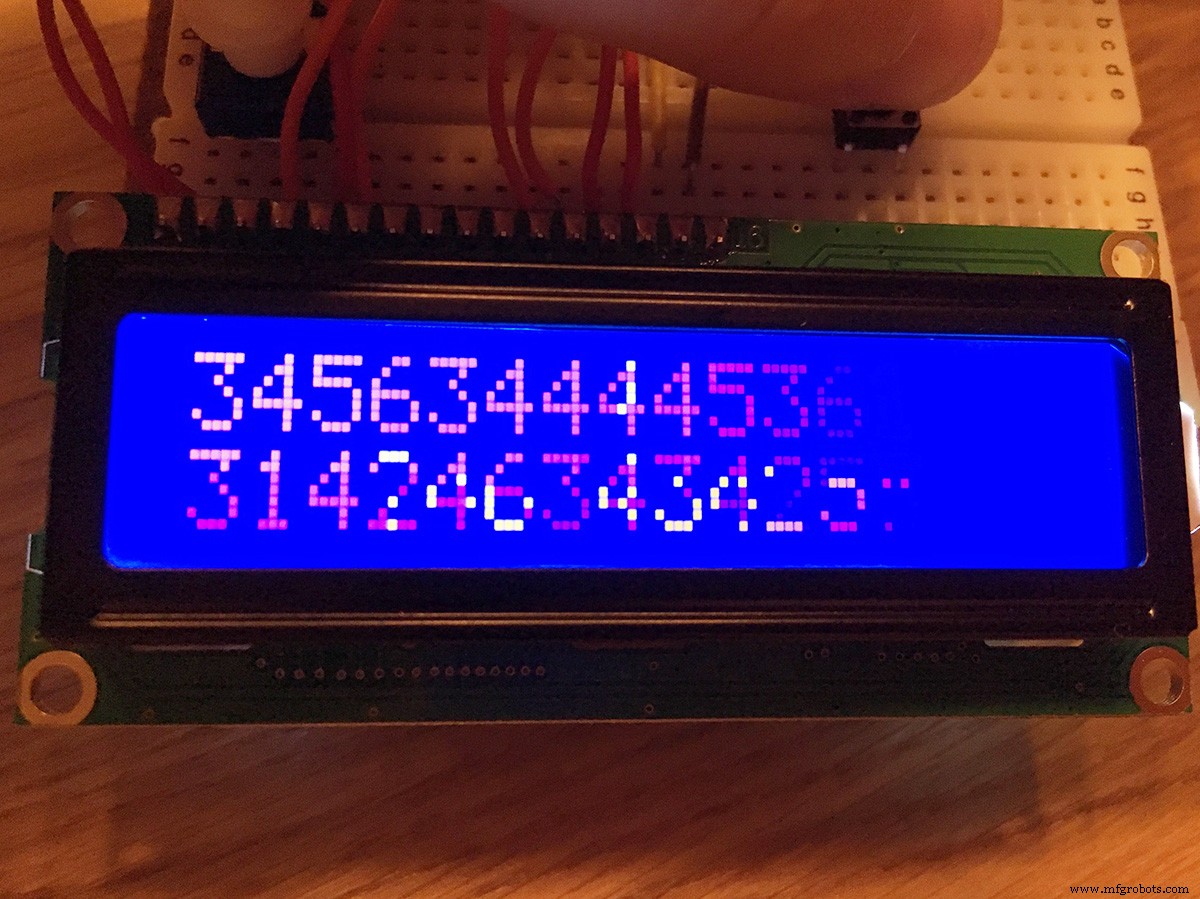
I wrote a function called buildUp to use every time the button is pushed, to build up the tension of what numbers the dice will show. My display has two rows of both 16 characters. I wanted to fill both rows with random numbers (up to six, like real dice) that will come faster with every number. That's what the for loop in the buildUp function is for. If you're display has more rows or characters you can adjust this code.
I set the delay to 220 milliseconds and divided this by 16. The number that you get is the number you'll subtract from the countDelay every time the loop runs. If you want the numbers to show faster or slower, these are the numbers you have to adjust.
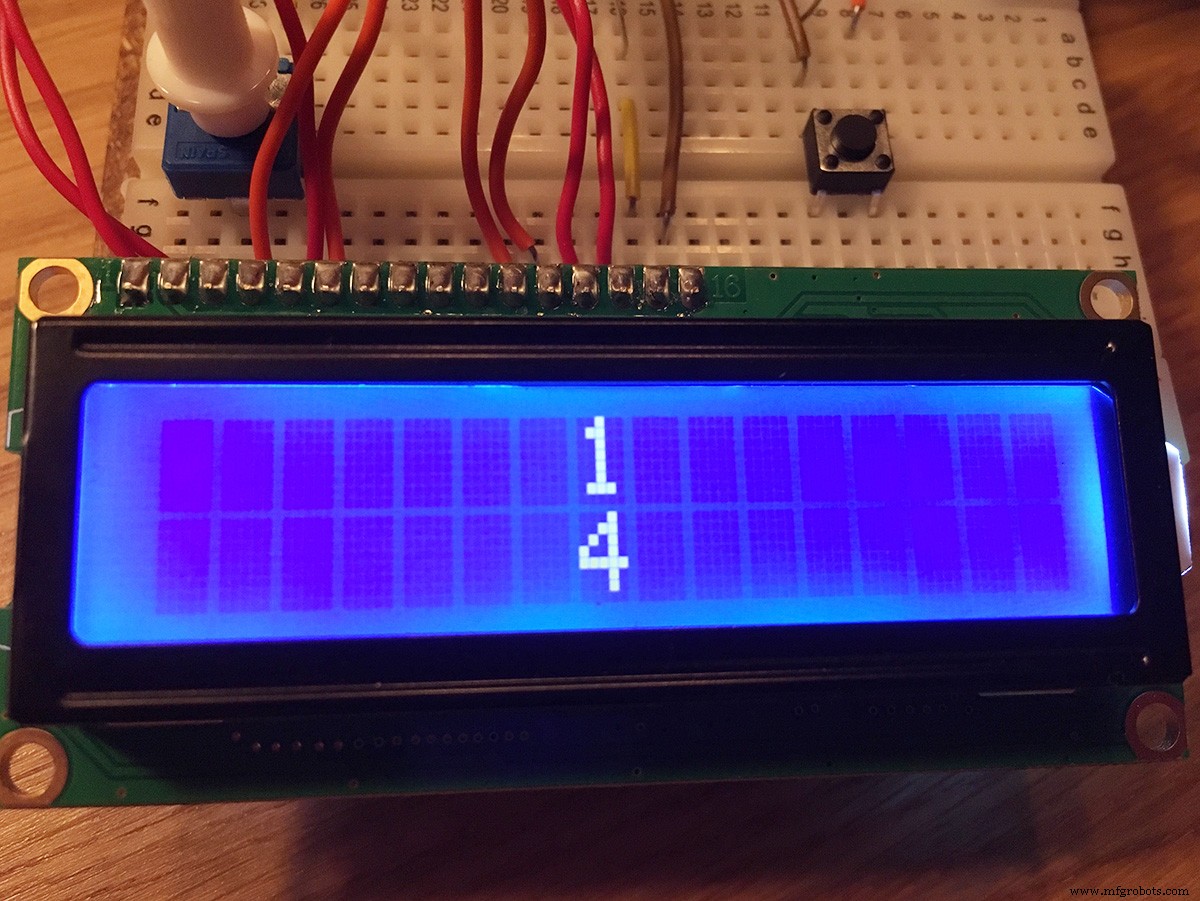
Now for the actual dice. I wanted to show a number on each row, resembling the two dice you need with Catan. I used setCursor to position the numbers in the middle of the display. You can position them everywhere you like.
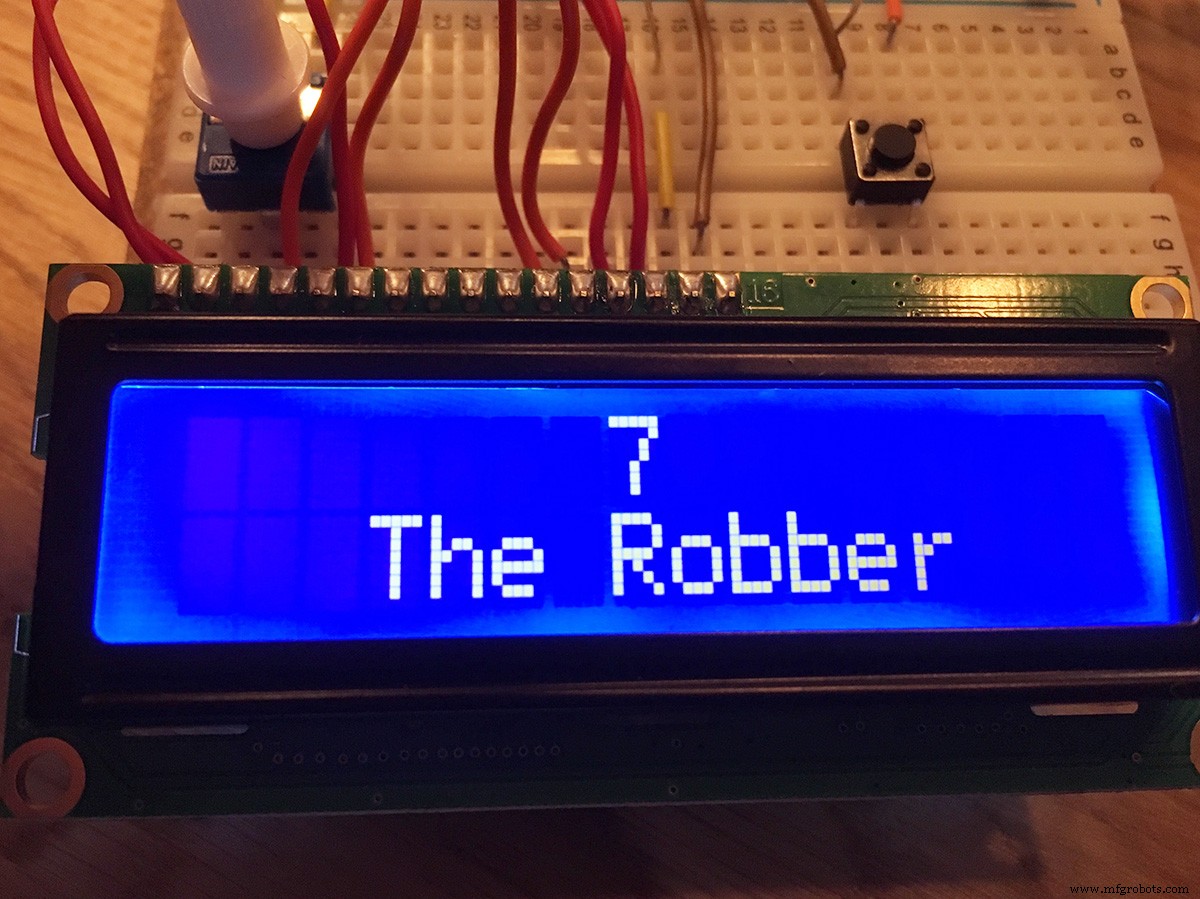
Because seven is a special number in Settlers of Catan, I added an extra message to this number. Every time you roll seven, you will see "The Robber" beneath it. This way you can make sure everyone knows to count their cards. If you want to use this dice with another game, you can delete this code or adjust the message or number.
Enjoy!Invite your friends, play Settlers of Catan and have fun!
Code
- Settlers of Catan Dice code
Settlers of Catan Dice codeArduino
Don't forget to include the Liquid Crystal library.#include <LiquidCrystal.h>
LiquidCrystal lcd(12, 11, 5, 4, 3, 2);
int diceButton = 10;
int reply;
int count = 0;
long diceOne;
long diceTwo;
void setup() {
lcd.begin(16, 2);
pinMode(diceButton, INPUT);
randomSeed(analogRead(0));
lcd.setCursor(1, 0);
lcd.print("Roll the dice!");
}
void buildUp() {
lcd.clear();
int countDelay = 220;
int setColumn = 0;
for (count = 0; count <= 16; count++) {
lcd.setCursor(setColumn, 0);
lcd.print(random(1, 7));
lcd.setCursor(setColumn, 1);
lcd.print(random(1, 7));
delay(countDelay);
countDelay -= 13;
setColumn += 1;
}
}
void loop() {
diceButton = digitalRead(10);
diceOne = random(1, 7);
diceTwo = random(1, 7);
if (diceButton == HIGH) {
buildUp();
lcd.clear();
lcd.setCursor(7, 0);
lcd.print(diceOne);
lcd.setCursor(7, 1);
lcd.print(diceTwo);
if (diceOne + diceTwo == 7) {
lcd.clear();
lcd.setCursor(7, 0);
lcd.print("7");
lcd.setCursor(3, 1);
lcd.print("The Robber");
}
}
}
Manufacturing process
- The History, Design, and Manufacturing of Dice: From Ancient Tools to Modern Gaming
- Liquid Crystal Display (LCD): Technology, Manufacturing, and Future Outlook
- Mastering Method Overloading in C#: Concepts, Examples, and Best Practices
- How to Install the Kuman 3.5″ TFT Display on RetroPie – Step‑by‑Step Guide
- Understanding Verilog Tasks: Functions vs Tasks, Syntax, and Usage
- Arduino Digital Dice Project: Build Your Own LCD-based Random Number Generator
- Comprehensive Arduino Training Kit with Mega 2560, Sensors, Motors, and Custom PCB
- Pushing Limits: 30 FPS Video on SSD1106 OLED Display with Arduino Nano
- Shake-Activated Arduino Dice with LED Matrix
- Display Numbers on a 7‑Segment Display Using a Keypad – Step‑by‑Step Guide