Industrial manufacturing
Industrial Internet of Things | Industrial materials | Equipment Maintenance and Repair | Industrial programming |
home  MfgRobots >> Industrial manufacturing >  >> Manufacturing Technology >> Manufacturing process

Build a Real-Time 360° Radar with Arduino – Step‑by‑Step Guide

Components and supplies

Build a Real-Time 360° Radar with Arduino – Step‑by‑Step Guide
Arduino UNO
×1
Build a Real-Time 360° Radar with Arduino – Step‑by‑Step Guide
Ultrasonic Sensor - HC-SR04 (Generic)
×1
Build a Real-Time 360° Radar with Arduino – Step‑by‑Step Guide
RobotGeek 180 Degree Robot Servo
×2
Build a Real-Time 360° Radar with Arduino – Step‑by‑Step Guide
Jumper wires (generic)
×1

Necessary tools and machines

pipe
Build a Real-Time 360° Radar with Arduino – Step‑by‑Step Guide
Hot glue gun (generic)

Apps and online services

Build a Real-Time 360° Radar with Arduino – Step‑by‑Step Guide
Arduino IDE
Build a Real-Time 360° Radar with Arduino – Step‑by‑Step Guide
Microsoft Visual Studio 2015

About this project

I'm here and I'm gonna show you how to make a 360 Radar. Send data to computer, and after processing them draw the Radar in real-time and after a revolution (360 turn) save the previous Radar and draw the new one. and after all of these ENCODE the data and hide them into an image. For example if you send just the encode data and someone observed this data transfer he will find out that you transferred a ENCODED data. But, if you hide the Encoded data into an image he will never find out what you did and just think you sent a photo for someone else.

Step 1 (Collect what you need)

In this project you will need:

  • Arduino (I used Uno R3)
  • Servo motor (we need 2 of them because we should have 360° of motion available)
  • Ultrasonic sensor (we use this one to calculate distance)
  • Wires so you can attach the ultrasonic sensor and the servo.

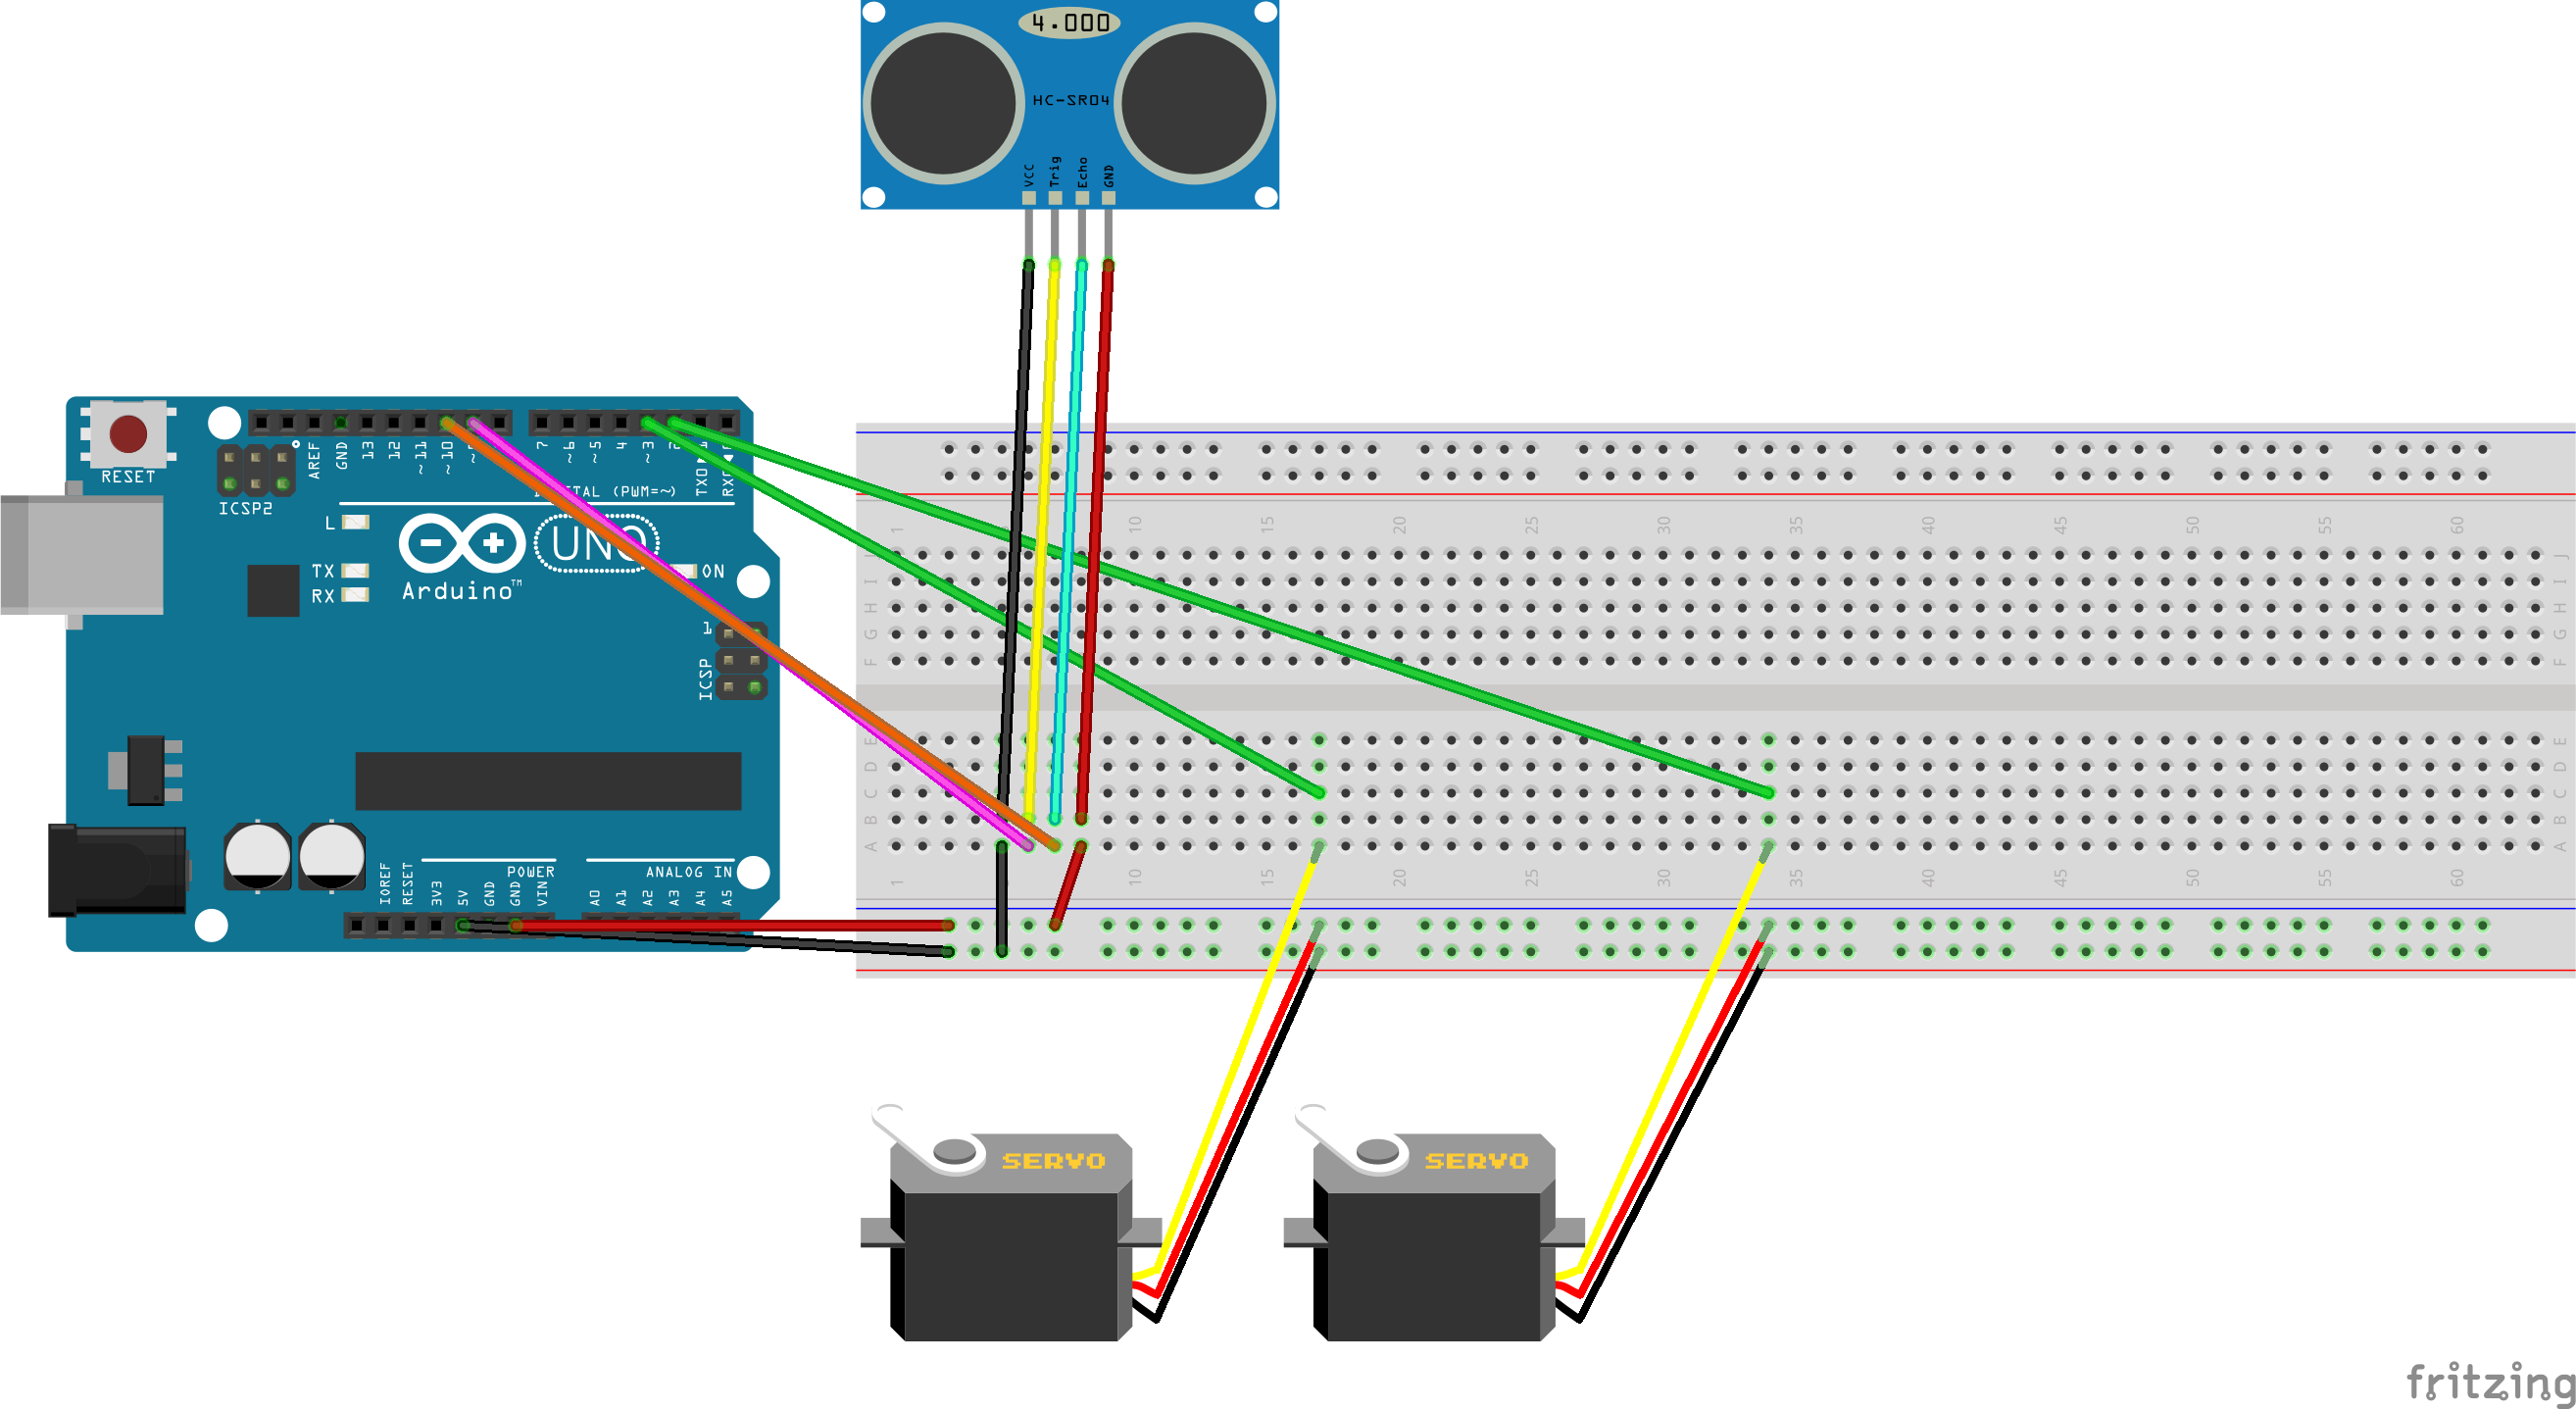
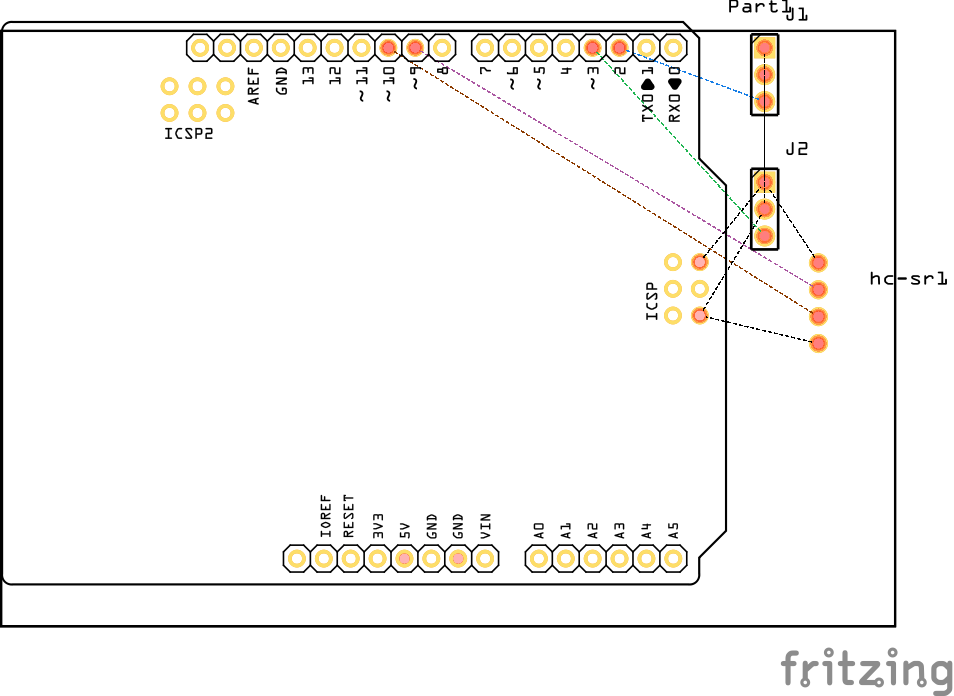
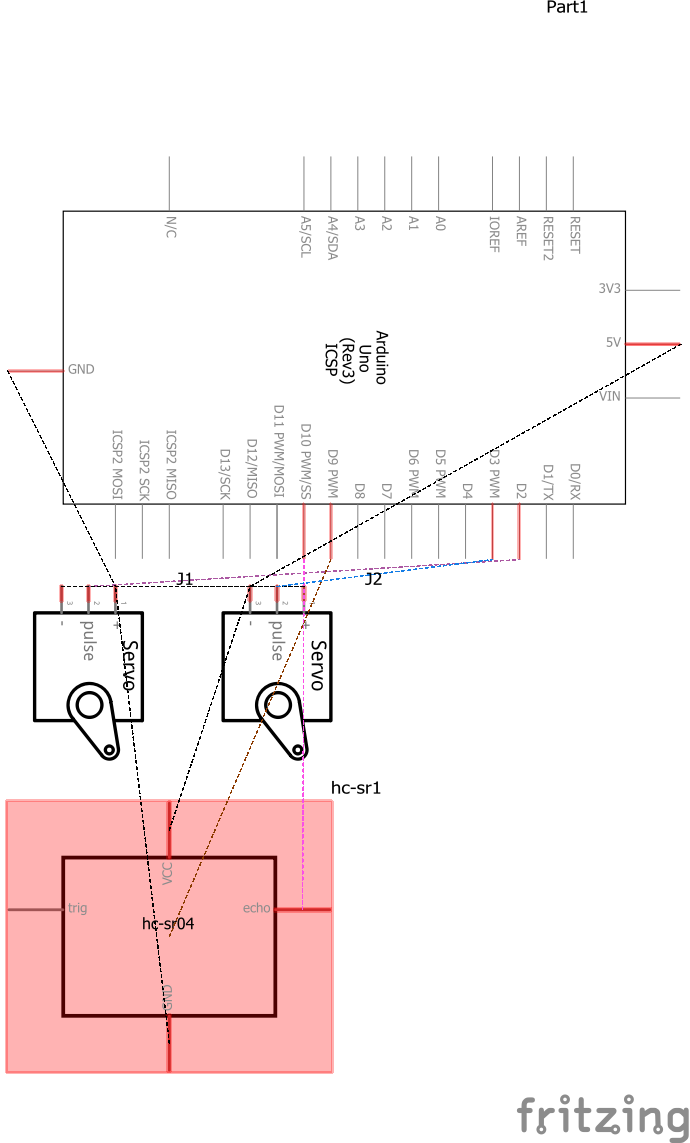
Step 2 (Assemble them)

Connect the servo and ultrasonic sensor to the Arduino just like in the schematic below (just above the C++ code). You can upload the code and and see them on the computer.

Attention : If you don't know what is the name of the port go to Device Manager then find Ports. you can see the name there(COM3 or COM5).

Build a Real-Time 360° Radar with Arduino – Step‑by‑Step Guide

If you finish the project, just ask me to send the EXE of Radar Drawer.

*Update* : Download the EXE file in this page.

If you have problem with working with EXE or you want to make your own EXE just ask me and I'm here to help.

When you import a photo to encode the AI choose the best method to make it more scure.

Code

  • Servo Control
Servo ControlC/C++
This code on C++ is for control the servo and should be upload to Arduino
#include <Servo.h>

Servo Down;
Servo Up;
const int trigPin = 9;
const int echoPin = 10;

long duration;
int pos = 0;
int pos2 = 0;
int distance;
int _degrees;
void setup() {
pinMode(trigPin, OUTPUT);
pinMode(echoPin, INPUT); 
 Down.attach(2);
 Up.attach(3);
Serial.begin(9600); 
}
void loop() {
  Down.write(0);  
  Up.write(0);  
   for (pos = 0; pos <= 180; pos += 1) {
    Down.write(pos);
    _degrees = pos;
    dis();              
    delay(50);                       
    if (pos == 180){
         for (pos2 = 0; pos2 <= 180; pos2 += 1) {
    Up.write(pos2);
    _degrees = pos + pos2;
    dis();            
    delay(50);                       
      }
  }
   }
  for (pos = 180; pos >= 0; pos -= 1) { 
    Down.write(pos);
    Up.write(pos);
    delay(5);                      
  }
}
void dis(){
  digitalWrite(trigPin, LOW);
delayMicroseconds(2);
digitalWrite(trigPin, HIGH);
delayMicroseconds(10);
digitalWrite(trigPin, LOW);
duration = pulseIn(echoPin, HIGH);
distance= duration*0.034/2;
Serial.print(distance);
Serial.print(",");
Serial.println(_degrees);
  }

Custom parts and enclosures

Download the EXE file from herecircular_draw_qP2ROsoPds.rar

Schematics

Build a Real-Time 360° Radar with Arduino – Step‑by‑Step GuideBuild a Real-Time 360° Radar with Arduino – Step‑by‑Step GuideBuild a Real-Time 360° Radar with Arduino – Step‑by‑Step Guide

Manufacturing process

  1. Arduino Temperature & Humidity Logger Using DHT11 and Ethernet Shield
  2. Build an Arduino Iron Man: Components, Sensors, and Step‑by‑Step Guide
  3. Find Me: Smart Item Locator with Arduino and Bluetooth
  4. DIY Arduino Humidifier Controller with Relay – Safe High‑Voltage Setup
  5. Build a Custom Arduino Joystick Steering Wheel for Gaming
  6. Arduino 101: Build a Pedometer with DHT11 Sensor & LCD Display
  7. Build an Arduino RGB Color Mixer – Step‑by‑Step Tutorial
  8. PhoneLocator: Securely Locate Your Phone Anywhere
  9. Arduino LED Bar Graph Controlled by Potentiometer
  10. Custom Arduino MIDI Arpeggiator – Modular Firmware & Euclidean Rhythms