


Build an ESP8266 Telegram Bot: IoT Control Made Easy
Components and supplies
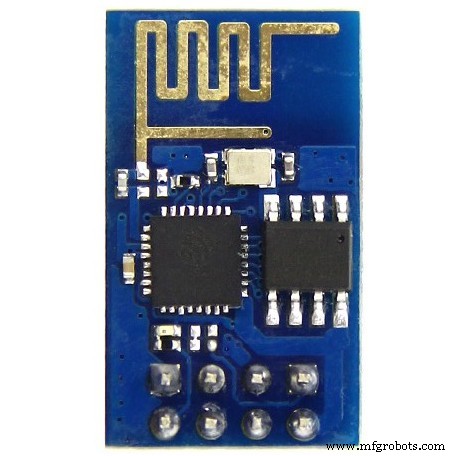 |
| × | 1 | |||
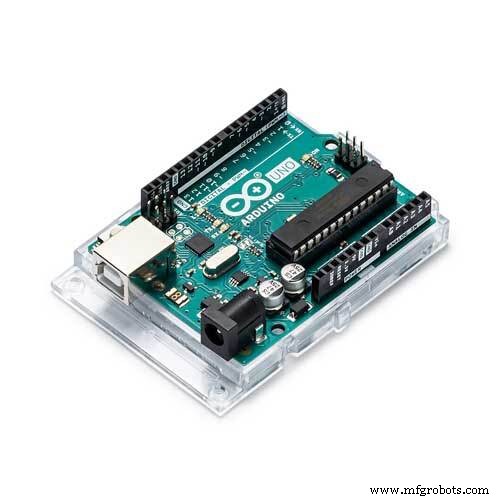 |
| × | 1 | |||
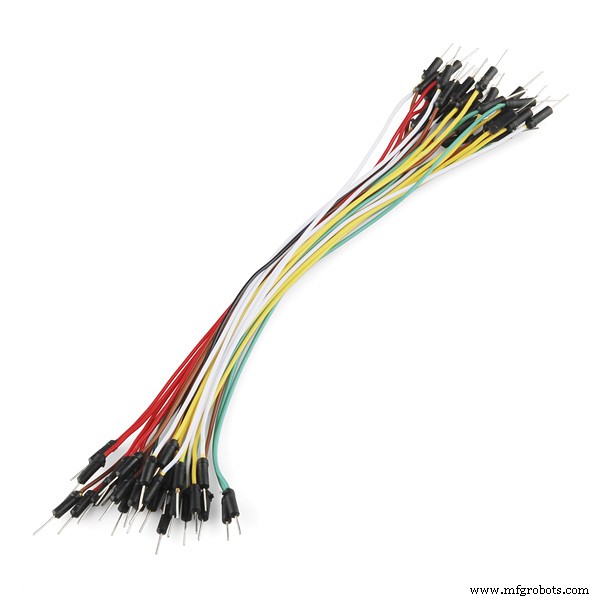 |
| × | 7 | |||
 |
| × | 1 | |||
|
| × | 1 |
Apps and online services
| ||||
 |
|
About this project
Hi Coders,
It's amazing to start my Hackster career with telegram bot API and ESP8266. Through this project I try to depict how to control ESP8266 with telegram bot which opens to the great world of IoT.
1. Installing Telegram Bot LibraryFirst of all download Telegram Bot library (download) and add it to Arduino IDE.
2. Configure Telegram BotInstall Telegram on your Laptop or Phone and search for Botfather. Through Botfather create your new bot.
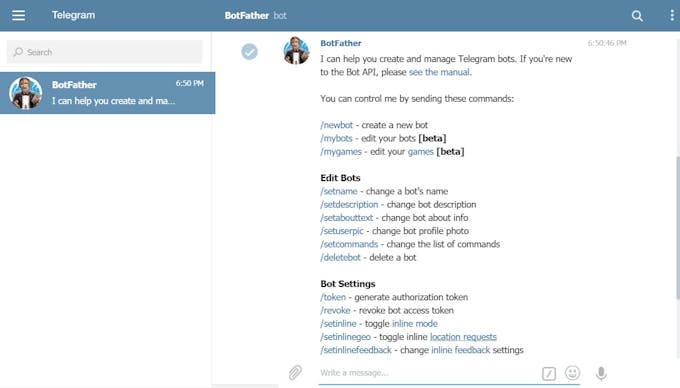
From Botfather you can taken the token.
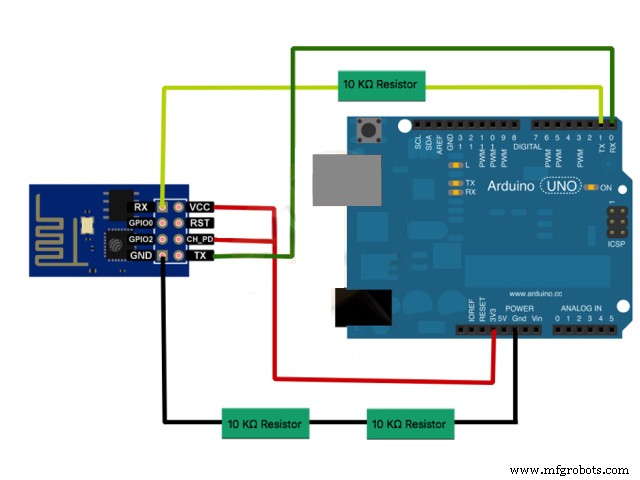
3. Setting up the DeviceConnect ESP8266 to Arduino as shown. Connect GPIO0 to ground and reset to reset of Arduino and upload the code.
#include <ESP8266WiFi.h>
#include <WiFiClientSecure.h>
#include <TelegramBot.h>
#define LED 1 //led pin number
// Initialize Wifi connection to the router
const char* ssid     = "xxxxx";
const char* password = "yyyyy";
// Initialize Telegram BOT
const char BotToken[] = "xxxxxxxxx";
WiFiClientSecure net_ssl;
TelegramBot bot (BotToken, net_ssl);
// the number of the LED pin
void setup()
{
Serial.begin(115200);
while (!Serial) {}  //Start running when the serial is open
delay(3000);
// attempt to connect to Wifi network:
Serial.print("Connecting Wifi: ");
Serial.println(ssid);
while (WiFi.begin(ssid, password) != WL_CONNECTED)
      {
  Serial.print(".");
  delay(500);
}
Serial.println("");
Serial.println("WiFi connected");
bot.begin();
pinMode(LED, OUTPUT);
}
void loop()
{
message m = bot.getUpdates(); // Read new messages
if (m.text.equals("on"))
      {
  digitalWrite(LED, 1);
  bot.sendMessage(m.chat_id, "The Led is now ON");
}
else if (m.text.equals("off"))
      {
  digitalWrite(LED, 0);
  bot.sendMessage(m.chat_id, "The Led is now OFF");
}
}
Put your wifi credentials and bot token and upload the code.
5. Test The WorkingI here include the making and working of my project.
Code
Code
https://github.com/CodersCafeCommunity/TelegramBotSchematics

LCD Hill Run v2 – Interactive Arduino Runner Game with 16x2 LCD & Buzzer
Smart Home Automation via GSM Module
Manufacturing process
- Build a Smart Piggy Bank: Control a Coin Acceptor with Arduino Nano
- Control an LED via Bluetooth with Arduino – Simple DIY Guide
- Integrating a DFRobot Capacitive Fingerprint Sensor with Arduino or ESP8266
- Accurate Solar Radiation Measurement Using Arduino UNO and Ethernet Shield
- Arduino‑Powered HID UPS: Upgrade Your Dummy Power Supply to USB‑Compatible Backup
- Build a Portable RFID Door Lock with Arduino – Step-by-Step Guide
- Build a Telegram Bot on Arduino MKR WiFi 1010: IoT Starter Guide
- Build an IR Sensor Project with Arduino UNO – Simple Guide
- Wi‑Fi Controlled FPV Rover Robot with Arduino & ESP8266 – DIY Guide
- Efficiently Program ATtiny85 Using Arduino Uno: A Cost‑Effective Multi‑Sensor Solution