


Eliminate Jumper Wires: How BreadShield Connects Arduino Directly to Breadboards
As someone who has both launched and supported a range of crowdfunding projects, I frequently receive inquiries from creators looking to streamline their prototypes. One such message came from Forrest Bao, who announced an open‑source project that promises to eliminate the need for jumper wires between an Arduino and a breadboard.
Hi, I’d like to report an open‑source project that can greatly speed up prototyping with the Arduino. It can eliminate the pain of using jumper wires between the Arduino and a breadboard. It’s currently in a crowdfunding campaign. Here is the link: www.crowdsupply.com/loser/breadshield
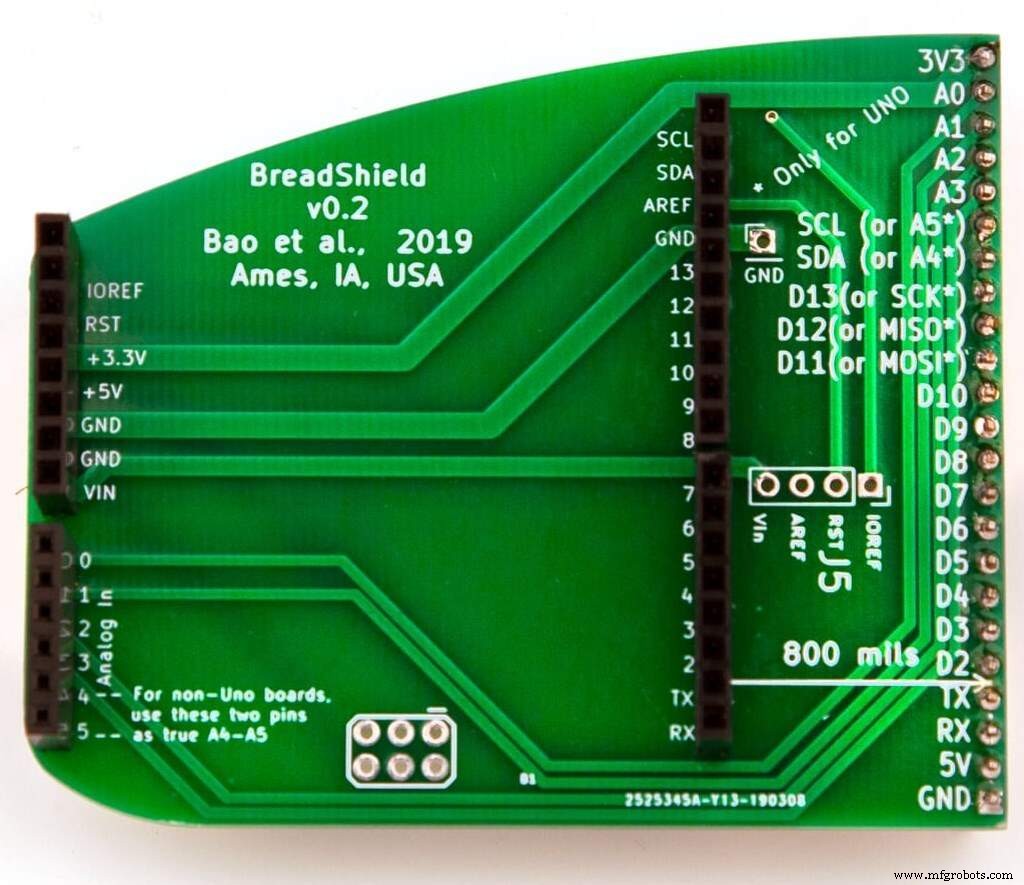
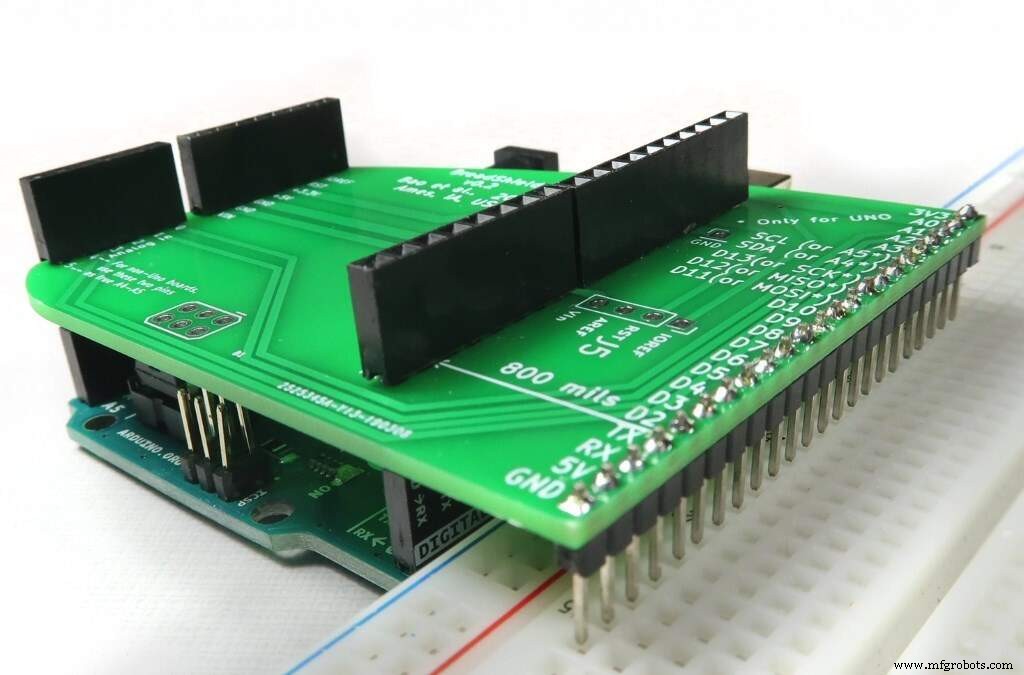
The BreadShield (pictured below) connects an Arduino directly to a breadboard, replacing the messy array of jumper wires that often clutter a prototype. The concept is simple yet powerful: the board is a compact, soldered interface that aligns the Arduino pins with the breadboard rows, enabling clean, permanent connections.
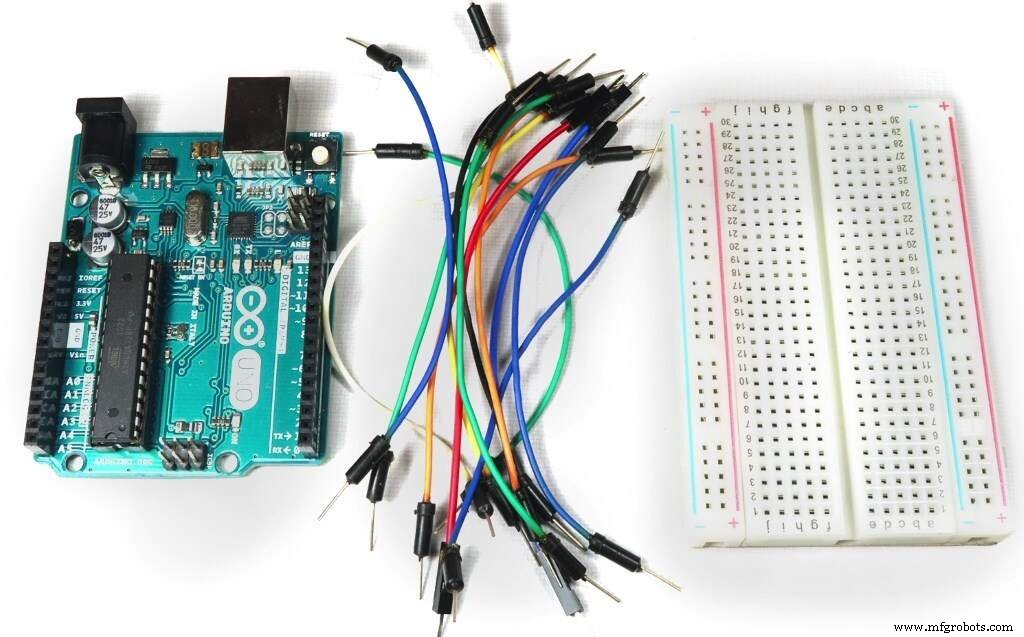
In the video, Forrest demonstrates common pain points—loose connections, board clutter, and time wasted in rewiring—before revealing how BreadShield transforms a typical setup into a tidy, ready‑to‑go module.
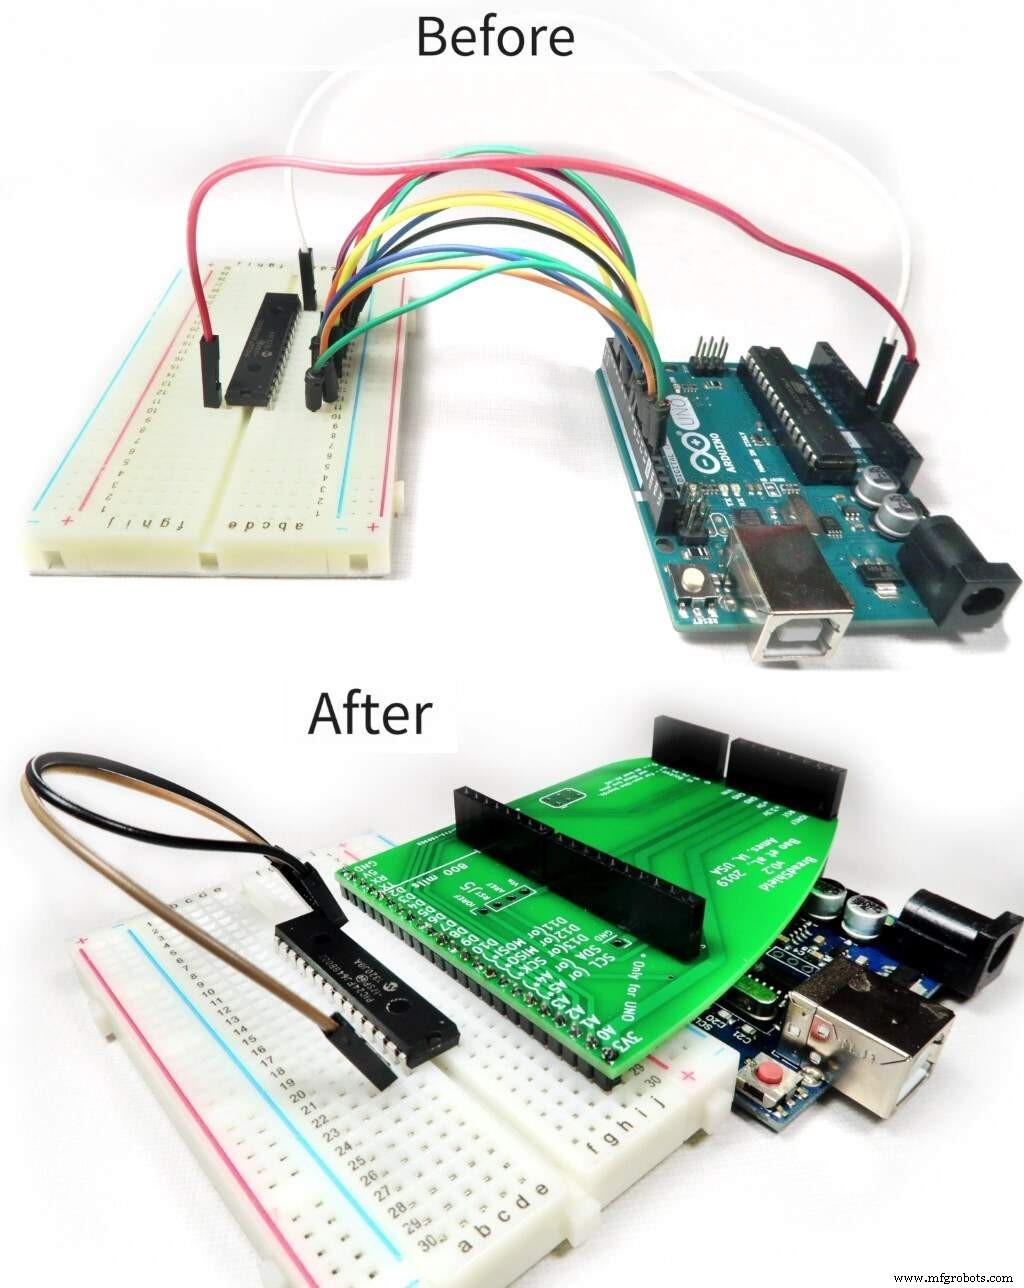
To illustrate the difference, the video shows a side‑by‑side comparison of a “before” and “after” scenario:
Pricing is competitive. A fully assembled BreadShield unit retails for $13 with free shipping within the U.S., and only $6 worldwide. If you prefer a more hands‑on approach, you can purchase a kit of the three essential components—two 2‑row header strips and a thin copper board—for $15, giving you the flexibility to assemble the board yourself.
Whether you’re a hobbyist building a prototype or a professional in a busy lab, BreadShield offers a reliable, time‑saving solution that keeps your breadboard neat and your circuits stable.
Note: This article originally appeared on EEWeb: “Connect Arduino to Breadboard Without Jump Wires.”
Embedded
- Arduino’s Evolution: CEO Fabio Violante on Industry Trends and Future Innovations
- Build an Affordable Wireless Sensor Network for Your Home
- Compact Weather Station: Arduino Nano & ESP8266 with BMP280 Barometric Sensor & OLED/Nokia LCD Display
- Arduino Sunflower: Build an Electronic Sun-Tracking Sunflower
- Build a SmartThings‑Enabled IR Bridge with Arduino UNO & ThingShield
- Build a Reliable LCD Stopwatch with Arduino Nano – No Potentiometer Needed
- Build a Classic Arduino LCD Arcade Game with Buzzer and Joystick
- Interactive Countdown Timer with LED Display & Bluetooth Control
- Mastering Control Panel Wiring: Quality, Standards, and Best Practices
- Build a Multifunctional Arduino RC Transmitter: Step‑by‑Step DIY Guide