


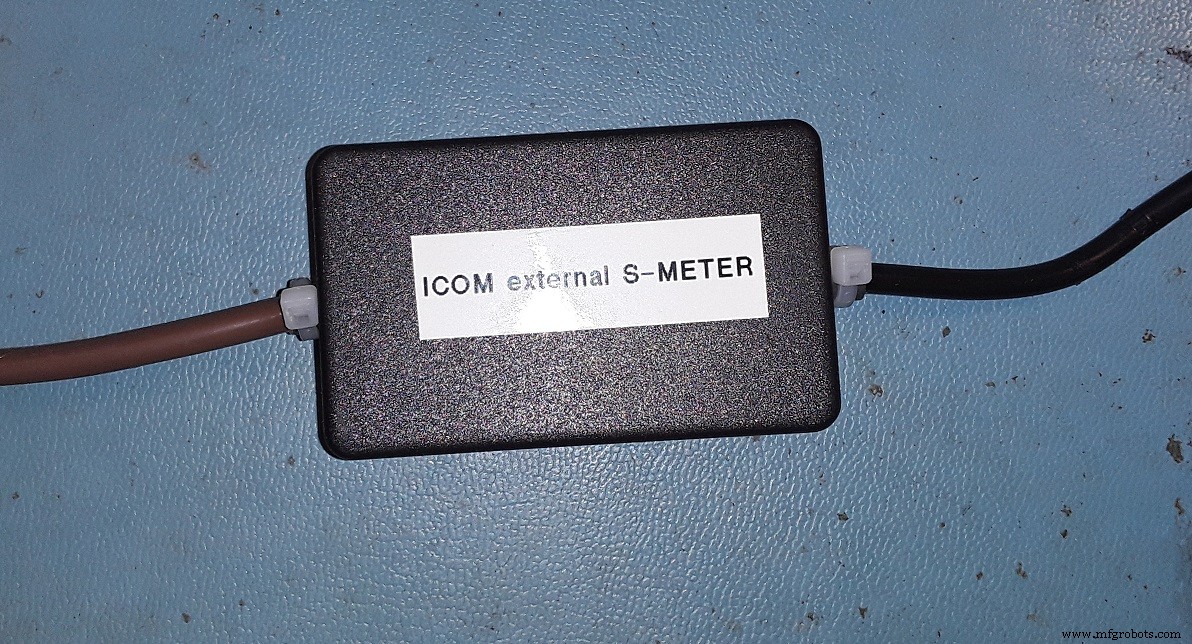
External S‑Meter for Icom Radios Using CI‑V and Arduino
Components and supplies
 |
| × | 1 | |||
 |
| × | 1 | |||
 |
| × | 1 | |||
 |
| × | 1 | |||
| × | 1 | ||||
 |
| × | 1 | |||
 |
| × | 2 | |||
| × | 1 | ||||
| × | 1 |
About this project
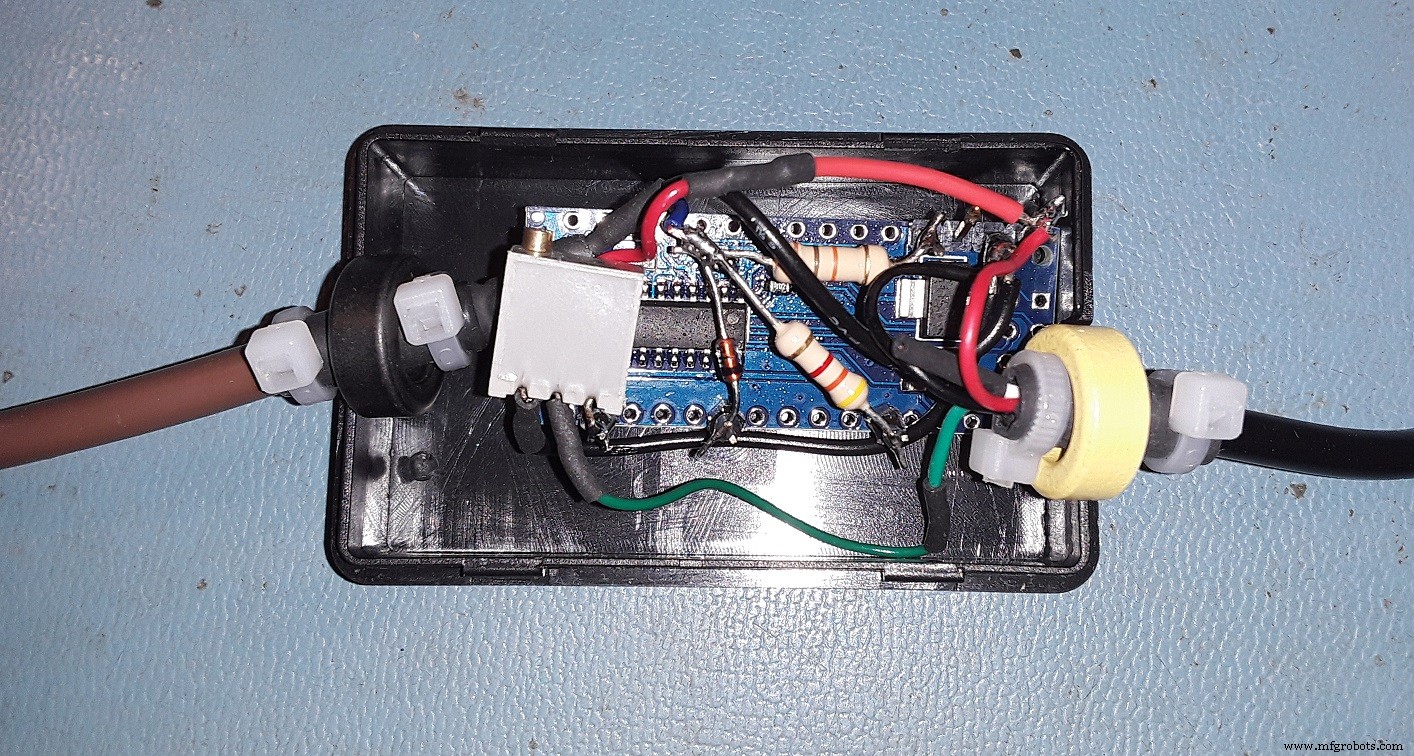
This circuit uses an Arduino Uno or Nano to send a CI-V command to an Icom radio to ask for signal information, read the answer, convert it and display it on an analog output, where you can connect an analog (Arsonval) S-meter.
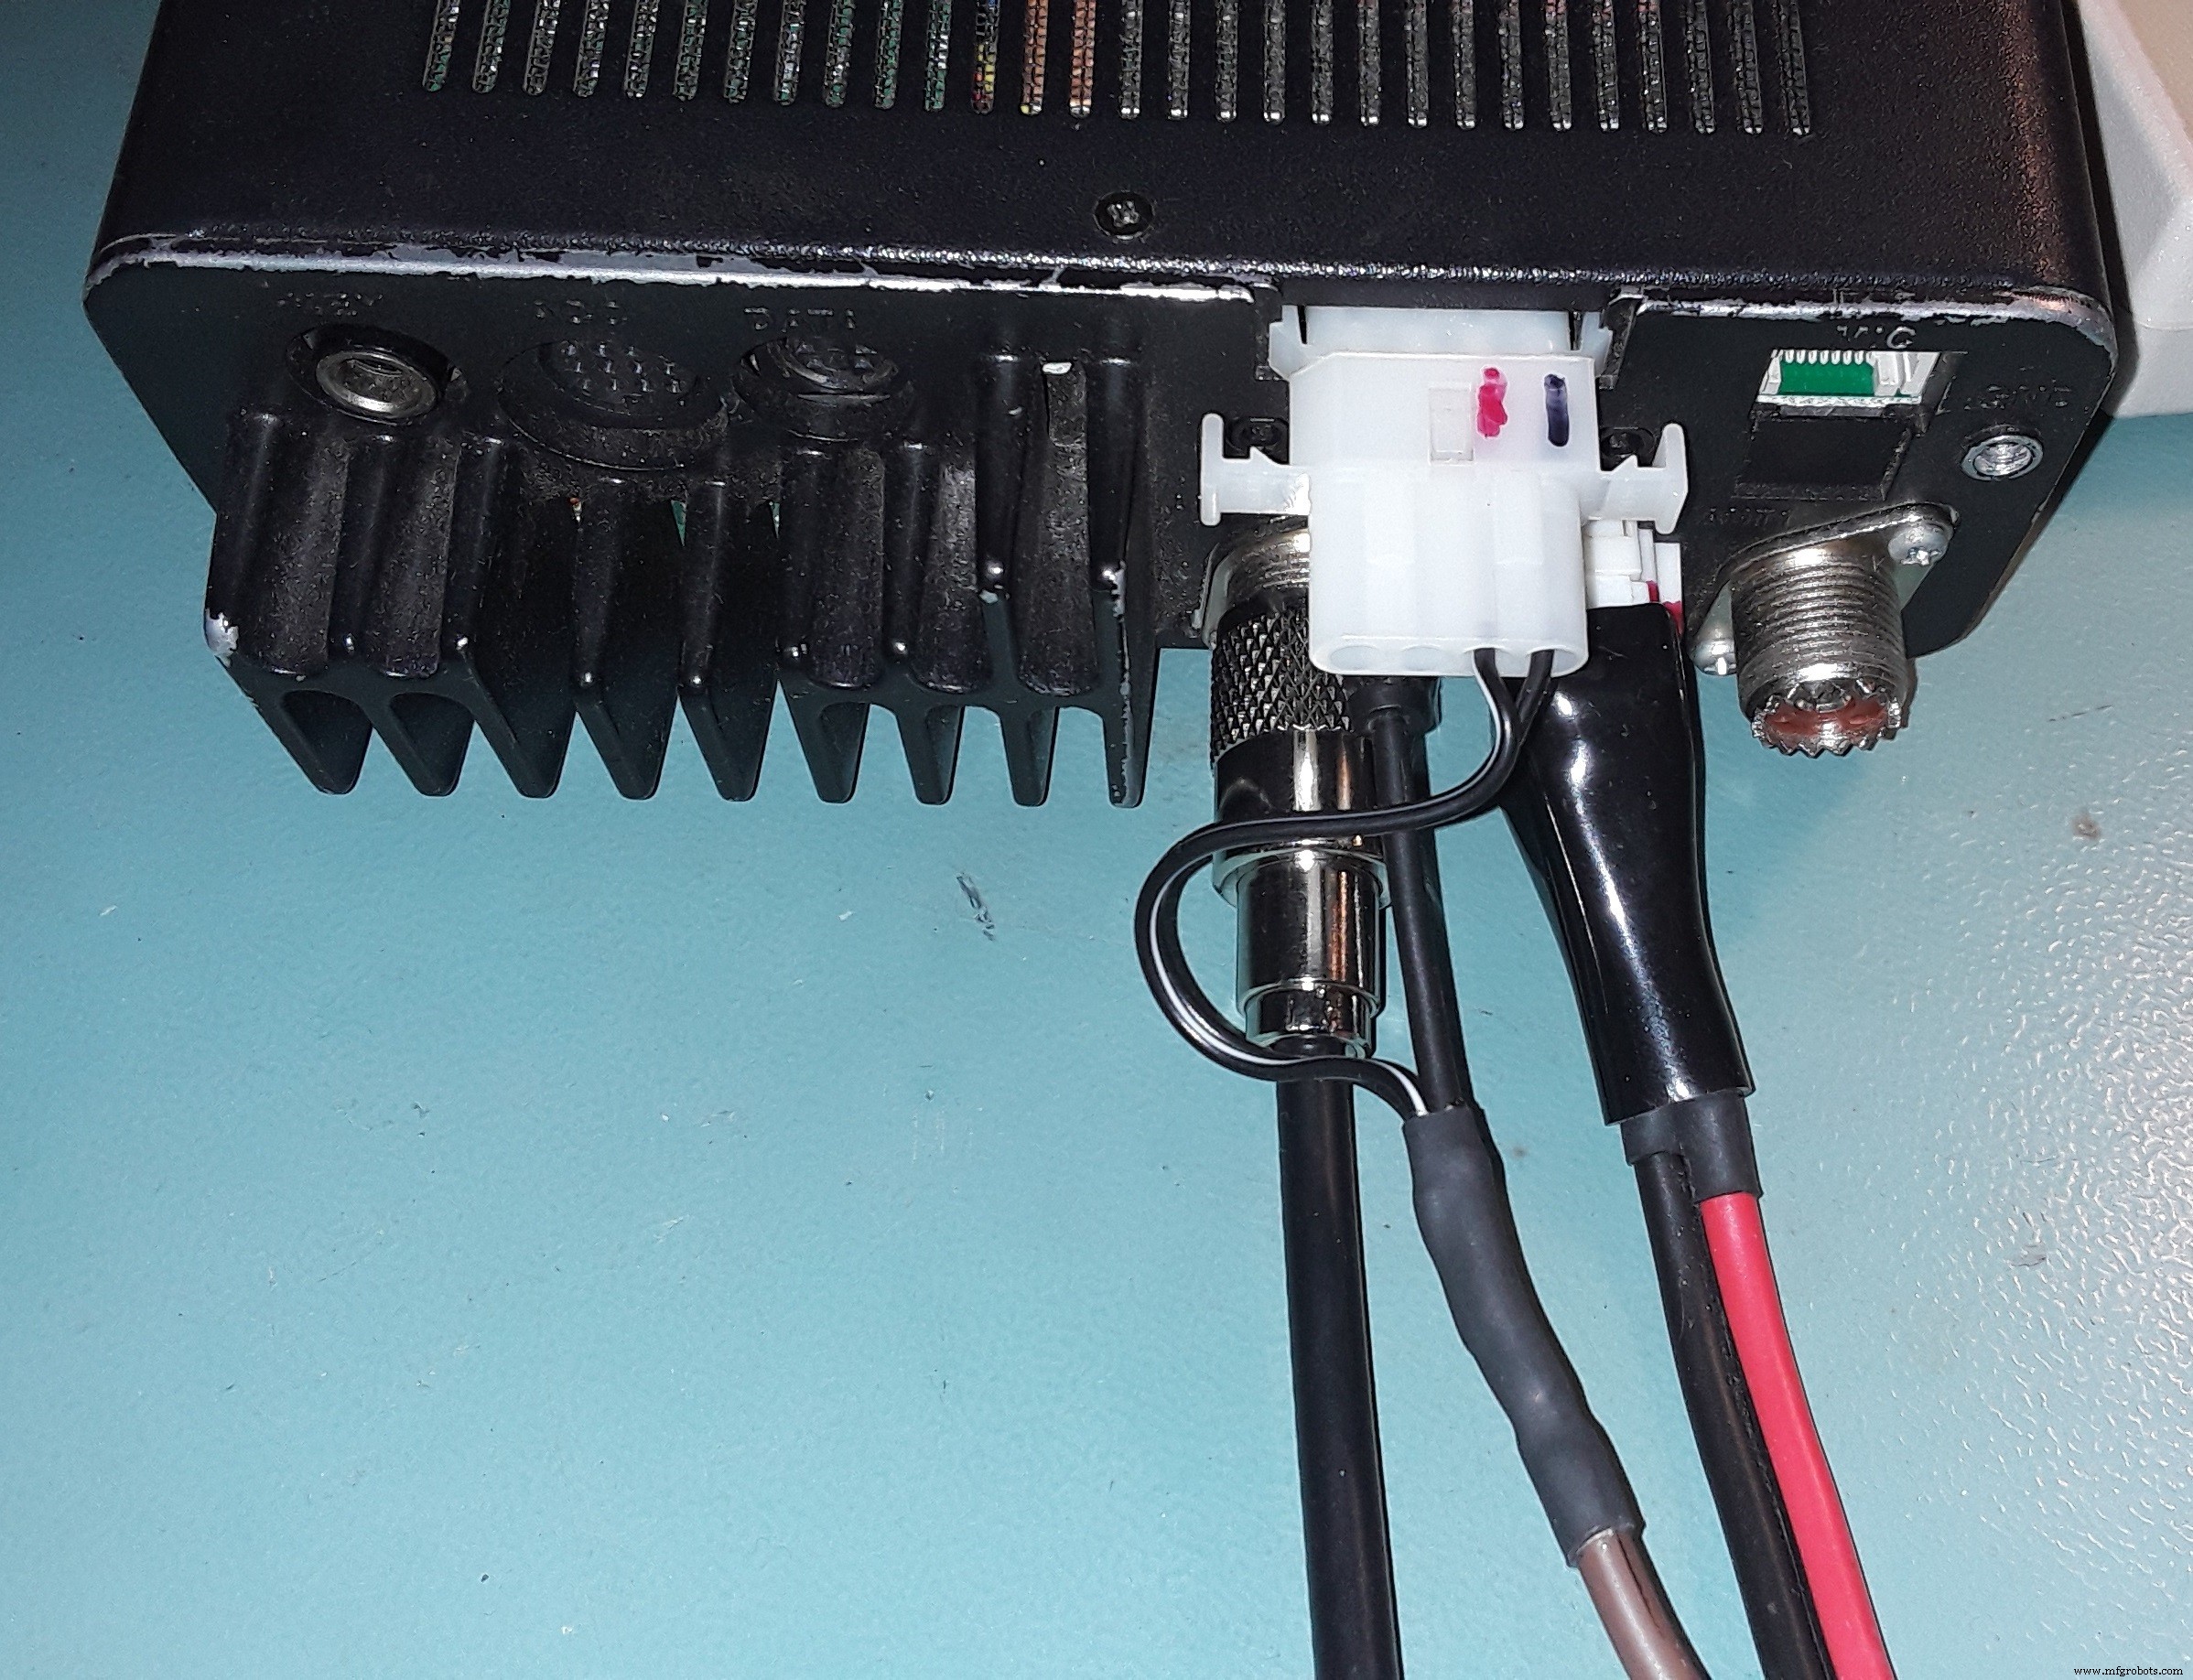
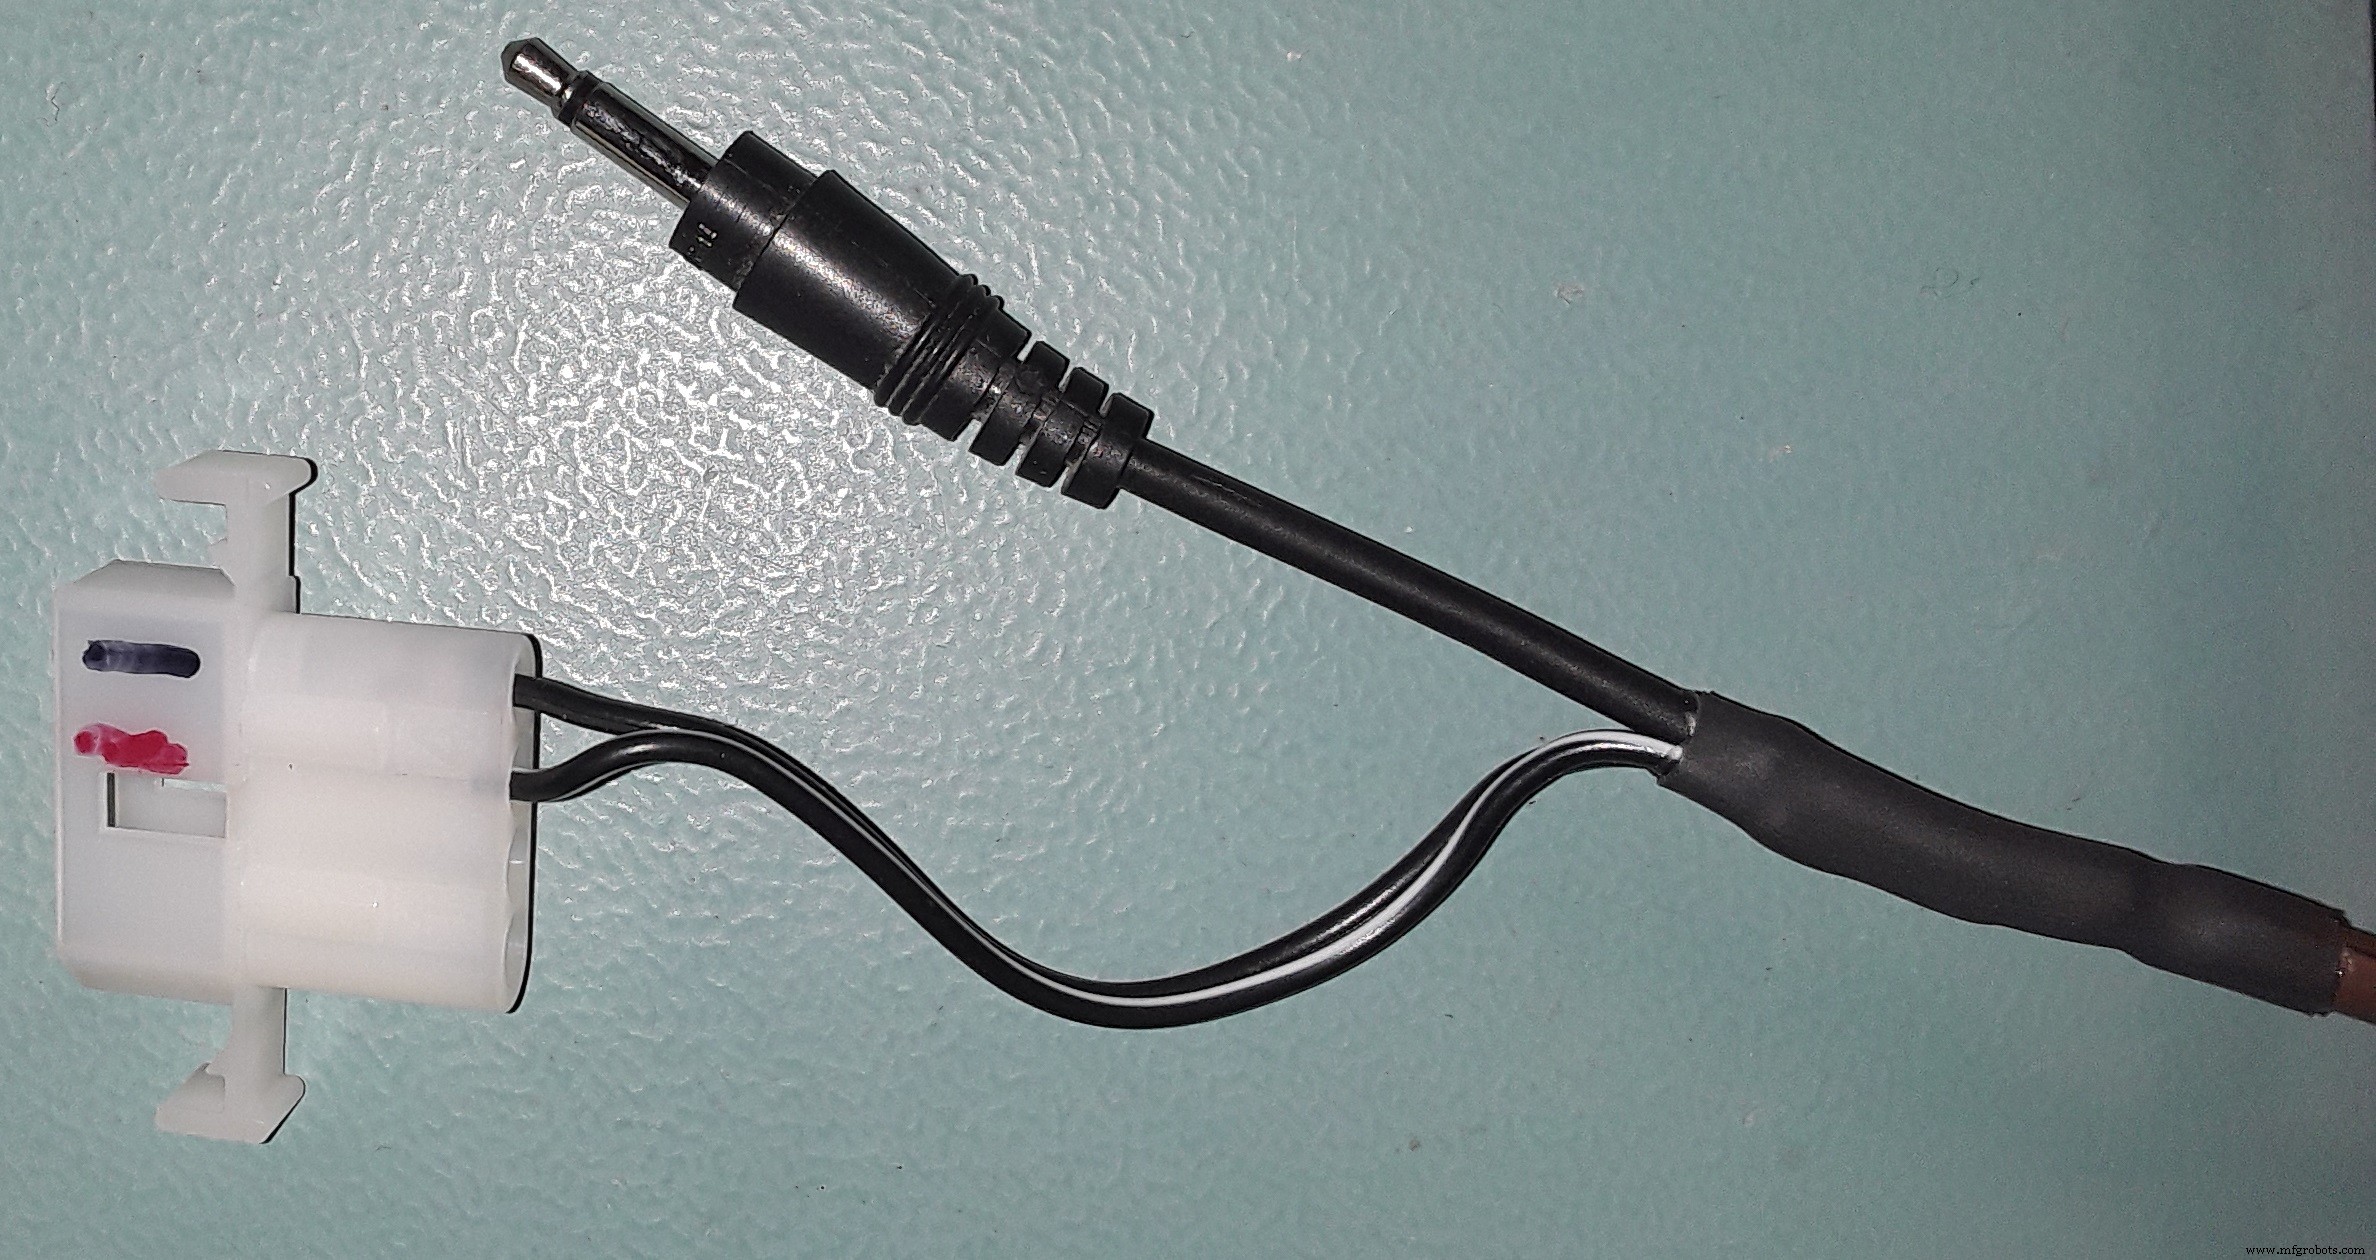
It is powered by the Antenna Tuner port on the Icom radio. If your Icom does not have a tuner port, you can use any other port or connector that provides a +12V output (at least 200 mA). An external DC power source can also be used.
If you don't have an Antenna Tuner connector, you can use a PC computer power supply connector, and trim it with cutters to fit the Icom tuner connector.
This project is designed for an Icom IC-7000 transceiver, but it can be adapted to any Icom radio with a CI-V port.
You can use the CI-V "00" universal address on some Icom radios, making this converter compatible with any Icom radio, without changing the CI-V address in the code.
Ferrites are installed on input & output cables to eliminate RF induction. The +12 V DC to the S-meter is not necessary; it could be used to power meter backlight or any other optional features.
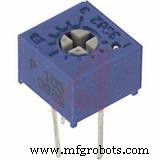
The 10 k ohms potentiometer is used to attenuate the signal output (which is too high for most analog meters) and calibrate the analog meter to get a full scale reading with a powerful local signal (+60 dB).
Some other similar projects, using Arduino as a CI-V interface:
https://on7dq.blogspot.com/2017/02/ic-7300-paddle-or-key-easy-solution.html
https://www.qsl.net/on7eq/en/ Click on "projects" button
Code
- Icom CI-V S-meter
Icom CI-V S-meterC/C++
// IC7300 Testbed for S-meter readout and other functions
// by Luc Decroos - ON7DQ/KF0CR
// modified & adapted by Daniel VE2BAP, 2018-12-01

#include <SoftwareSerial.h> // for comms to IC7000
#define BAUD_RATE 19200     // CI-V speed
#define TRX_address (0x70)  // HEX $70 = Icom IC-7000
//#define TRX_address ((byte)00)  // $00: Icom universal address (works for all radios).

// serial connection
// RX = Icom radio to Arduino  : to pin 2 via resistor 4k7
// TX = Arduino to Icom radio  : to pin 7 via diode 1N4148, with pull up 10k to Vcc (5V) on tip of 3.5 mm connector

SoftwareSerial mySerial = SoftwareSerial(2, 7); // (RX, TX)

int readCounter; // counts the number of bytes received from the radio
int sMeterVal1;  // stores the most  significant BCD byte containing signal info.
int sMeterVal2;  // stores the least significant BCD byte containing signal info.
int sMeterOut = 11; // External analog S-meter connected to pin 11.

//---------------------------------------------------------------------------------------------

void setup()
{
  pinMode(13, OUTPUT); digitalWrite(13, LOW); // force LED (pin 13) to turn off.

  pinMode(2, INPUT);  // CI-V serial communication from IC7000
  pinMode(7, OUTPUT); // CI-V serial communication to IC7000
  pinMode(sMeterOut, OUTPUT); // set sMeterPin for output

  mySerial.begin(BAUD_RATE);
  mySerial.listen();  // only one port can be made to listen with software serial
  // see reference https://www.arduino.cc/en/Reference/SoftwareSerialListen
  while (mySerial.available()) mySerial.read(); // clean buffer
}

//---------------------------------------------------------------------------------------------

void loop()
{
  // read and display S-meter value

  mySerial.flush();

  // start sequence: send "read S meter" command to radio.
  mySerial.write(0xFE); mySerial.write(0xFE); mySerial.write(TRX_address); mySerial.write(0xE0);
  mySerial.write(0x15); mySerial.write(0x02); // Read s-meter , command 15 02
  mySerial.write(0xFD); // end sequence
  delay(20);

  // now read info from radio
  int nbChar = mySerial.available();

  if (nbChar > 0) {
    for (int readCounter = 0; readCounter < nbChar ; readCounter++) {
      byte byteRead = mySerial.read();

      if (readCounter == 6){
        sMeterVal1 = ( (byteRead/16*10) + (byteRead%16) ); // First byte: convert from BCD to decimal.
      }

      if (readCounter == 7){
        sMeterVal2 = ( (byteRead/16*10) + (byteRead%16) ); // Second byte: convert from BCD to decimal.

        analogWrite(sMeterOut, ((sMeterVal1 * 100) + sMeterVal2)); // Calculate and write the S-meter value on the S-meter output pin.
        delay(20);
      }
    }
  }
}
Custom parts and enclosures

Schematics

Manufacturing process
- The Evolution and Engineering of Radio Technology
- Build a Simple Obstacle Sensor with Arduino – Easy IR LED & Photodiode Tutorial
- Build a Compact MIDI Drum Kit with 3D Printing
- Compact RDA5807 Mini Stereo Radio – Arduino Nano Project
- Arduino & NeoPixel Optocouplers: Efficient Control of Multiple Relays
- Build a Credit‑Card‑Sized Arduboy Clone with Arduino Nano & I2C OLED
- Dual-Axis Solar Tracker with Auto & Manual Control – Efficient Sun‑Tracking System
- Reverse‑Engineering Qualcomm Quick Charge 2.0/3.0 Using ATtiny85: A Practical Guide
- Build a Stunning POV Cylinder with Arduino Due – Step‑by‑Step Guide
- Build Your Own Electronic Piano Keyboard with Built‑in Songs