


Build a TV Output Cable for Arduino UNO with Just Two Resistors
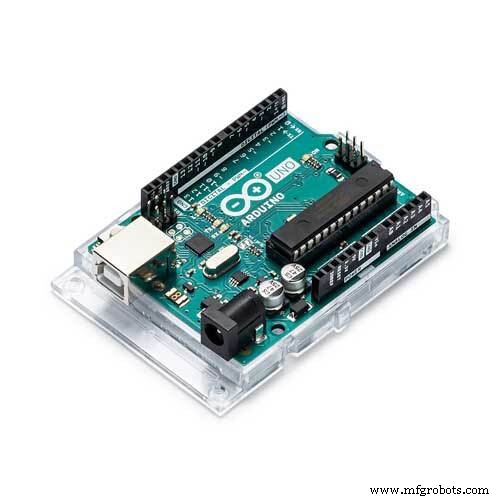
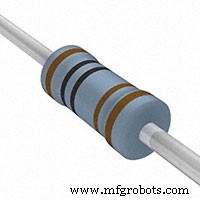
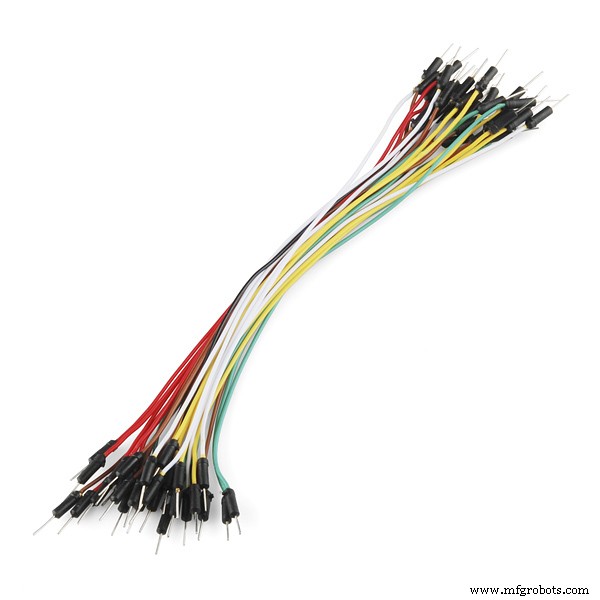
Components and supplies
 |
| × | 1 | |||
| × | 1 | ||||
 |
| × | 1 | |||
| × | 1 | ||||
| × | 1 | ||||
 |
| × | 1 | |||
| × | 1 |
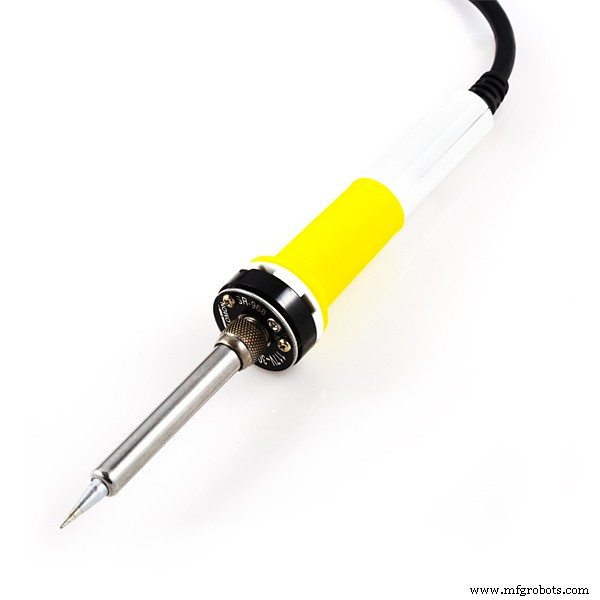
Necessary tools and machines
 |
|
About this project
Arduino with TV! Yup, it is possible only with two resistors. Let's see the video first:
Arduino boards are pretty useful, but lack an output screen. This project let you allow to write sketches that will output onto a TV screen via an AV Video cable. This is very much a beginner project that just about anyone can do!
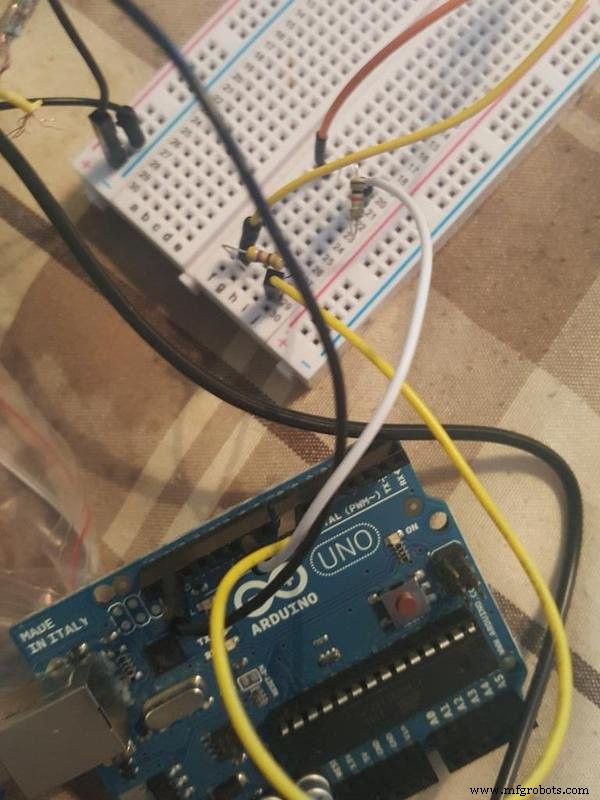
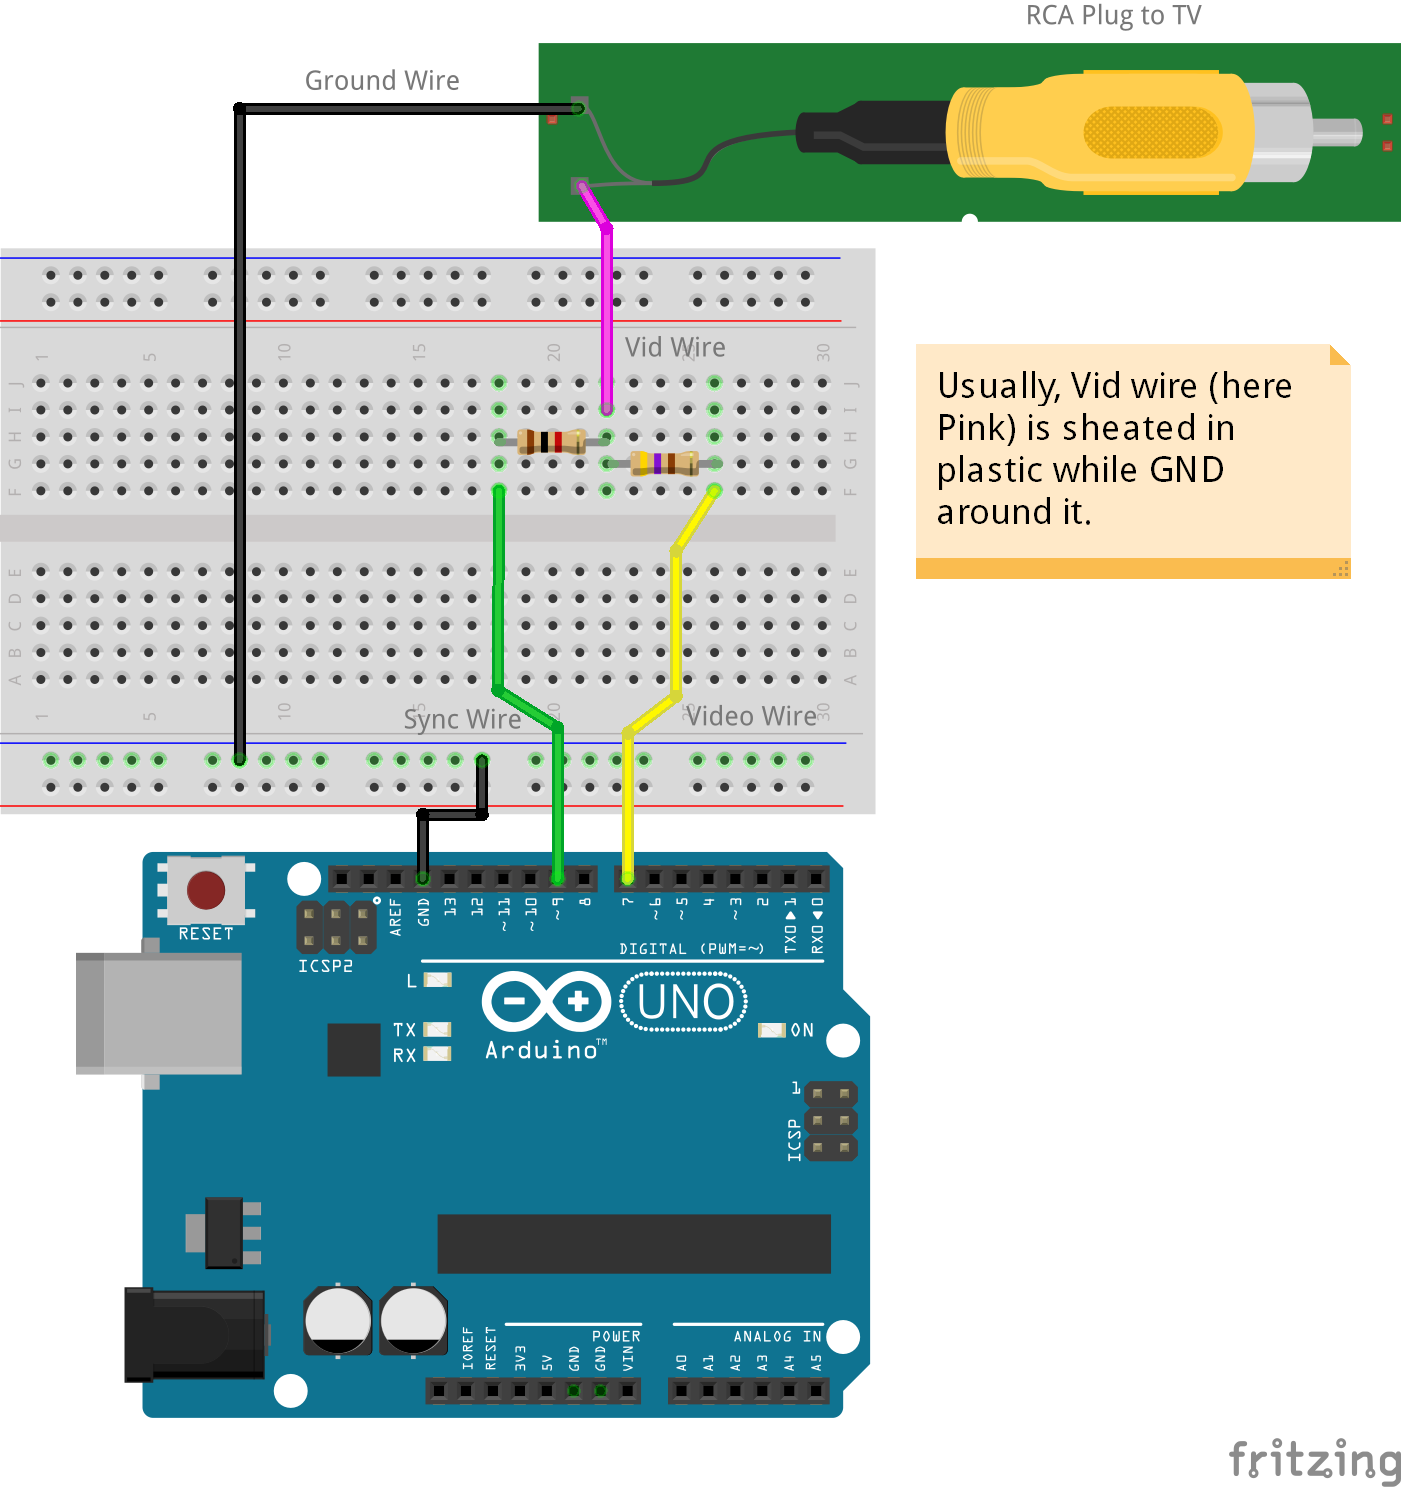
HardwareFirst off, you need to add the resistors inline to some hookup wire, according to this diagram:
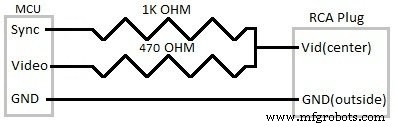
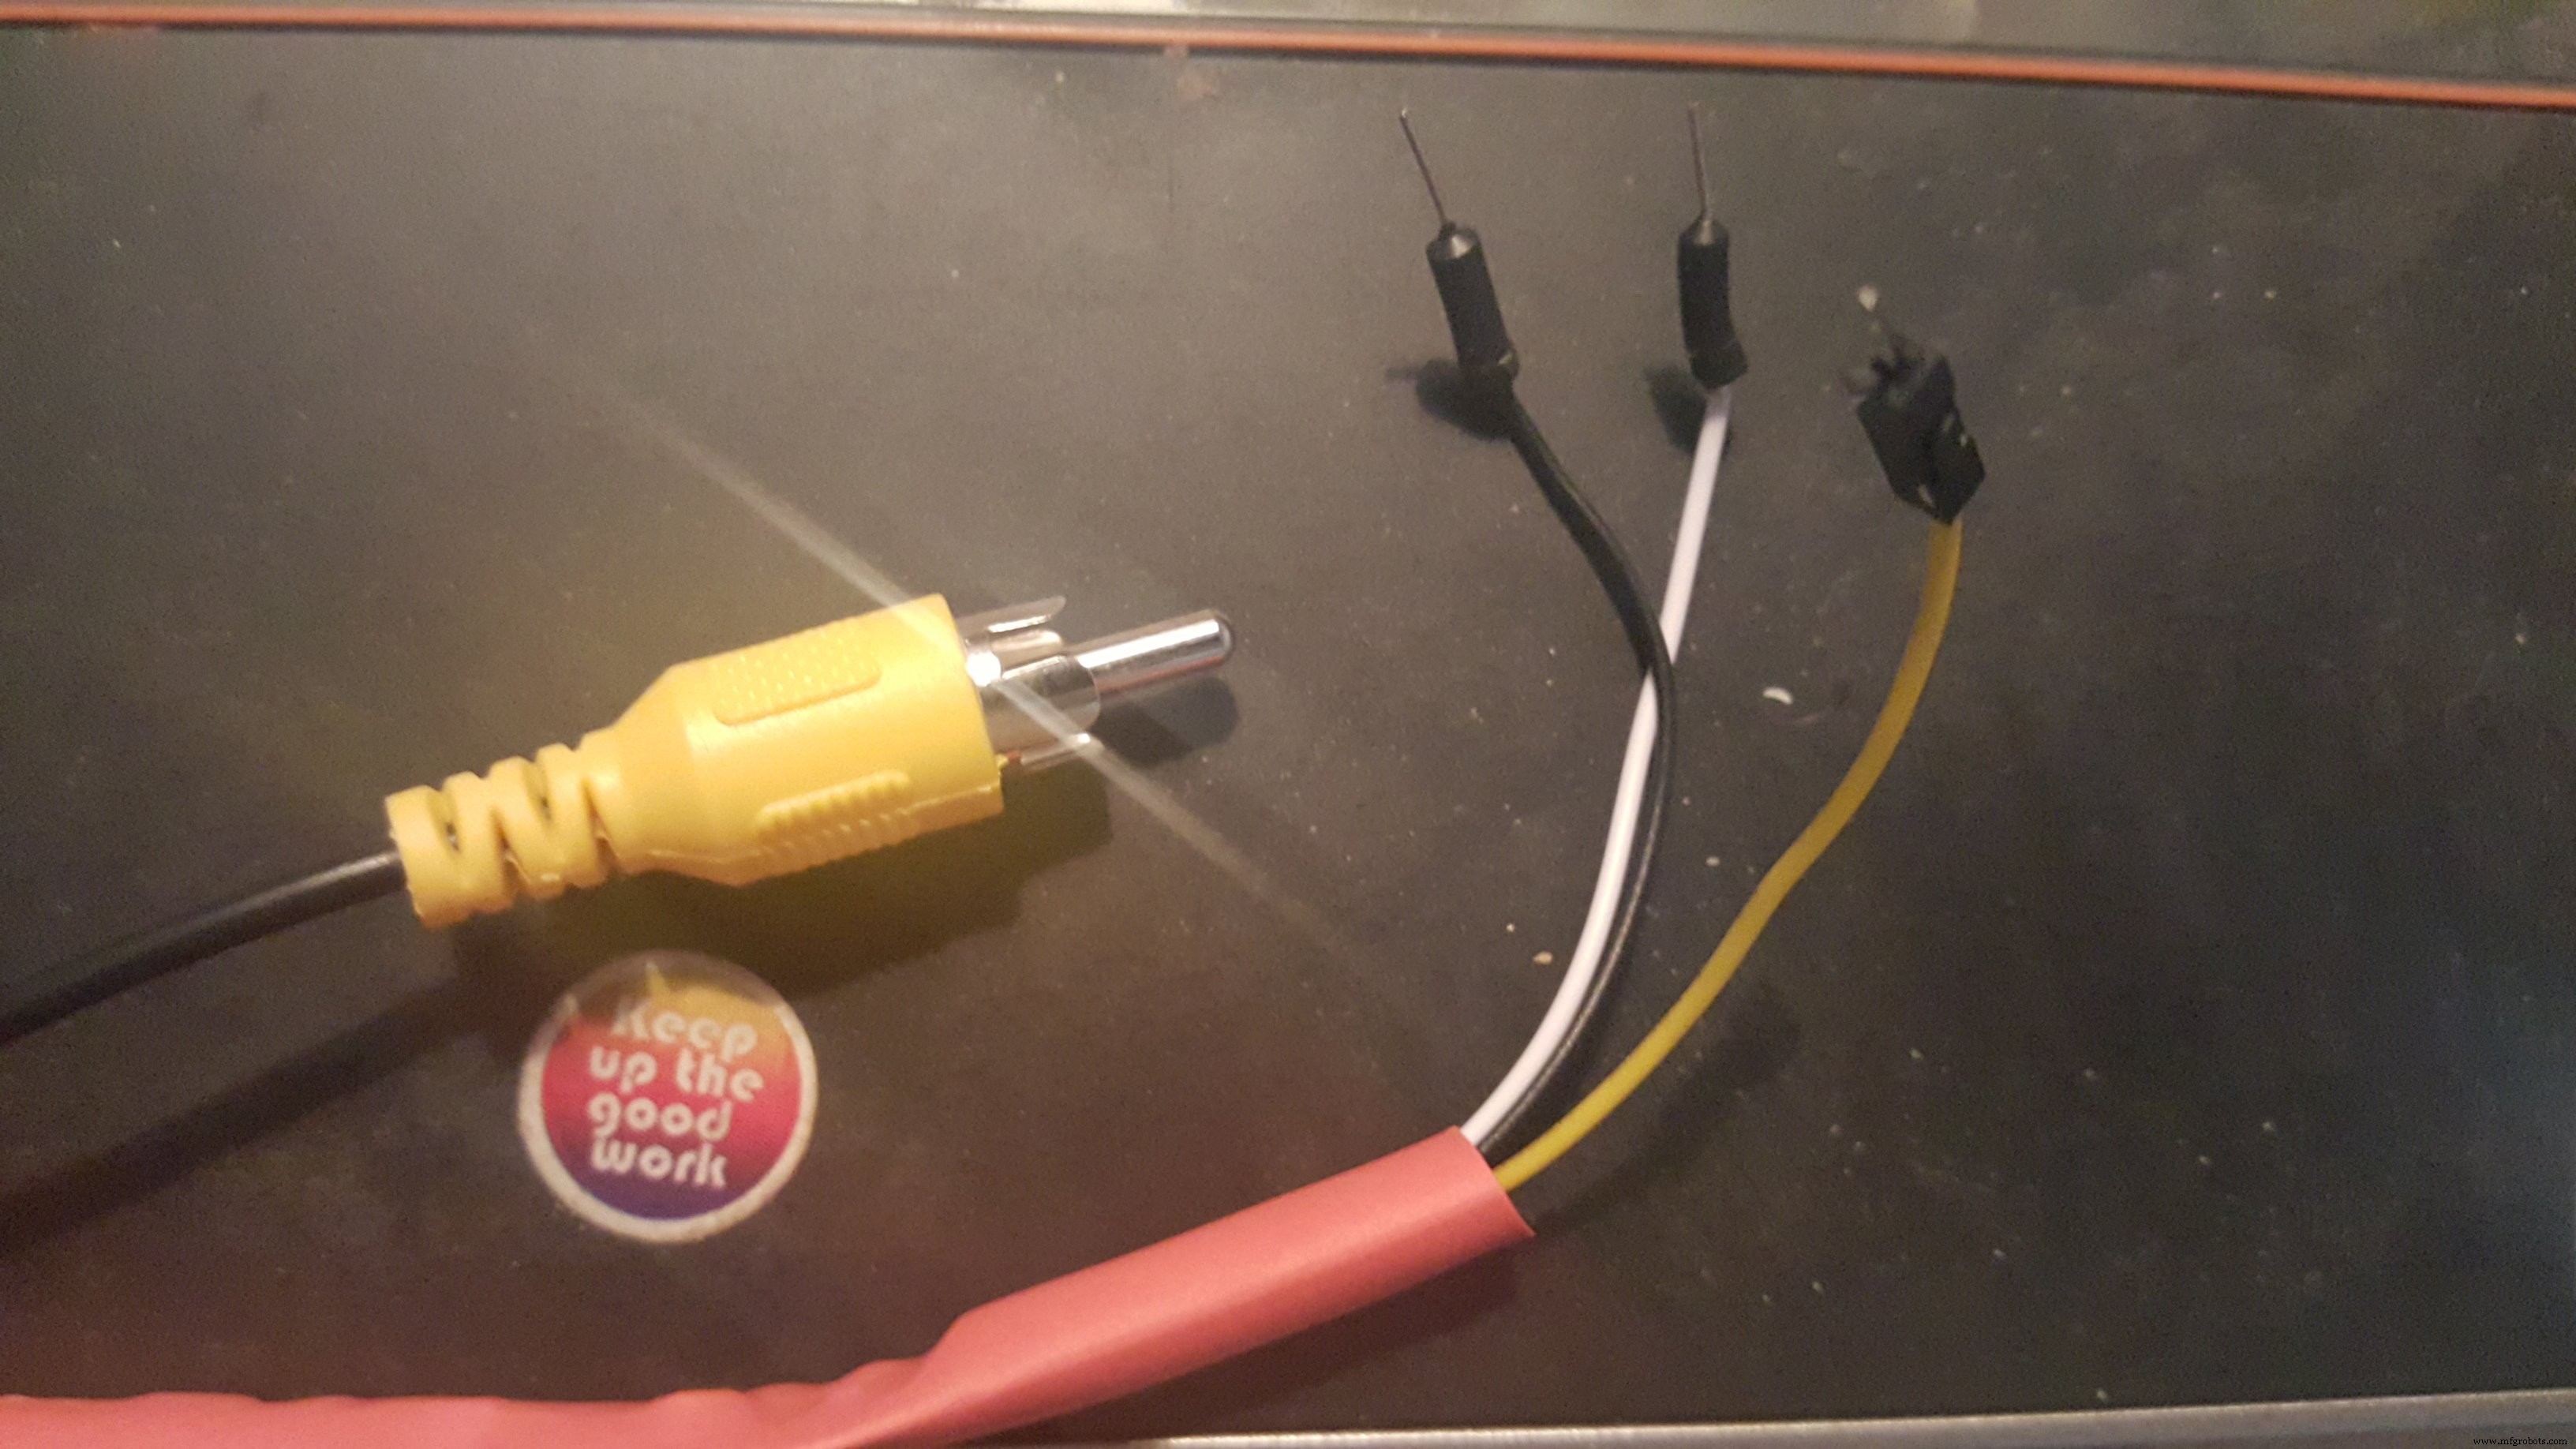
Your RCA cable will have 2 wires in it, a ground wire and a vid (Video) wire. Generally the vid (Video) wire is sheathed in plastic and the ground wire is not.
Depending on your setup and what you want to achieve (audio or video etc) refer to the following hookup guide:

I used heat-shrinkable tubing to make sure that everything was electrically insulated and to provide a little more strength in the solder joints:
You can then plug your new Arduino TV out cable into a TV or monitor and then plug the hookup wires to the Arduino.
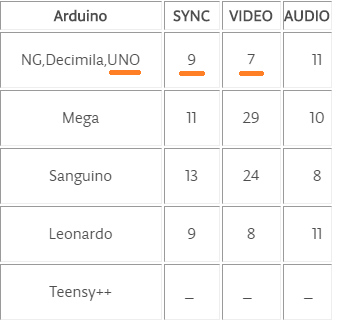
Different Arduino boards have different setups with the Sync/Video, but you can rest assured that Ground will always go to the Arduino GND pin.
SoftwareStep 1: Arduino-TVout Library
Download Arduino-TVout library.
Step 2: Install Library
Open Arduino and goto "Sketch" menu / "Include Library" / "Add .ZIP Library..." and select the library downloaded in Step 1.
Step 3: Compile & Upload Sketch
From "File" menu / "Examples" / "Arduino-TVout" and select "DemoPAL" and upload it.
Done!
Now, connect up the Arduino and give it a go!
Code
Arduino TV out repository
I have modified the code from the old repo and pushed to github. Please use my code, as the older code will not work!https://github.com/paulscott56/arduino-tvoutSchematics
Manufacturing process
- Build a 20 kHz Arduino Oscilloscope on a Nokia 5110 LCD – Easy DIY Guide
- Smart Blinds: Automated Light Control with Arduino & Solar Power
- Build an Italian Word Clock with Arduino Nano, NeoPixel, LCD, and RTC
- Touch‑Free Gesture Lock: Secure Access with APDS‑9960 and Arduino
- Arduino Nano Companion Kit – Essential Components & Tools for DIY Electronics
- Build an Isolated Analog Input Circuit for Arduino
- Arduino Real-Time Clock LED Clock: Build a Reliable Time Display
- Build a Stunning POV Cylinder with Arduino Due – Step‑by‑Step Guide
- Build a Reliable Arduino Kitchen Timer with LCD Display
- ArduTester V1.13: Automated Transistor Tester Powered by Arduino UNO