


Build a Non-Contact Infrared Thermometer with Arduino Nano and GY-906
Components and supplies
 |
| × | 1 |
Necessary tools and machines
 |
|
Apps and online services
 |
|
About this project
The infrared thermometer can measure the surface temperature of an object. Its advantage is non-contact temperature measurement, which can conveniently and accurately measure the temperature of a remote object.
Now I'm going to introduce the materials, tools and manufacturing methods needed to make an infrared thermometer.
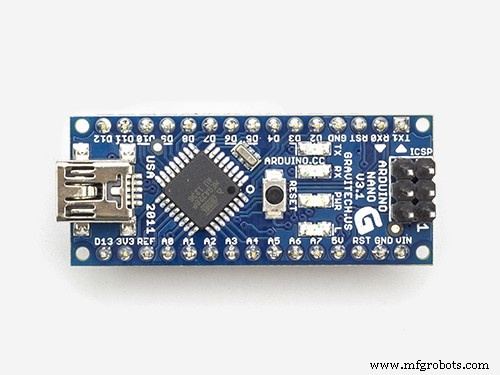
List of materialsArduino Nano × 1
Touch button × 1
Resistance (5K ohm, 200 ohm) × 1
5V laser transmitter × 1
Dual-control switch × 1
OLED 0.96 ″ screen × 1
GY-906 temperature sensor
MLX90614 sensor with capacitance or resistance × 1
9V battery × several
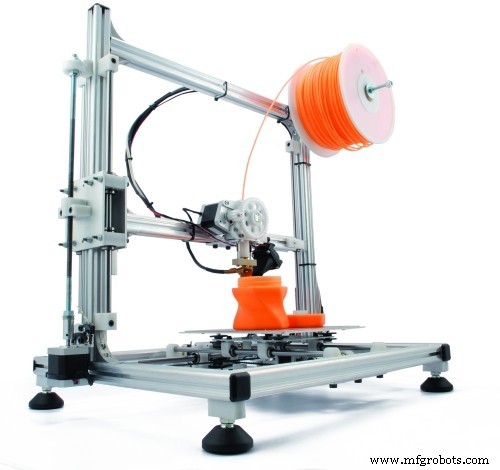
3D printer × 1
PLA printing supplies × several
GY-906 temperature sensor

This project uses the GY-906 infrared thermometer sensor. This module is very cheap, easy to integrate, and supports an I2C interface with a 10K pull-up resistor. The factory calibration of this temperature sensor is: the sensor temperature range is -40 to 125 degrees Celsius, and the object temperature range is -70 to 380 degrees Celsius. The error range of the sensor is about 0.5 degrees Celsius.
Circuit Part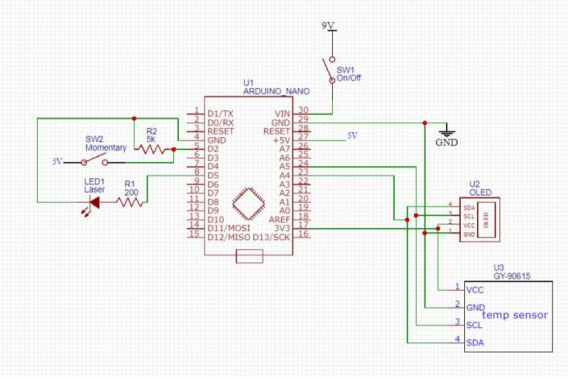
All components can now be assembled together.
1. Install all the components on the breadboard. After everything runs normally, solder all the components to the hole board.

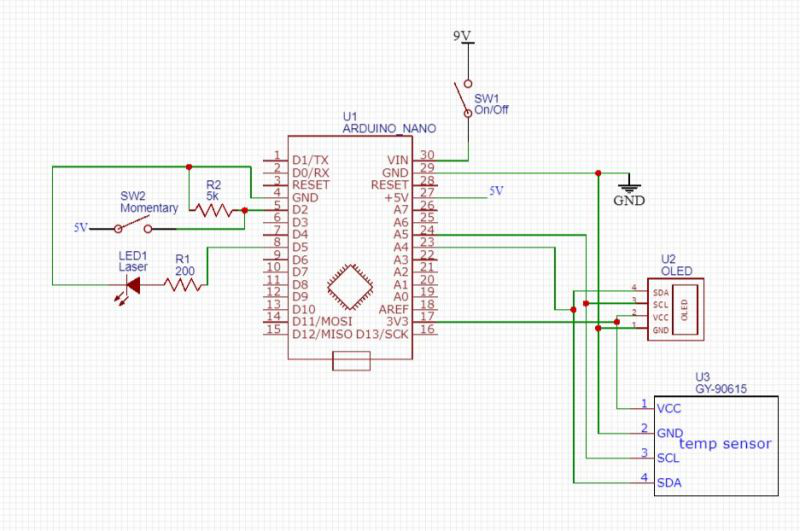
2. On the left, a laser with a 200 ohm resistor driven by digital output 5 is installed. A standard touch button connected between 5V and digital input 2. There is also a 5K pull-down resistor, so when the switch is turned on, the input is not floating and it should be set to 0V.
3. On the right, install a dual-control switch that connects the 9V battery to the input voltage (VIN) and GND pins of the Arduino Nano. The OLED display and GY-906 infrared temperature sensor are connected to 3.3V, the data line (SDA) line is connected to A4, and the control line (SCL) line is connected to A5. Both the OLED display and GY-906 have pull-up resistors on the I2C line.
Program1. First install the following libraries, Adafruits SSD1306 and Adafruits MLX90614.
https://github.com/adafruit/Adafruit_SSD1306
https://github.com/adafruit/Adafruit-MLX90614-Library
2. The program continuously reads temperature data from MLX90614, but it is only displayed on the OLED when the switch button is touched, and the laser also starts to help measure the temperature of the object.
Please download the programming files in the project file library.
https://make.quwj.com/project/157
3D PrintingThe 3D printed model was designed in Fusion 360.


1. A 9V battery, dual-control switch and light touch buttons are installed on the bottom of the thermometer. The bottom cover is snapped into place. A hole is left at the bottom to connect the wires of the basic components to the top of the thermometer.


2. There is an opening in the 0.96-inch OLED display. The laser and the MLX90614 sensor are installed in the front part of the top of the thermometer. Both the laser and the sensor can be pressed into place. Install the Arduino Nano on the top, but please use glue to properly route it so that it can be installed in place smoothly.
When printing, the side facing the display screen is printed downwards, and the angle of the OLED screen is quite large, so I printed the supporting part on the supporting plate, but the surface of the casing did not look ideal. If you have a better method, you can also replace it yourself.
You can download the 3D print files in the project file library.
https://make.quwj.com/project/157
TestDone! You can test the thermometer! Press the power button, wait for the display to load, and it is ready to use.
If you are interested in the infrared thermometer, you may want to read some related materials about the detailed working principle of it. Thank you guys so much for reading my articles!
Code
- Untitled file
Untitled fileArduino
I just assume you guys know how to program your arduino nano. If not, there are so many excellent tutorials online. You can do it!
Schematics
Manufacturing process
- The Thermometer: From Galileo’s Thermoscope to Modern Digital Sensors
- Build a Reliable Infrared Heartbeat Sensor with Arduino: Step-by-Step Guide
- Smartphone-Based Temperature Monitoring System with Arduino and Bluetooth
- Build a Portable RFID Door Lock with Arduino – Step-by-Step Guide
- DIY Arduino Height Measurement Device – Accurate & Easy to Build
- Build a Web-Enabled Arduino Thermometer with DS18B20 Sensor
- Build a Complete Arduino‑Powered RC Airplane from Scratch
- Build an Arduino‑Powered RC Hovercraft: Full 3D‑Printed Design & Programming Guide
- Build a Multifunctional Arduino RC Transmitter: Step‑by‑Step DIY Guide
- Infrared Temperature Sensors: Accurate, Non-Contact Thermal Measurement