


Bolt IoT: Advanced Humidity & Temperature Monitoring with DHT11 and Arduino
Components and supplies
 |
| × | 1 | |||
 |
| × | 1 | |||
 |
| × | 1 |
Apps and online services
 |
|
About this project
The Bolt team has recently updated the BoltIoT-Arduino-Helper library, and I thought it would be a good idea to try it out. The library now has example on how to interface DHT sensor with the Bolt Cloud, and this project is all about doing just that.
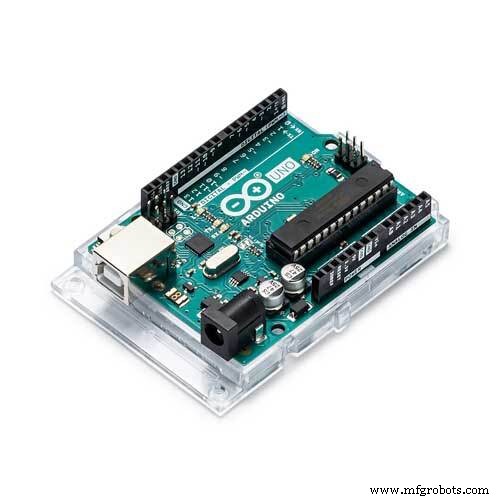
Hardware setup:While I am using a Boltduino (A customised version of the Arduino Uno r2), the project can just as easily be done using the Arduino Uno. I have made the fritzing diagram using the Arduino UNO for the Boltduino deprived makers out there.
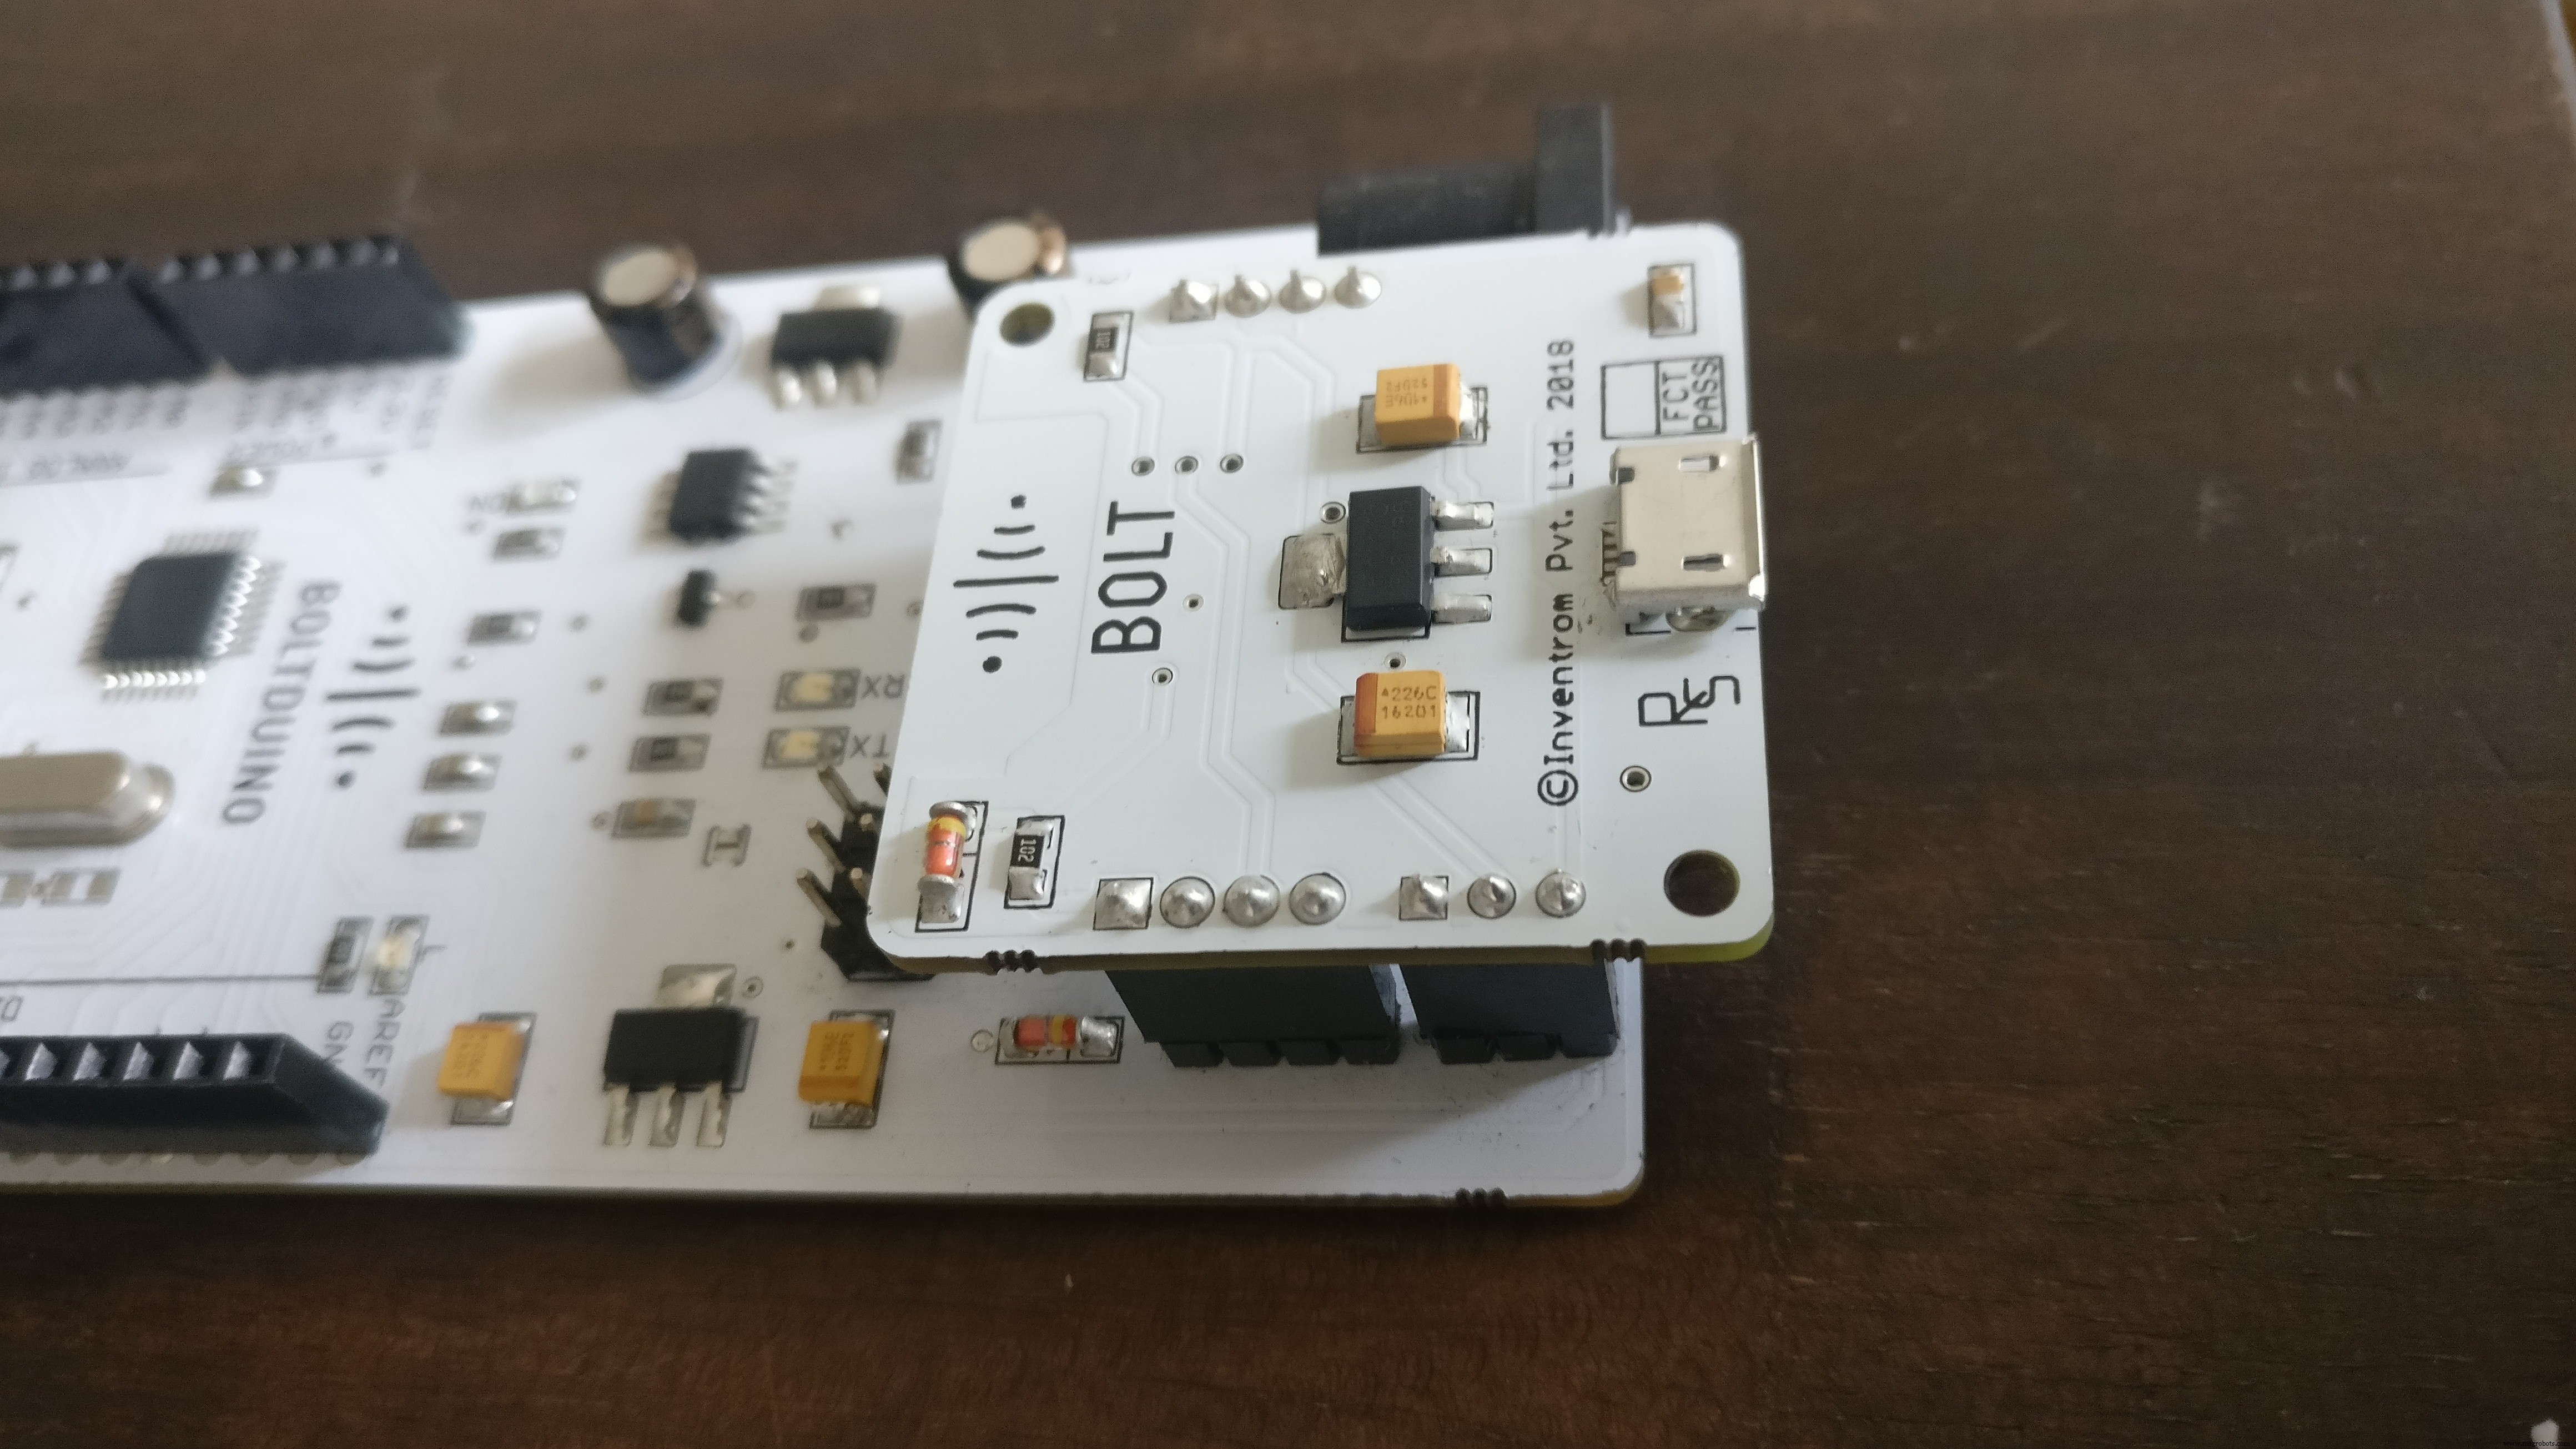
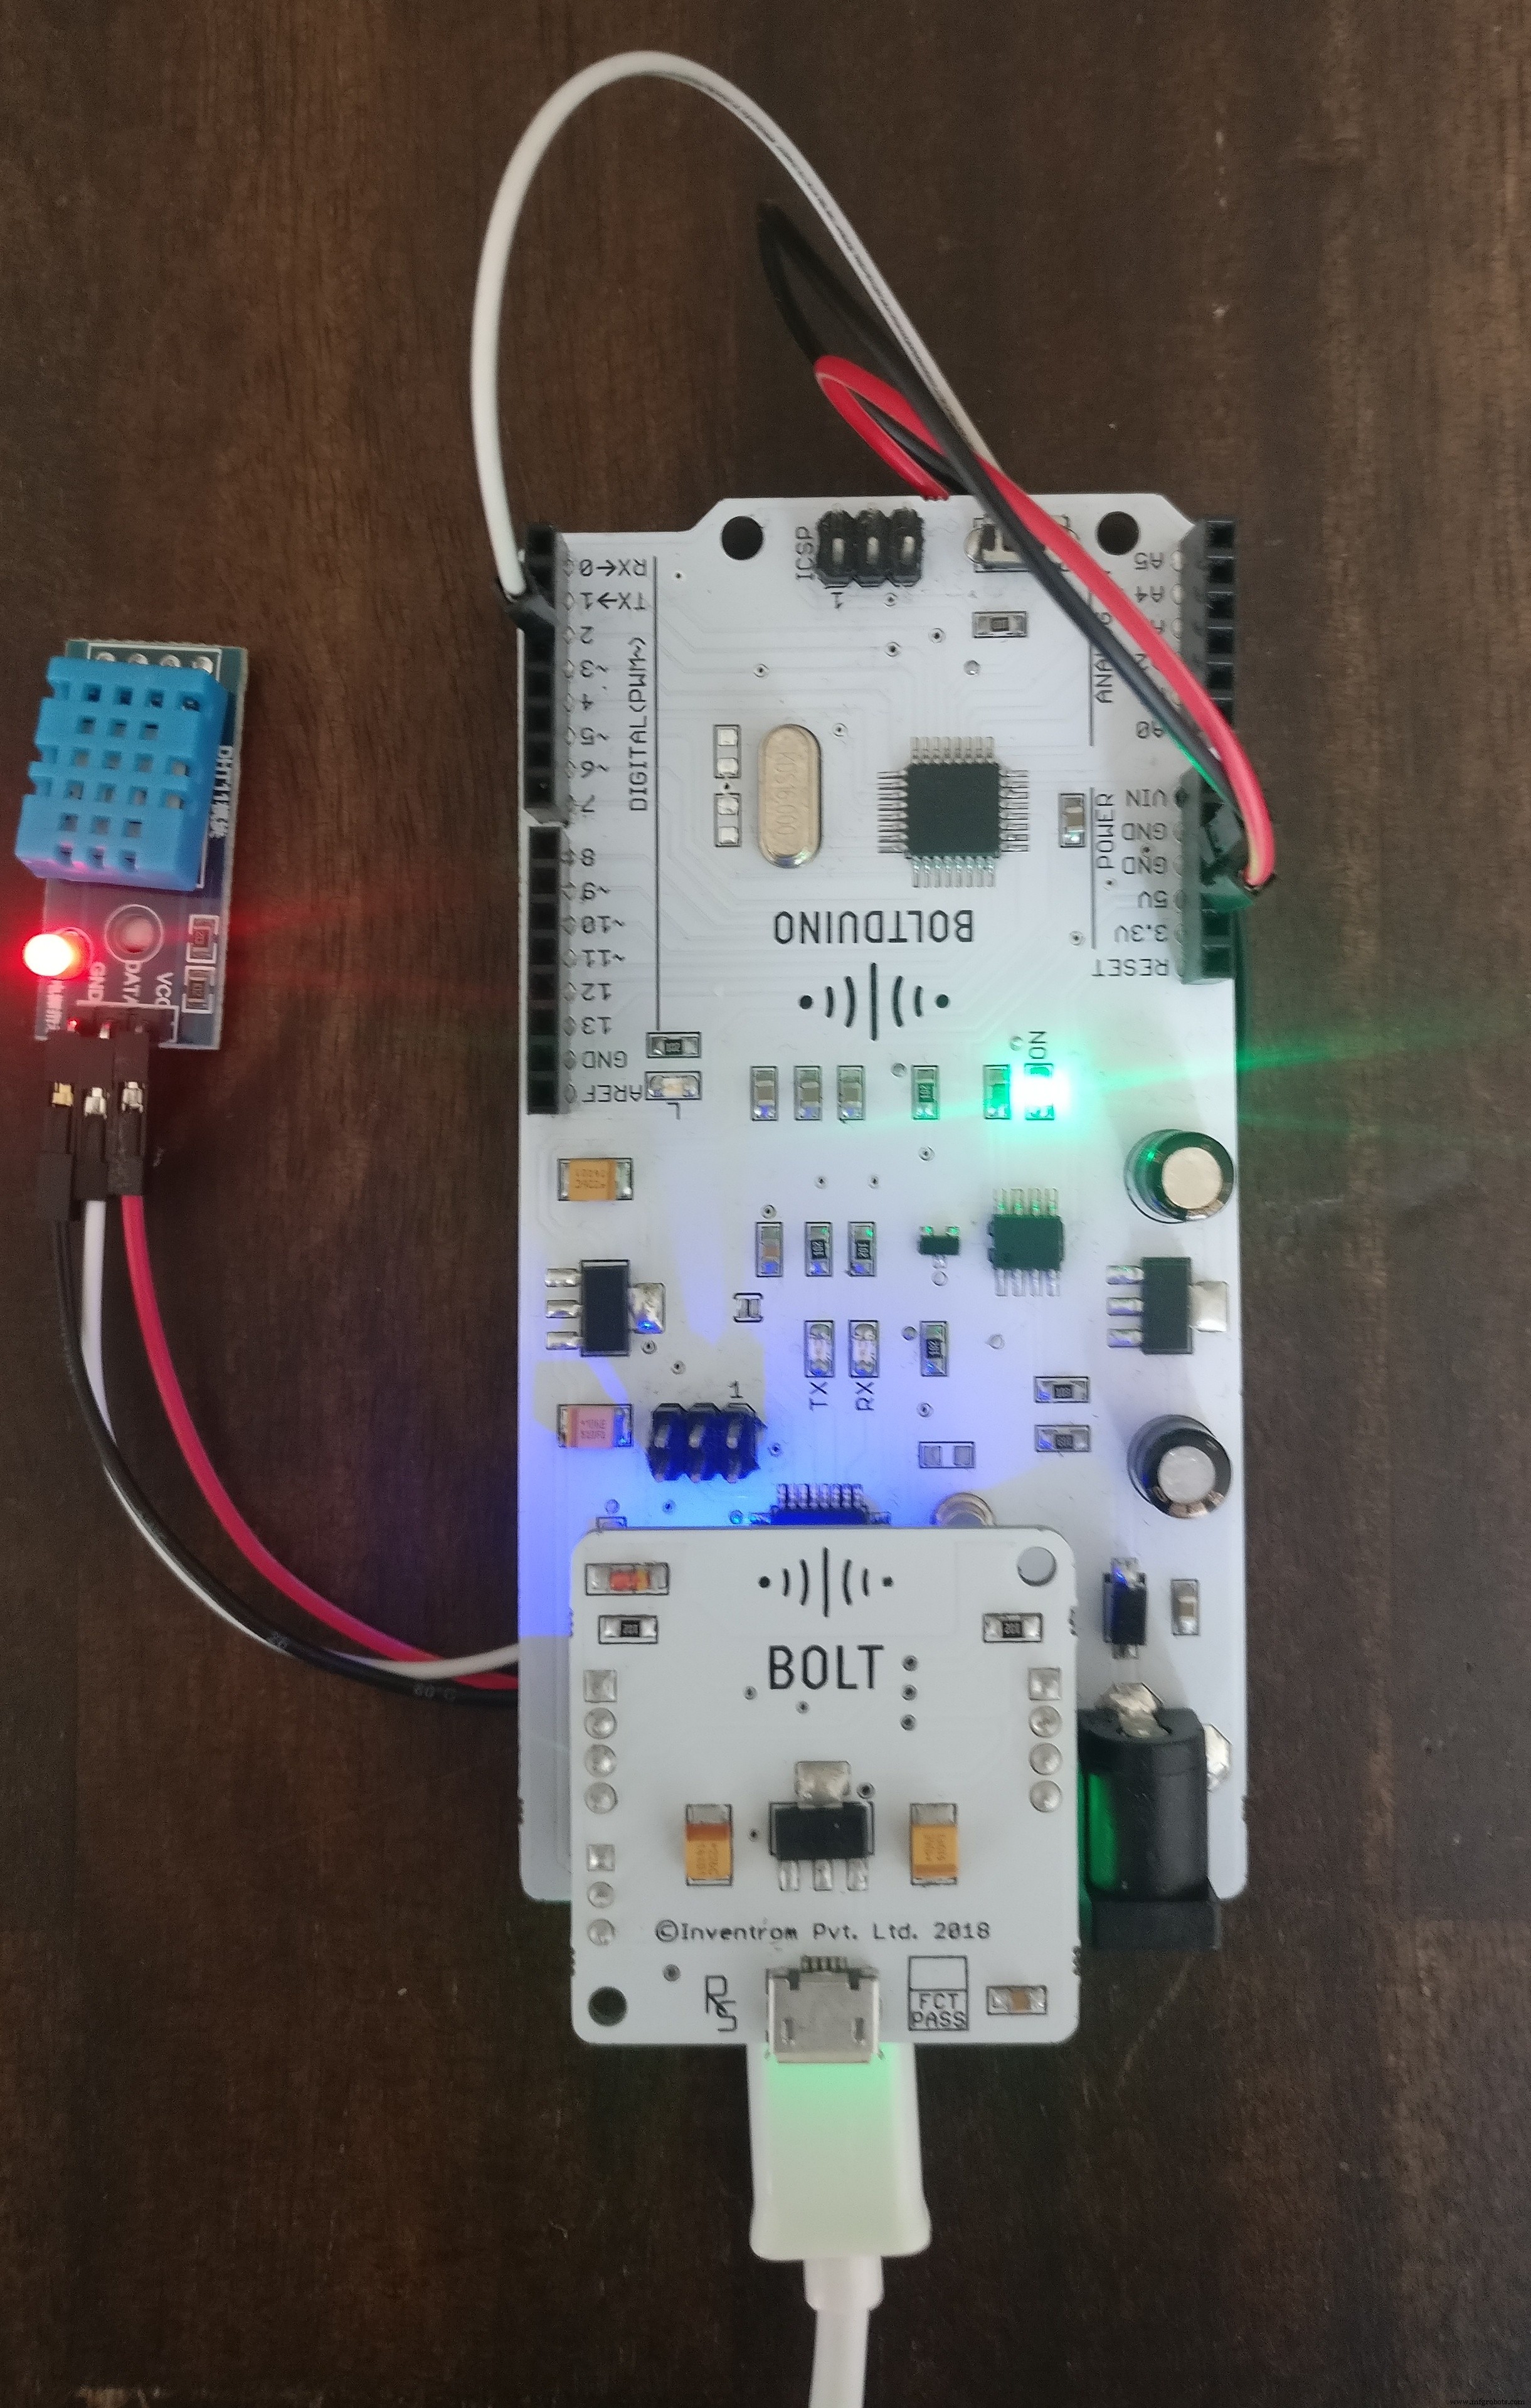
Step 1) Connect the Bolt to the Boltduino (Arduino).
This step is fairly easy for me, as the Boltduino has a pinouts that hold the Bolt WiFi module. For the makers who are planning to use the Arduino however, this means connecting the Bolt module using 4 male to male berge pin wires.
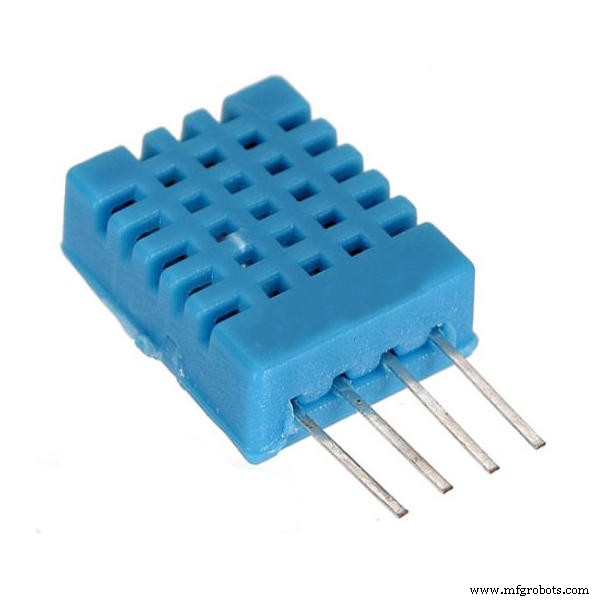
Step 2) Connect the DHT11 sensor to the Boltduino (Arduino)
Step 3) Install the required libraries
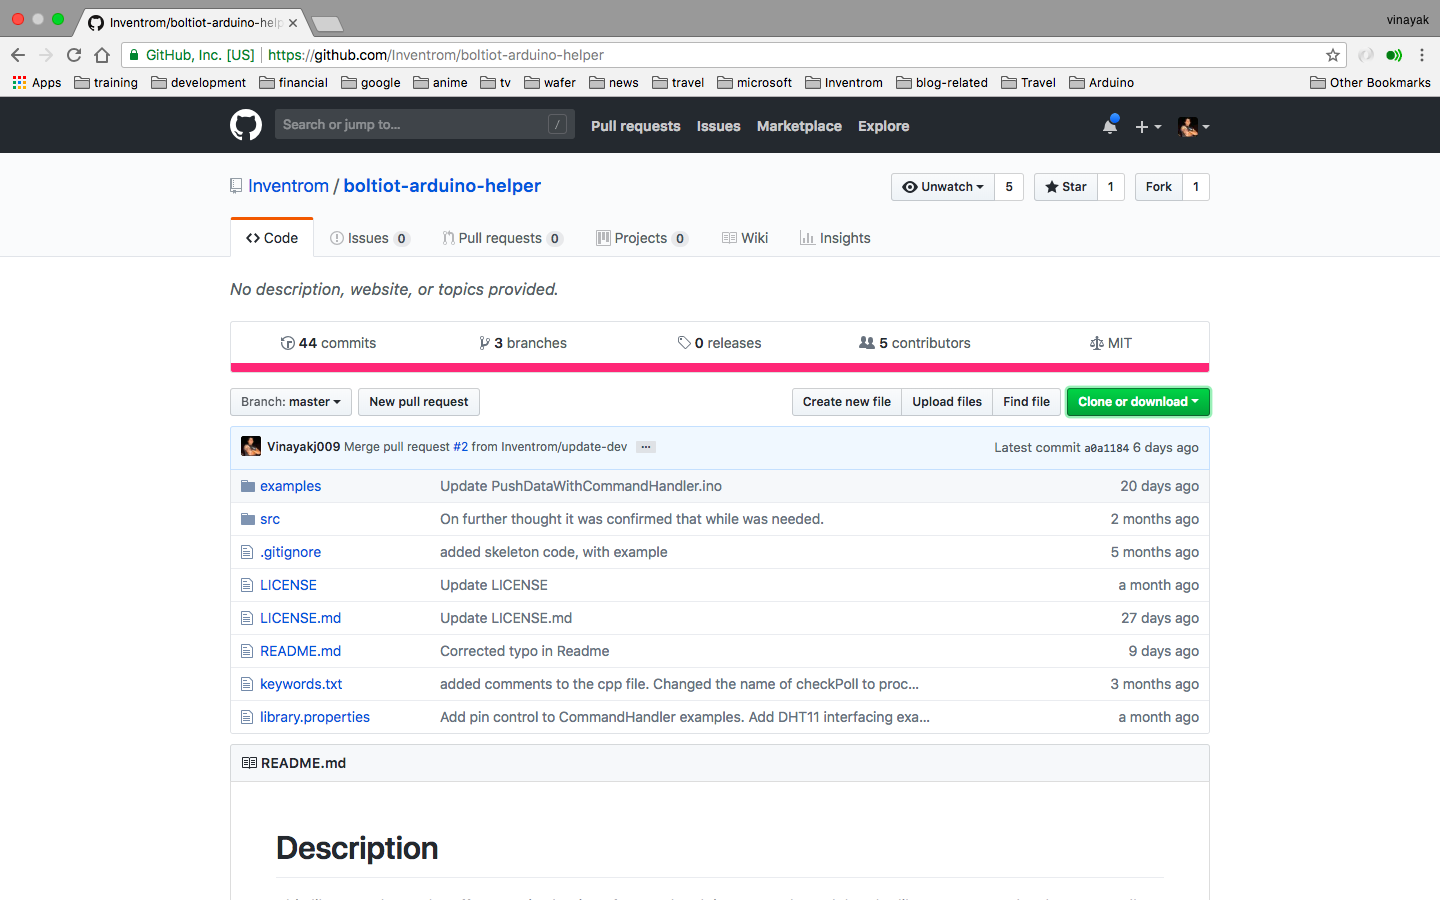
For this project you will require the BoltIoT-Arduino-Helper, the Adafruit_Sensor and the DHT-Sensor-library Arduino libraries.
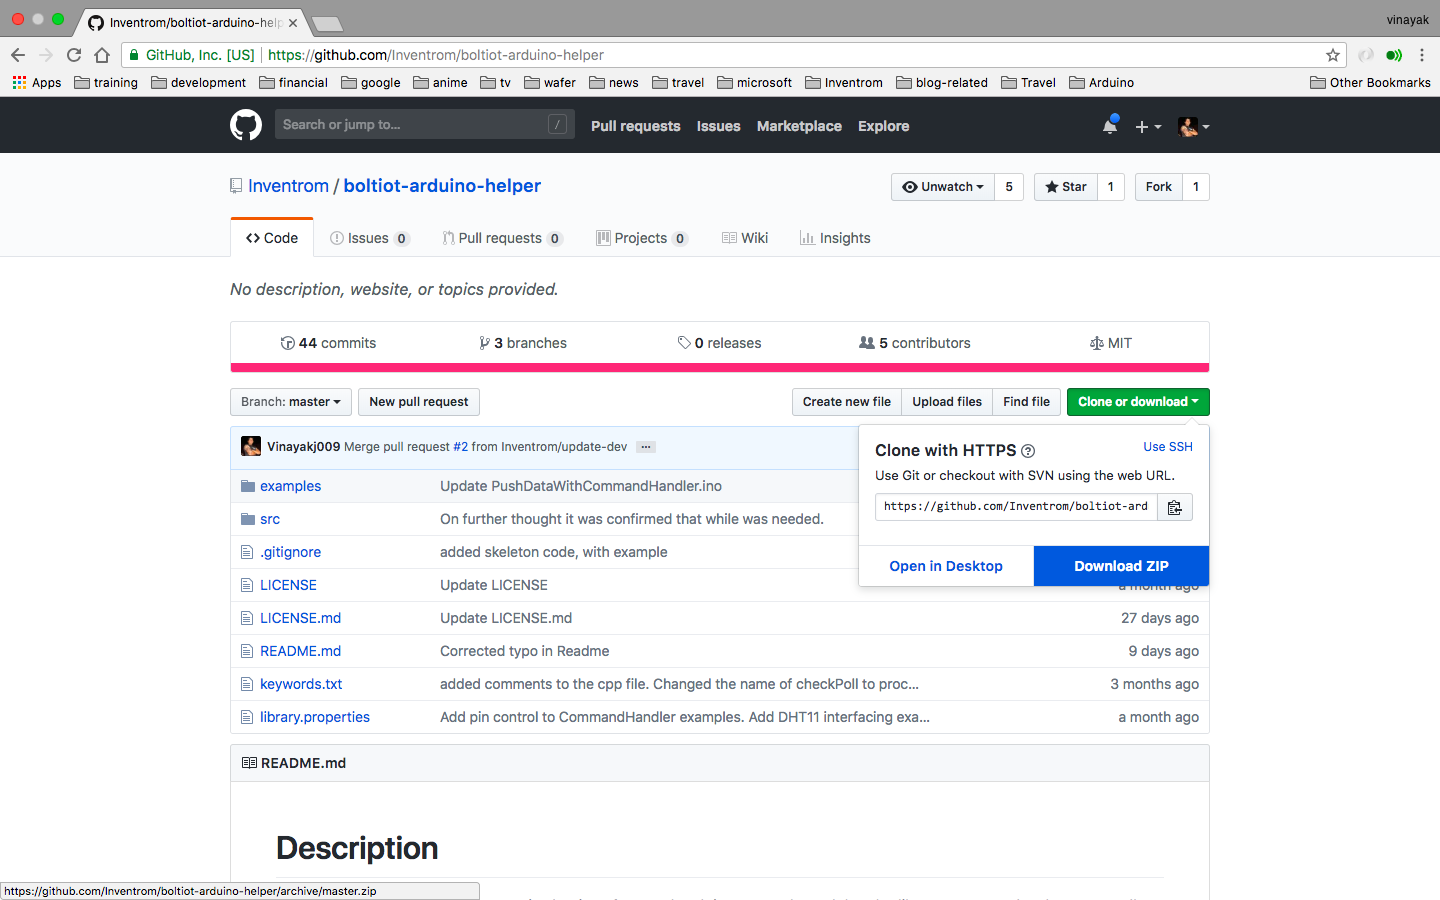
To install the libraries just go to the link above, and click on the clone or download button.
Then click on the Download ZIP button. A zip file containing the library will be downloaded.
Once the library is downloaded, go to the Arduino IDE's tool bar, Sketck>Include Library>Add.ZIP Library...
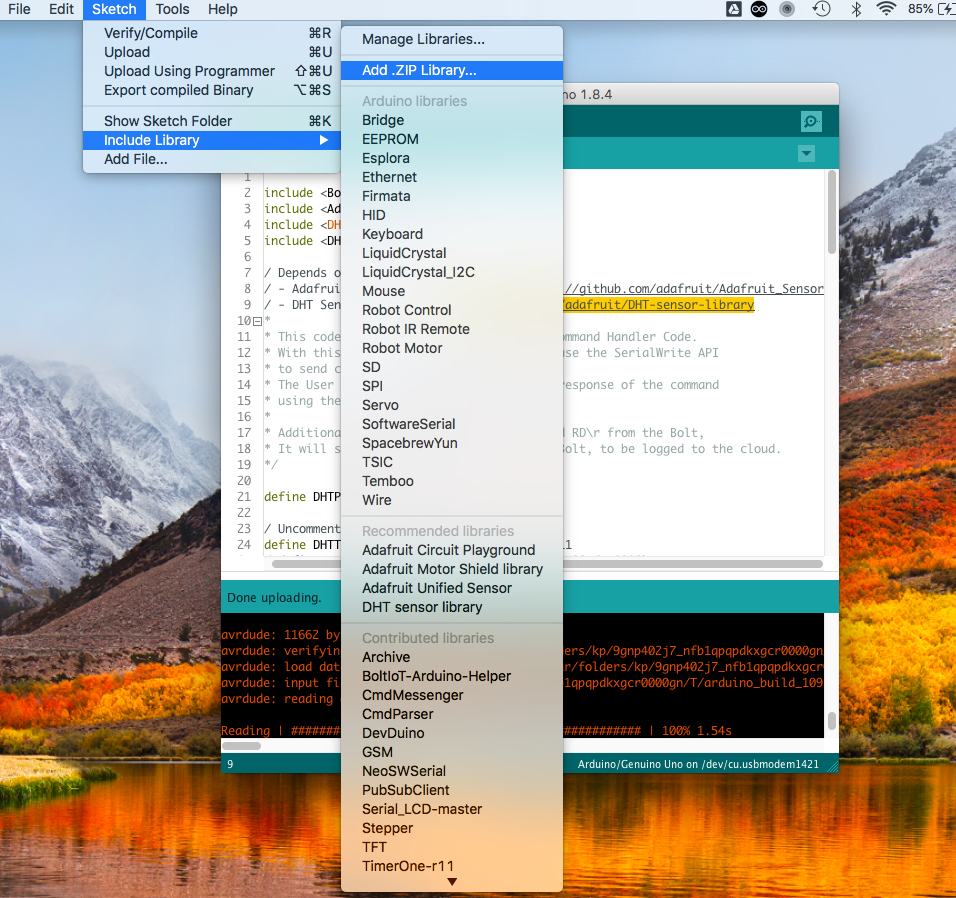
Select the library file which you dowloaded earlier, and click on choose.
Remember to install ALL 3 LIBRARIES.
Step 4) Upload the code.
Go to Arduino IDE's tool bar, File>Examples>BoltIoT-Arduino-Helper>DHT2Cloud
The DHT library example will open in a new Arduino IDE window.
Connect your Boltduino to the PC and click on Upload.
CAUTION: For Arduino Uno users, remember to disconnect the Bolt module from the Arduino while uploading the code.
Software Setup:There have been quite a few projects developed around the Bolt WiFi module, so I believe the reader has already created an Account on the Bolt Cloud and linked their Bolt WiFi module to the Cloud account.
If that is not the case, you might want to go through this.
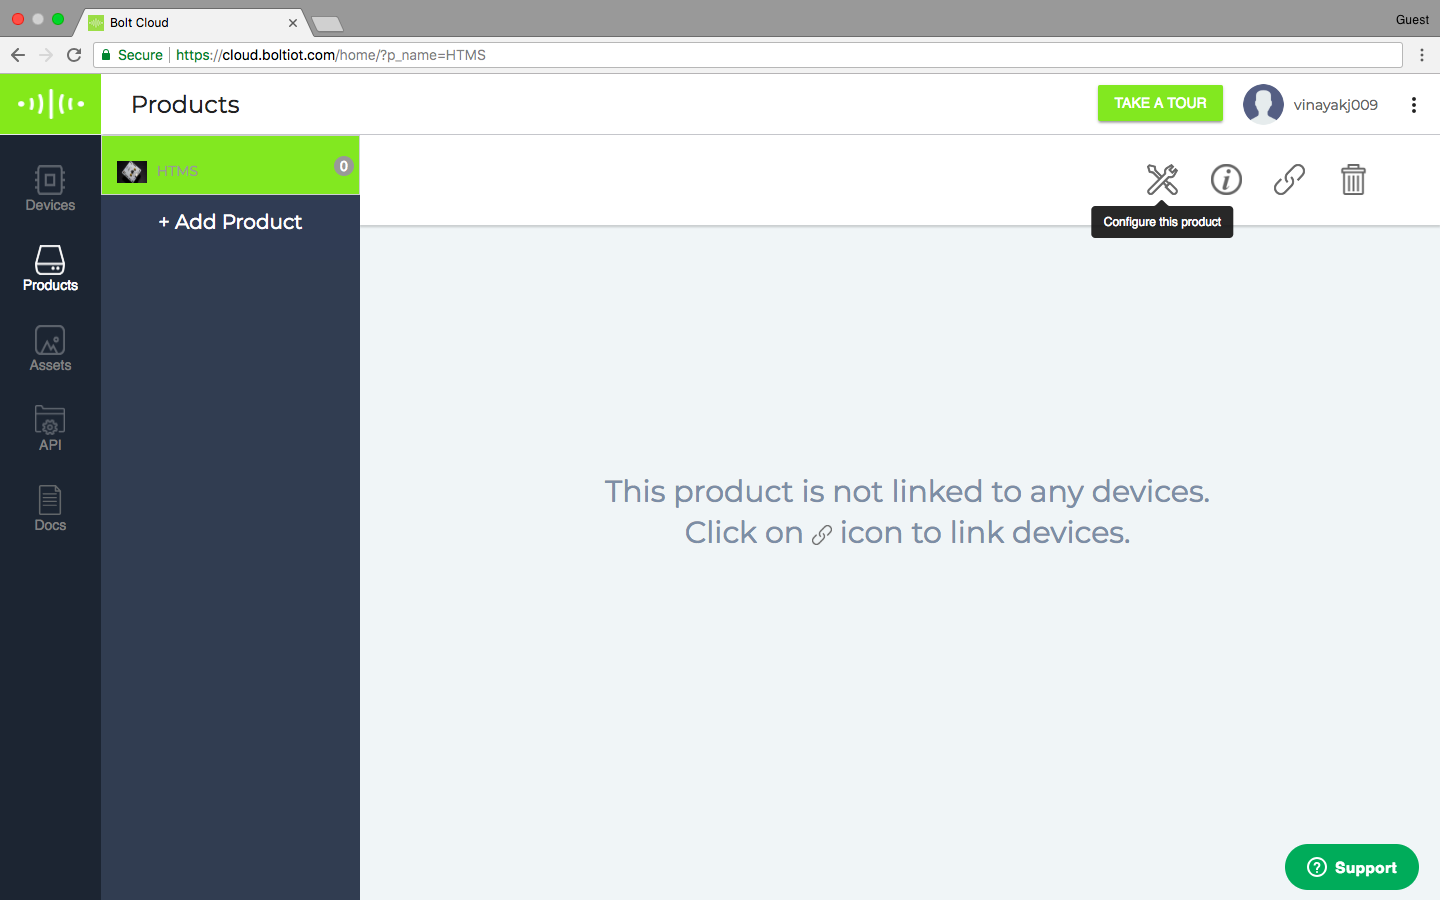
Step 1) Create a new product on the Bolt Cloud.
Ensure to select the 'Input Devices' and 'UART' option.
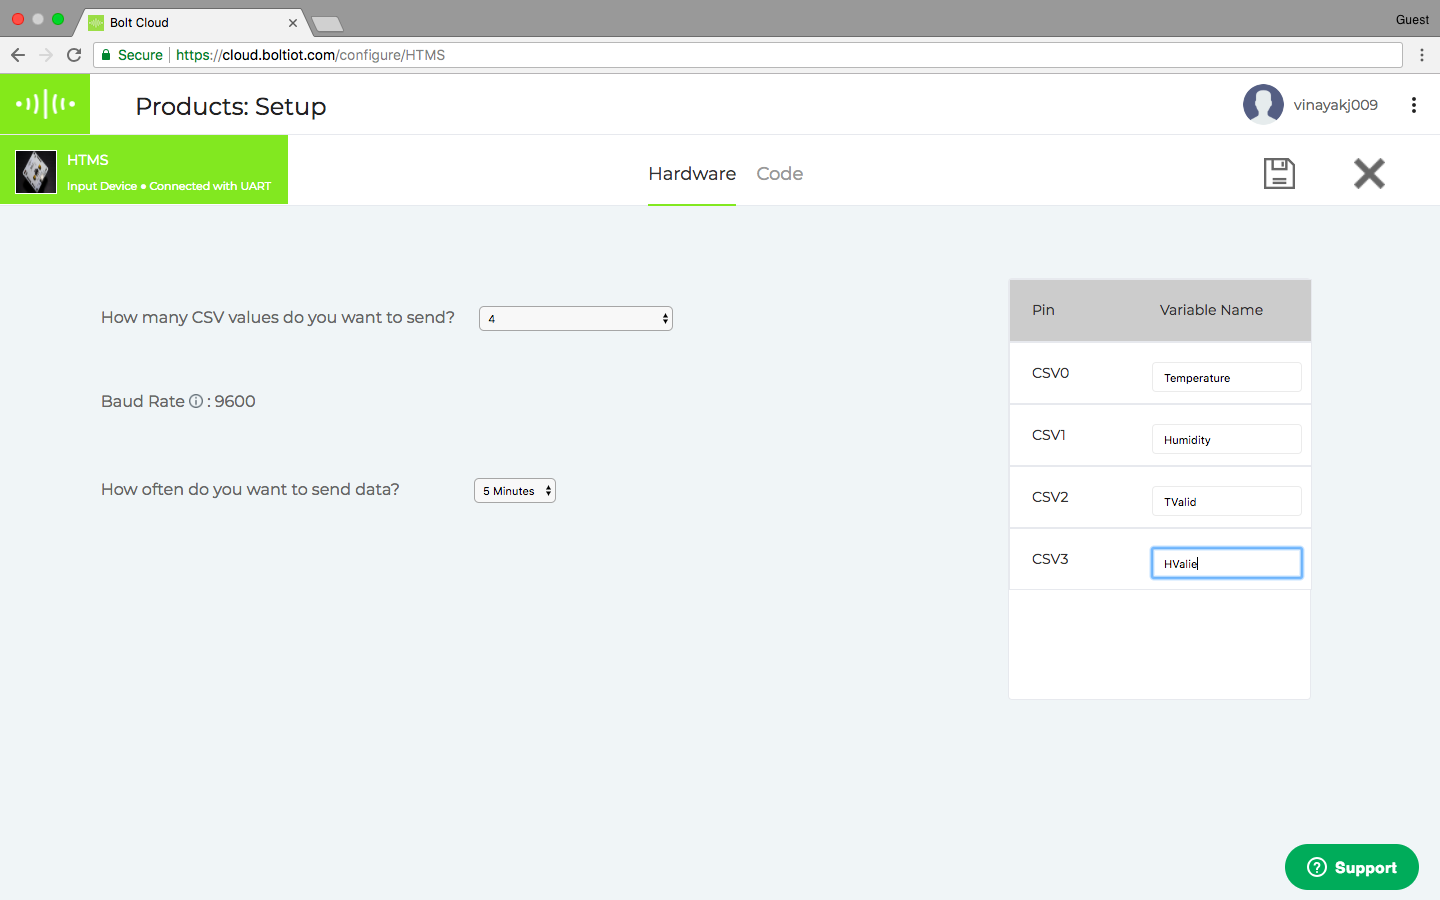
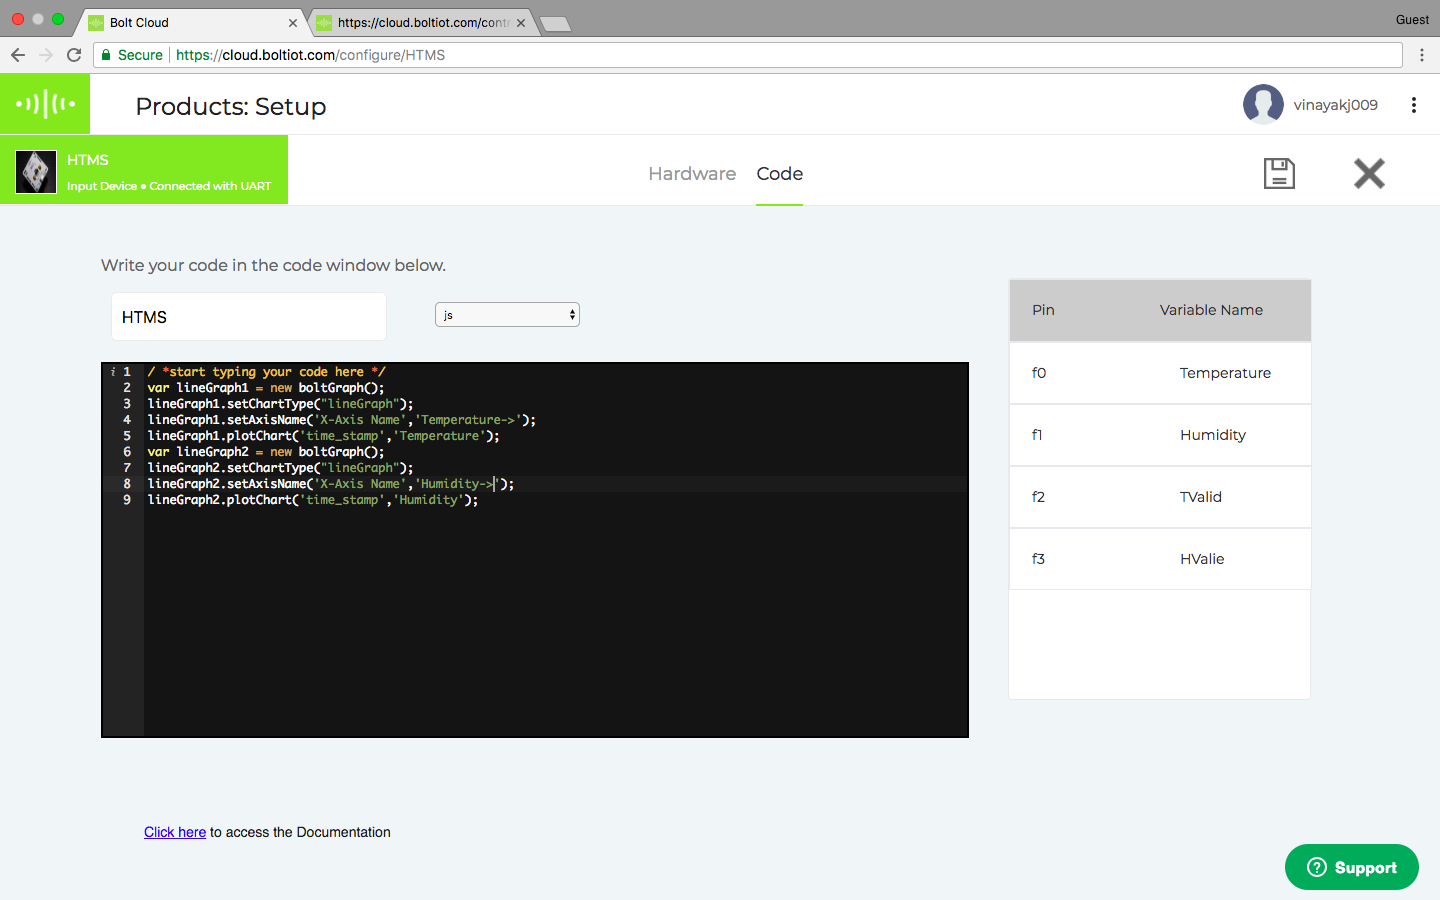
Step2) Configure the product:
I have shared the code for the software configuration.
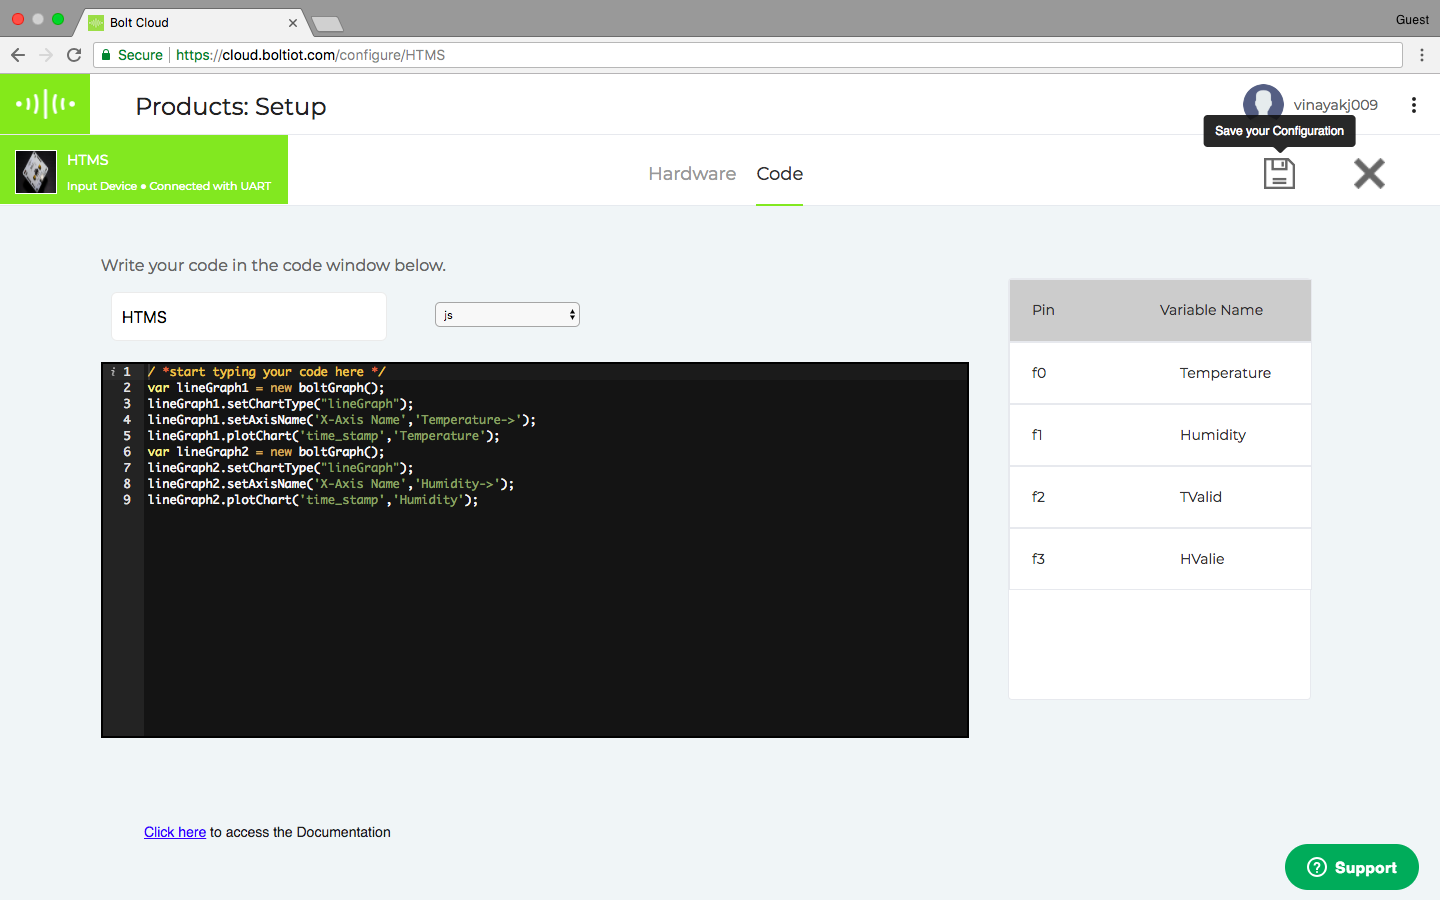
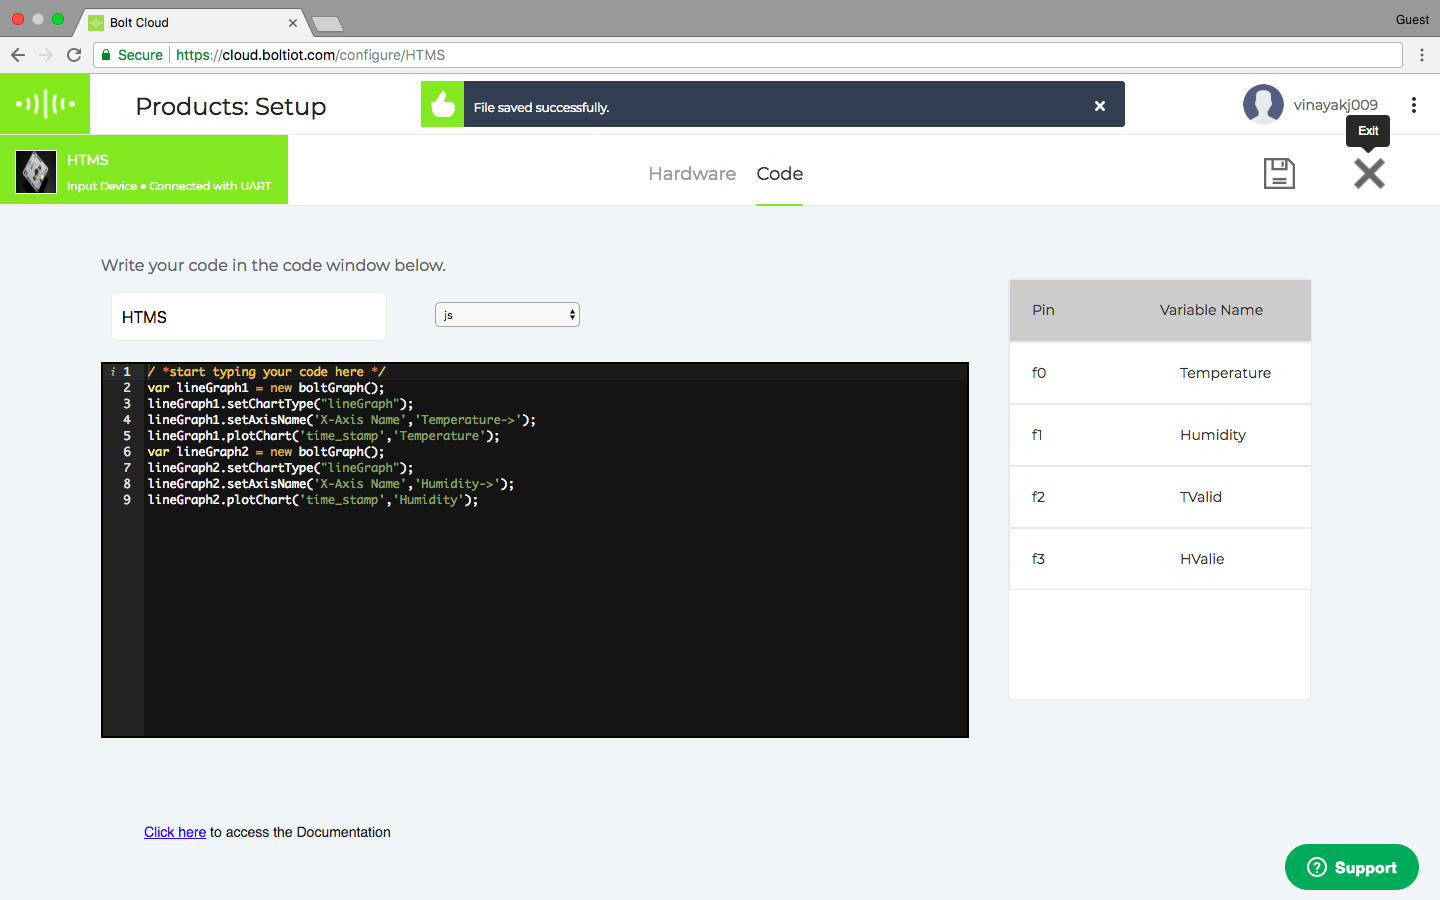
Once done save and exit the product configuration view.
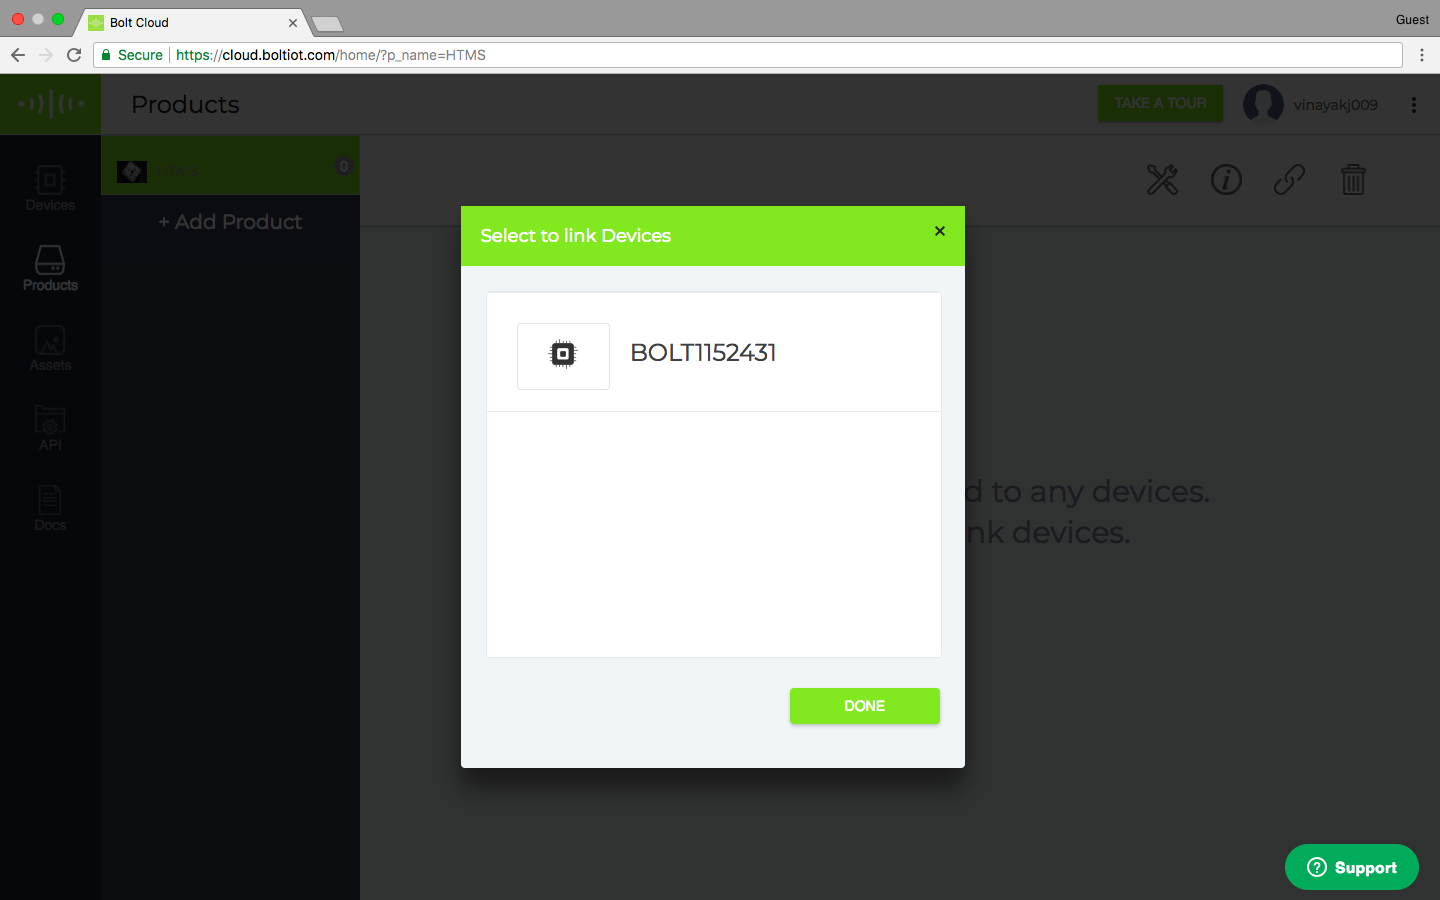
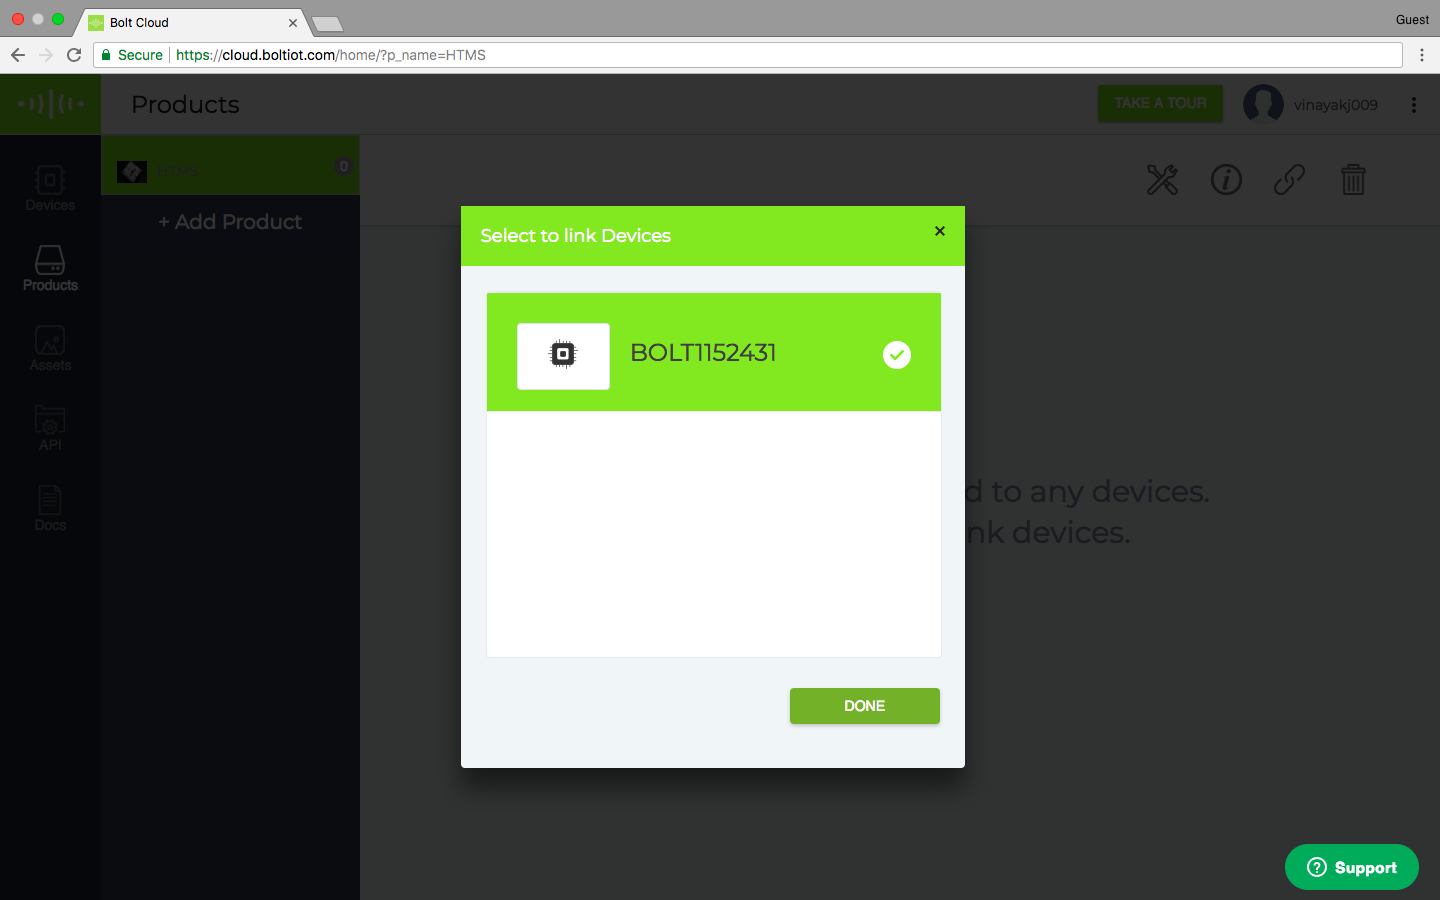
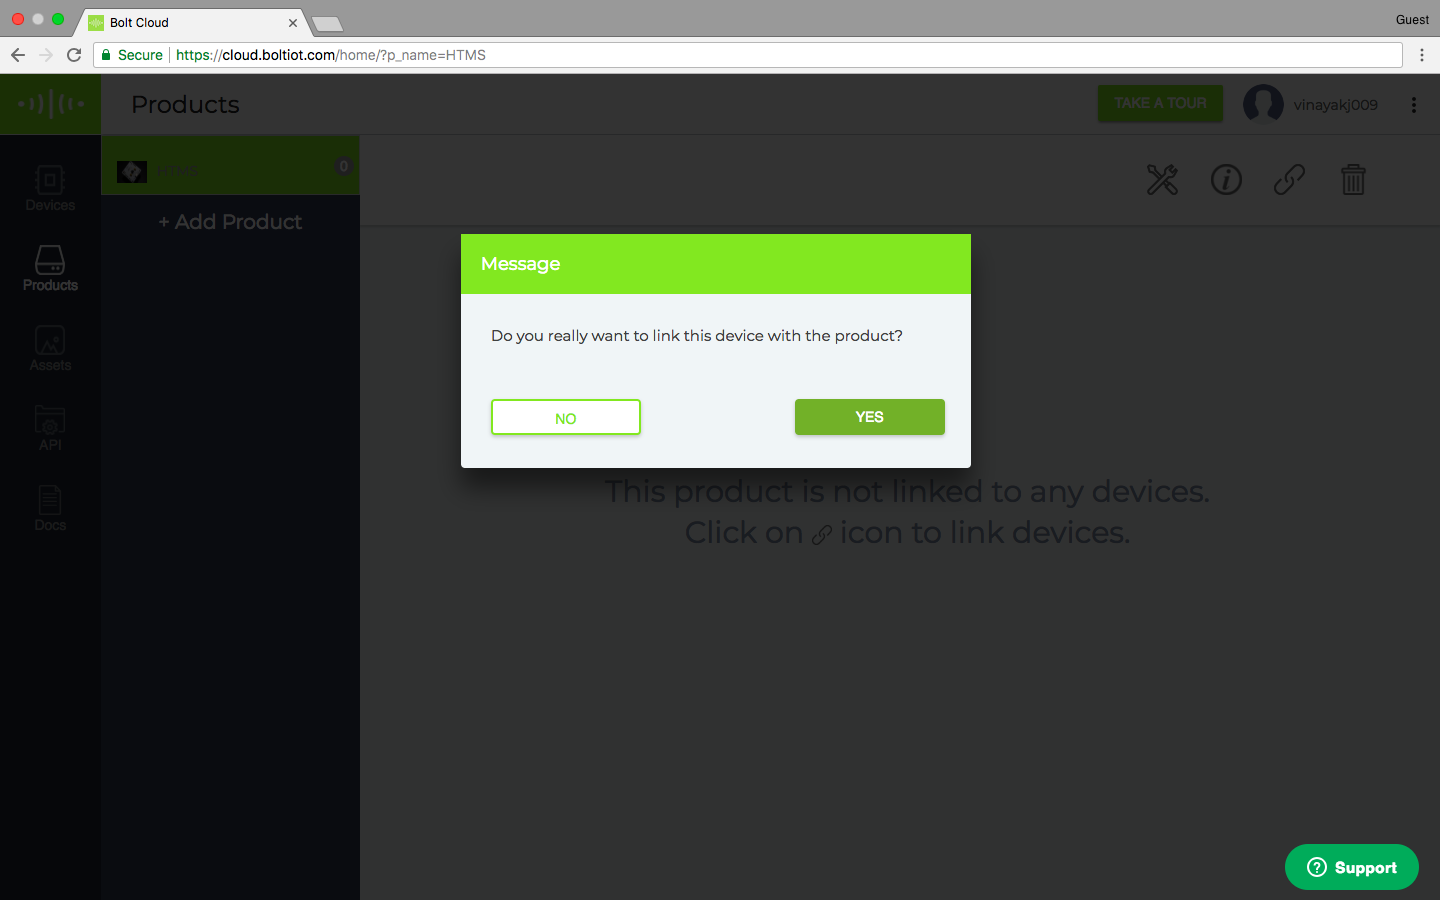
Step 3) Link the Bolt device to your new product.
Once the device is linked, remember to click on the Deploy Configurations button.

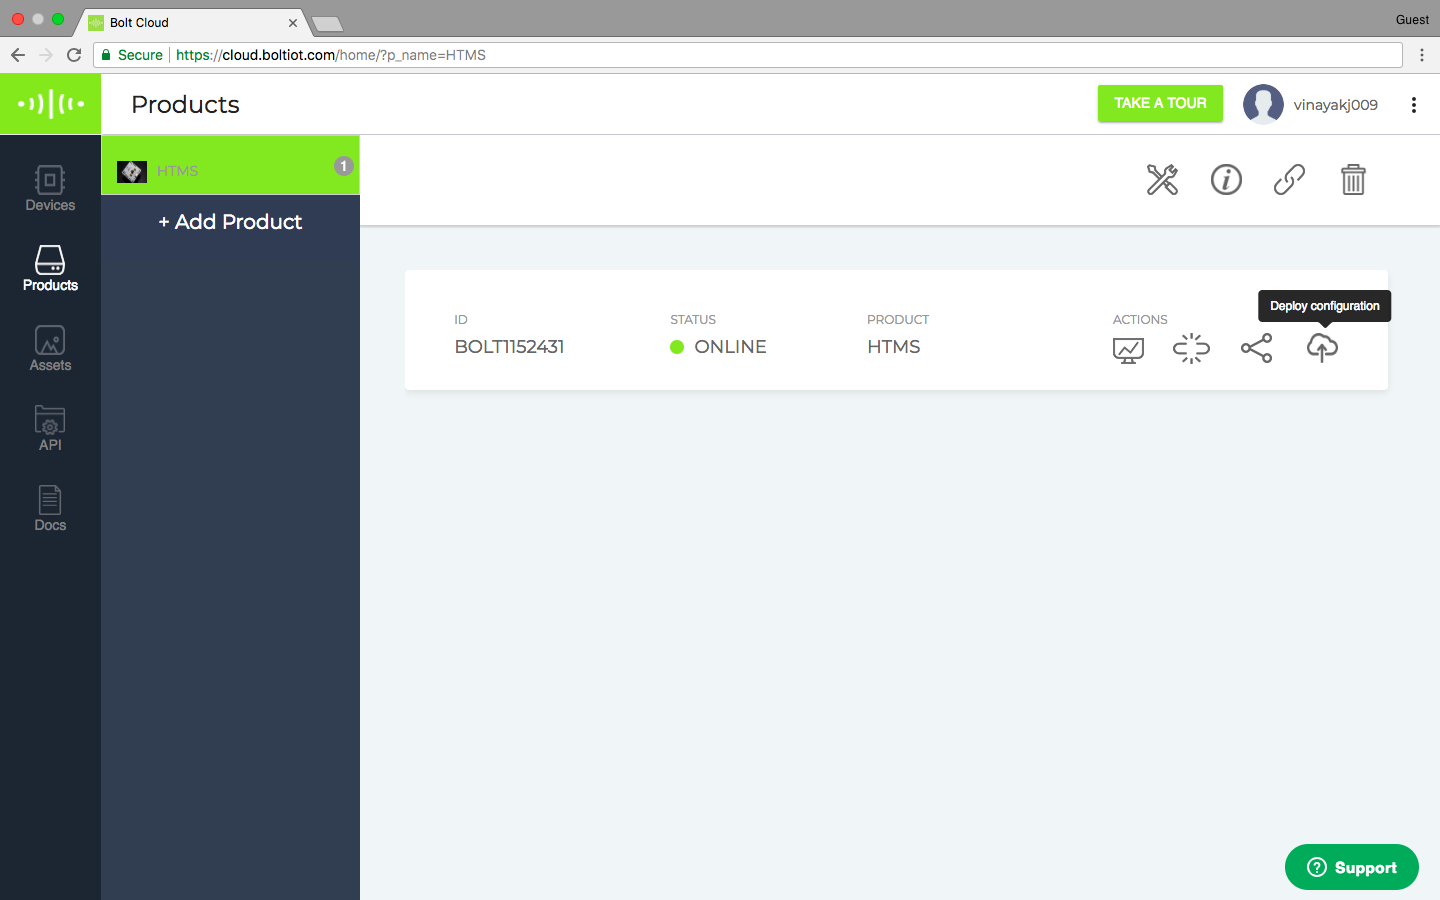
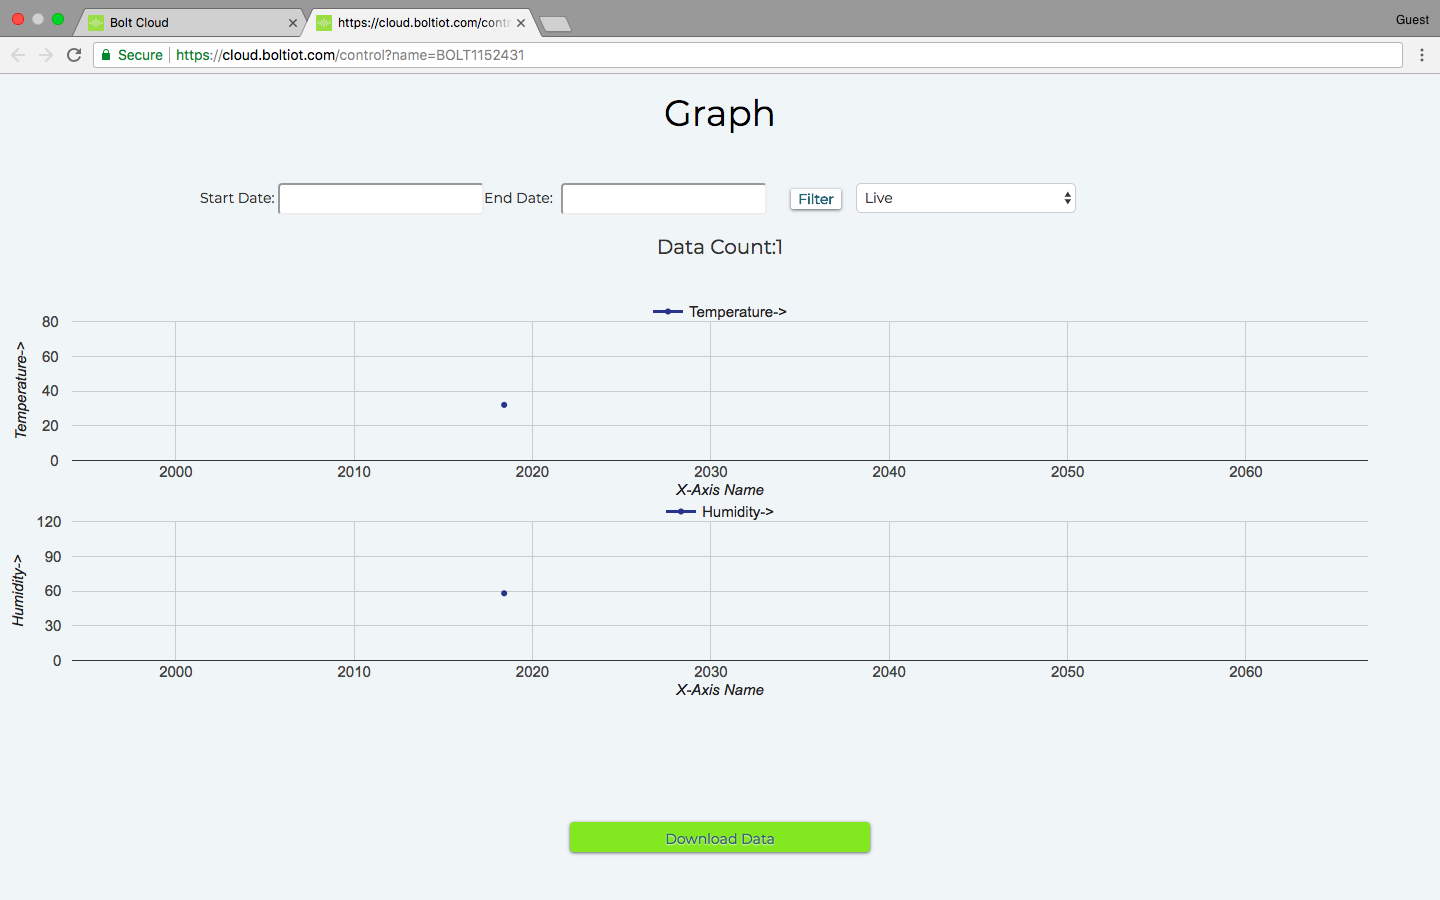
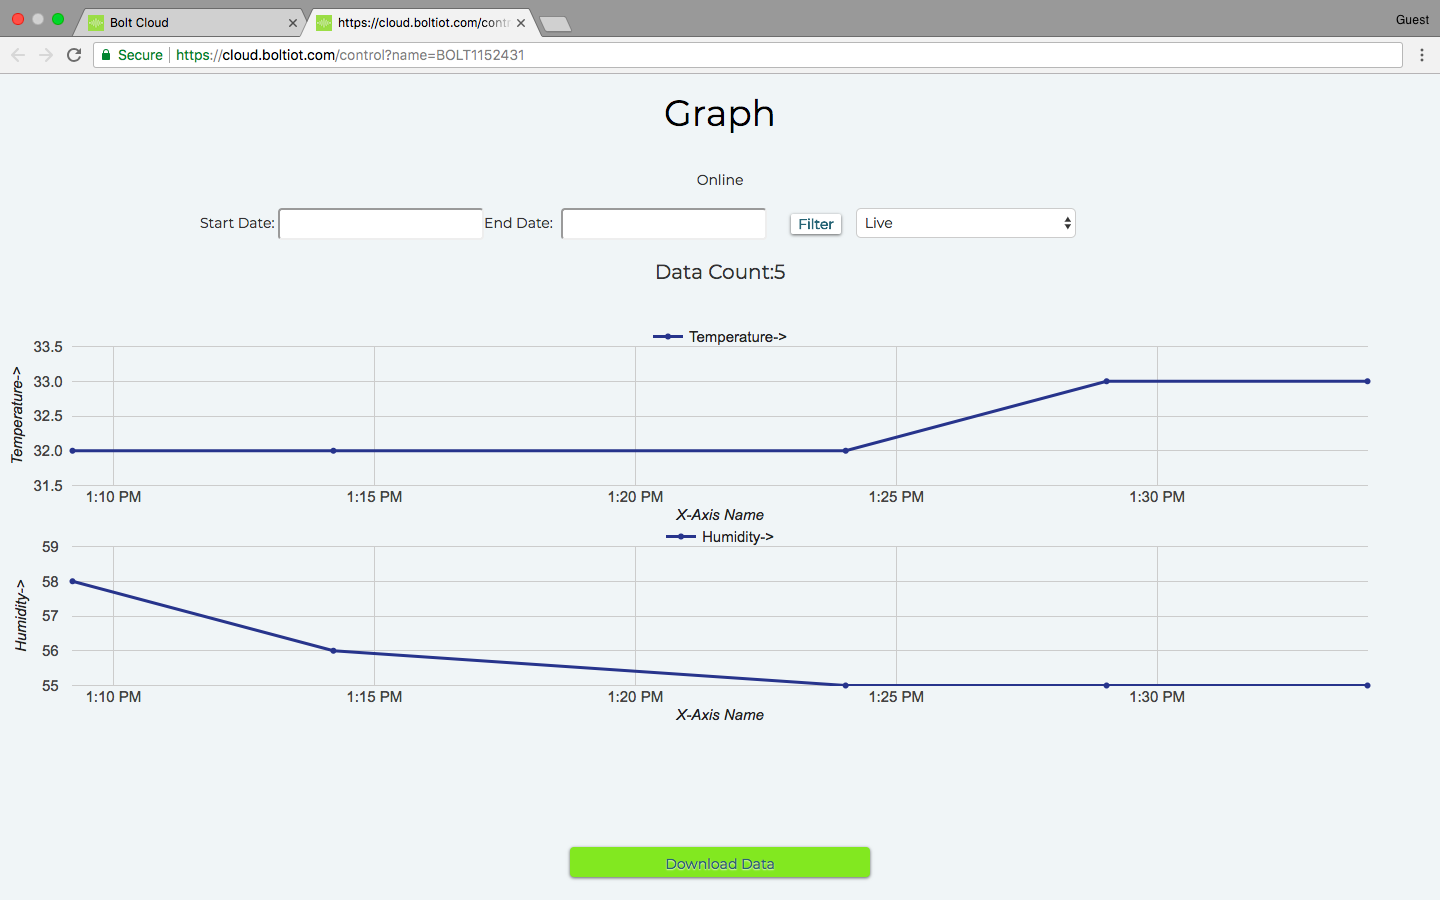
Step 4) View your device.
The Cloud polls the device for data every 5 minutes, so it would be best to leave the system be for about 20 to 25 minutes before you check.
Have a go at this project and in case you like our Temperature and Humidity monitoring system, check us out on Indiegogo, back us, and spread the word! We have exclusive discounts for developers and the first batch of Bolts ships out in February 2018.
Here are some other interesting projects around the Bolt IoT platform:
- Bolt IoT demo and door monitoring in German
- Plant Monitoring Alert System
- Trash Talker using Bolt IoT
- Bolt IoT CPU Stress-O-Meter
- Crypto Alert System Using Bolt IoT
- 5 minutes, 4 steps and "OK Google turn on the lights"
- FumeSucker Powered By Bolt IoT
- Poor Man's Theremin using Bolt IoT
- Just 4 Easy Steps, 5 Mins & $12, Build a voice controlled light
- What's Trending?
- DEbot
- Car-e-OK
- Build a Smart Garden with IoT Plant Monitoring System
- Never Miss an Important Email
- Desk Buddy Using Bolt IoT
Code
- Product Code
Product CodeJavaScript
Remember to name the code, and set it as jsvar lineGraph1 = new boltGraph();
lineGraph1.setChartType("lineGraph");
lineGraph1.setAxisName('X-Axis Name','Temperature->');
lineGraph1.plotChart('time_stamp','Temperature');
var lineGraph2 = new boltGraph();
lineGraph2.setChartType("lineGraph");
lineGraph2.setAxisName('X-Axis Name','Humidity->');
lineGraph2.plotChart('time_stamp','Humidity');
Schematics
IF you are using the Boltduino, just skip the part for using wires for Bolt WiFi moduledht11boltarduino_5THd5r6p4C.fzz
Manufacturing process
- Arduino Temperature & Humidity Logger Using DHT11 and Ethernet Shield
- Display BME280 Temperature, Humidity & Pressure on a Nextion Touchscreen
- Contactless Temperature Monitoring Gate for Rapid, Accurate Screening
- Read Temperature & Humidity with DHT11 on Blynk – Step‑by‑Step Arduino Tutorial
- Smart Temperature Monitoring System for Schools: Accurate, Real‑Time, and Secure
- Smartphone-Based Temperature Monitoring System with Arduino and Bluetooth
- MKR1000 with DHT22: Real‑Time Temperature & Humidity Monitoring to Azure
- Arduino Weather Clock – Real-Time Date, Time, Temperature & Humidity Display
- Real‑Time Water Quality Monitoring System with Arduino & GPRS/GPS
- Arduino Tutorial: Master Temperature & Humidity with DHT11 & DHT22 Sensors