


Professional Nylon Part Dyeing with Markforged: Step‑by‑Step Guide
Markforged Nylon Part Dyeing Procedure
By Christopher Hayes, Special Aerospace Services
Just as the Model T paved the way for color customization in cars, Markforged’s Mark One allows you to create nylon parts in virtually any color you desire—provided the part is white, or offset by the composite reinforcement’s color.
Markforged offers four base color combinations from the nozzle:
- White – plain nylon
- White & Gold – nylon reinforced with Kevlar®
- White & White – nylon reinforced with fiberglass
- White & Black – nylon reinforced with carbon fiber
These combinations are ideal for rapid prototypes and functional parts, but finished goods often require richer hues. Dyeing offers a cost‑effective, scalable solution.
Why Nylon Is Ideal for Dyeing
Nylon’s hygroscopic nature means it readily absorbs moisture, which can both weaken and, when controlled, soften the material. Submerging printed parts in water permanently reduces brittleness, increases flexibility, and allows water‑soluble dyes to penetrate and lock in color.
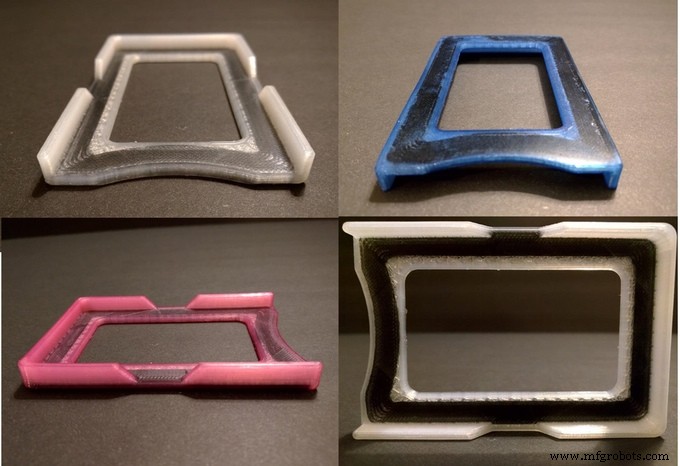
We recommend liquid RIT dye (post‑2011 formula) for its affordability, availability, and consistent color performance. Light dyes benefit from thicker walls, a reinforced ceiling, and extended dyeing time to avoid visible carbon‑fiber strands, as seen in the HALO Wallet example.
Step‑by‑Step Dyeing Process
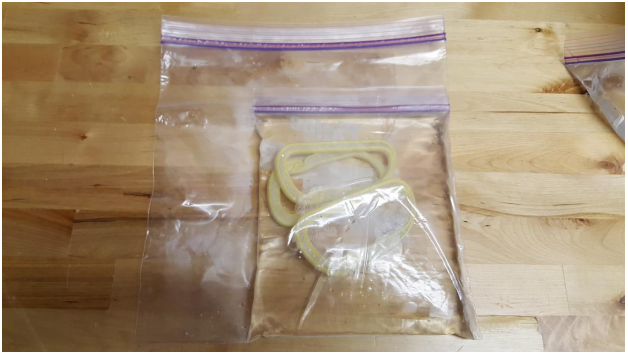
- Place the printed nylon parts in a double‑layer Ziploc bag and submerge them in near‑boiling water (≈100 °C) for 30–60 minutes. Use pot holders to protect yourself from hot water.
- Transfer the parts to a new inner bag containing a 5:1 ratio of water to RIT dye. Seal the bag, remove trapped air by folding over a table edge, and gently agitate the mixture.
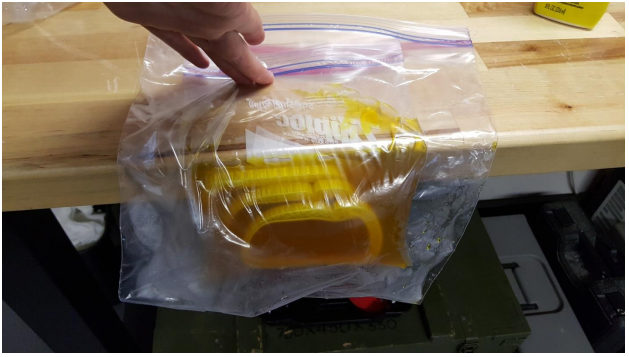
- Fill the outer bag with near‑boiling water, seal, and allow the parts to soak for another 30–60 minutes. Agitate occasionally to ensure even color distribution.
- If a deeper hue is desired, reheat the mixture in 30‑second microwave intervals and add additional dye. Avoid microwaving carbon‑fiber‑reinforced parts.
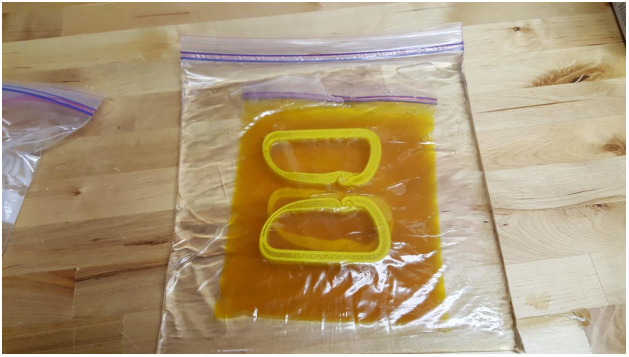
- After dyeing, rinse the parts thoroughly with clean water. Allow 6–12 hours for complete drying before handling or using the parts, especially when dark dyes are involved to prevent leakage during twisting or squeezing.
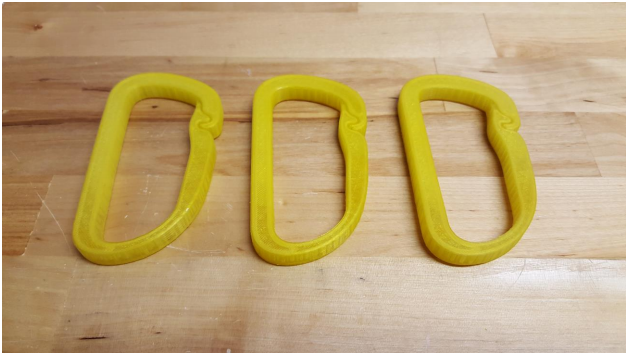
Success example: Bright yellow key carabiners (note: these are not rated for climbing).

3D printing
- 3D Printing Materials Cheat Sheet: Choosing the Right Polymer for Your Application
- Metal 3D Printing Applications: Advanced Use Cases – Part 2
- Metal 3D Printing Applications: Prototyping & Tooling – Part 1
- Engineering a Fully 3‑D Printed Shock Absorber with Industrial‑Strength Onyx
- Skateboard Part 1: Building Durable 3D‑Printed Wheels
- Carl Calabria’s Caddytown: 3‑D Printed Nylon Caddies for Power Bits and Wera Sockets
- How to Color Nylon 3D‑Printed Parts Quickly and Safely
- PLA vs ABS vs Nylon: Choosing the Right 3D Printing Filament
- Norton’s Theorem Simplified: Step‑by‑Step Tutorial with Practical Example
- Discover How Easy 3D Printing Is: A Beginner’s Guide