


Laser‑Triggered Slot Car Lap Timer with GLCD Display – Precise Timekeeping for RC Tracks
Components and supplies
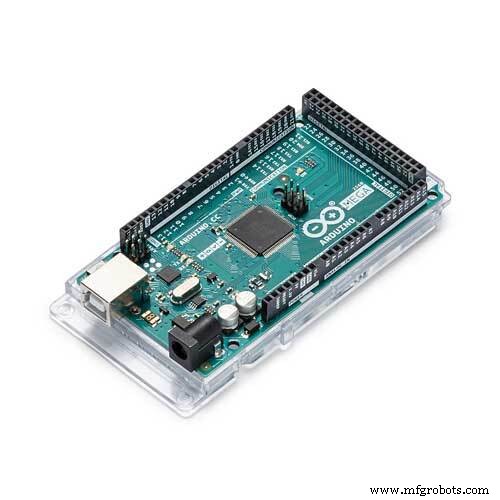 |
| × | 1 | |||
| × | 1 |
Apps and online services
 |
|
About this project
IntroI bought a pair of KY008 laser module and a matching sensor, and I knew I had to make some cool project with it. So took the pair, and created an electric time keeping gate for the slot car track that was already on the table for my self-driving slot car project.
The HardwareThe 3 main components are the laser module, laser receiver sensor and the GLCD screen.
I really love using GLCD, you can find info on the pin-out here: https://playground.arduino.cc/Code/GLCDks0108/
And you can download the library from here:
https://bitbucket.org/bperrybap/openglcd
I created a nice and easy connector for it, as showed in the image below.
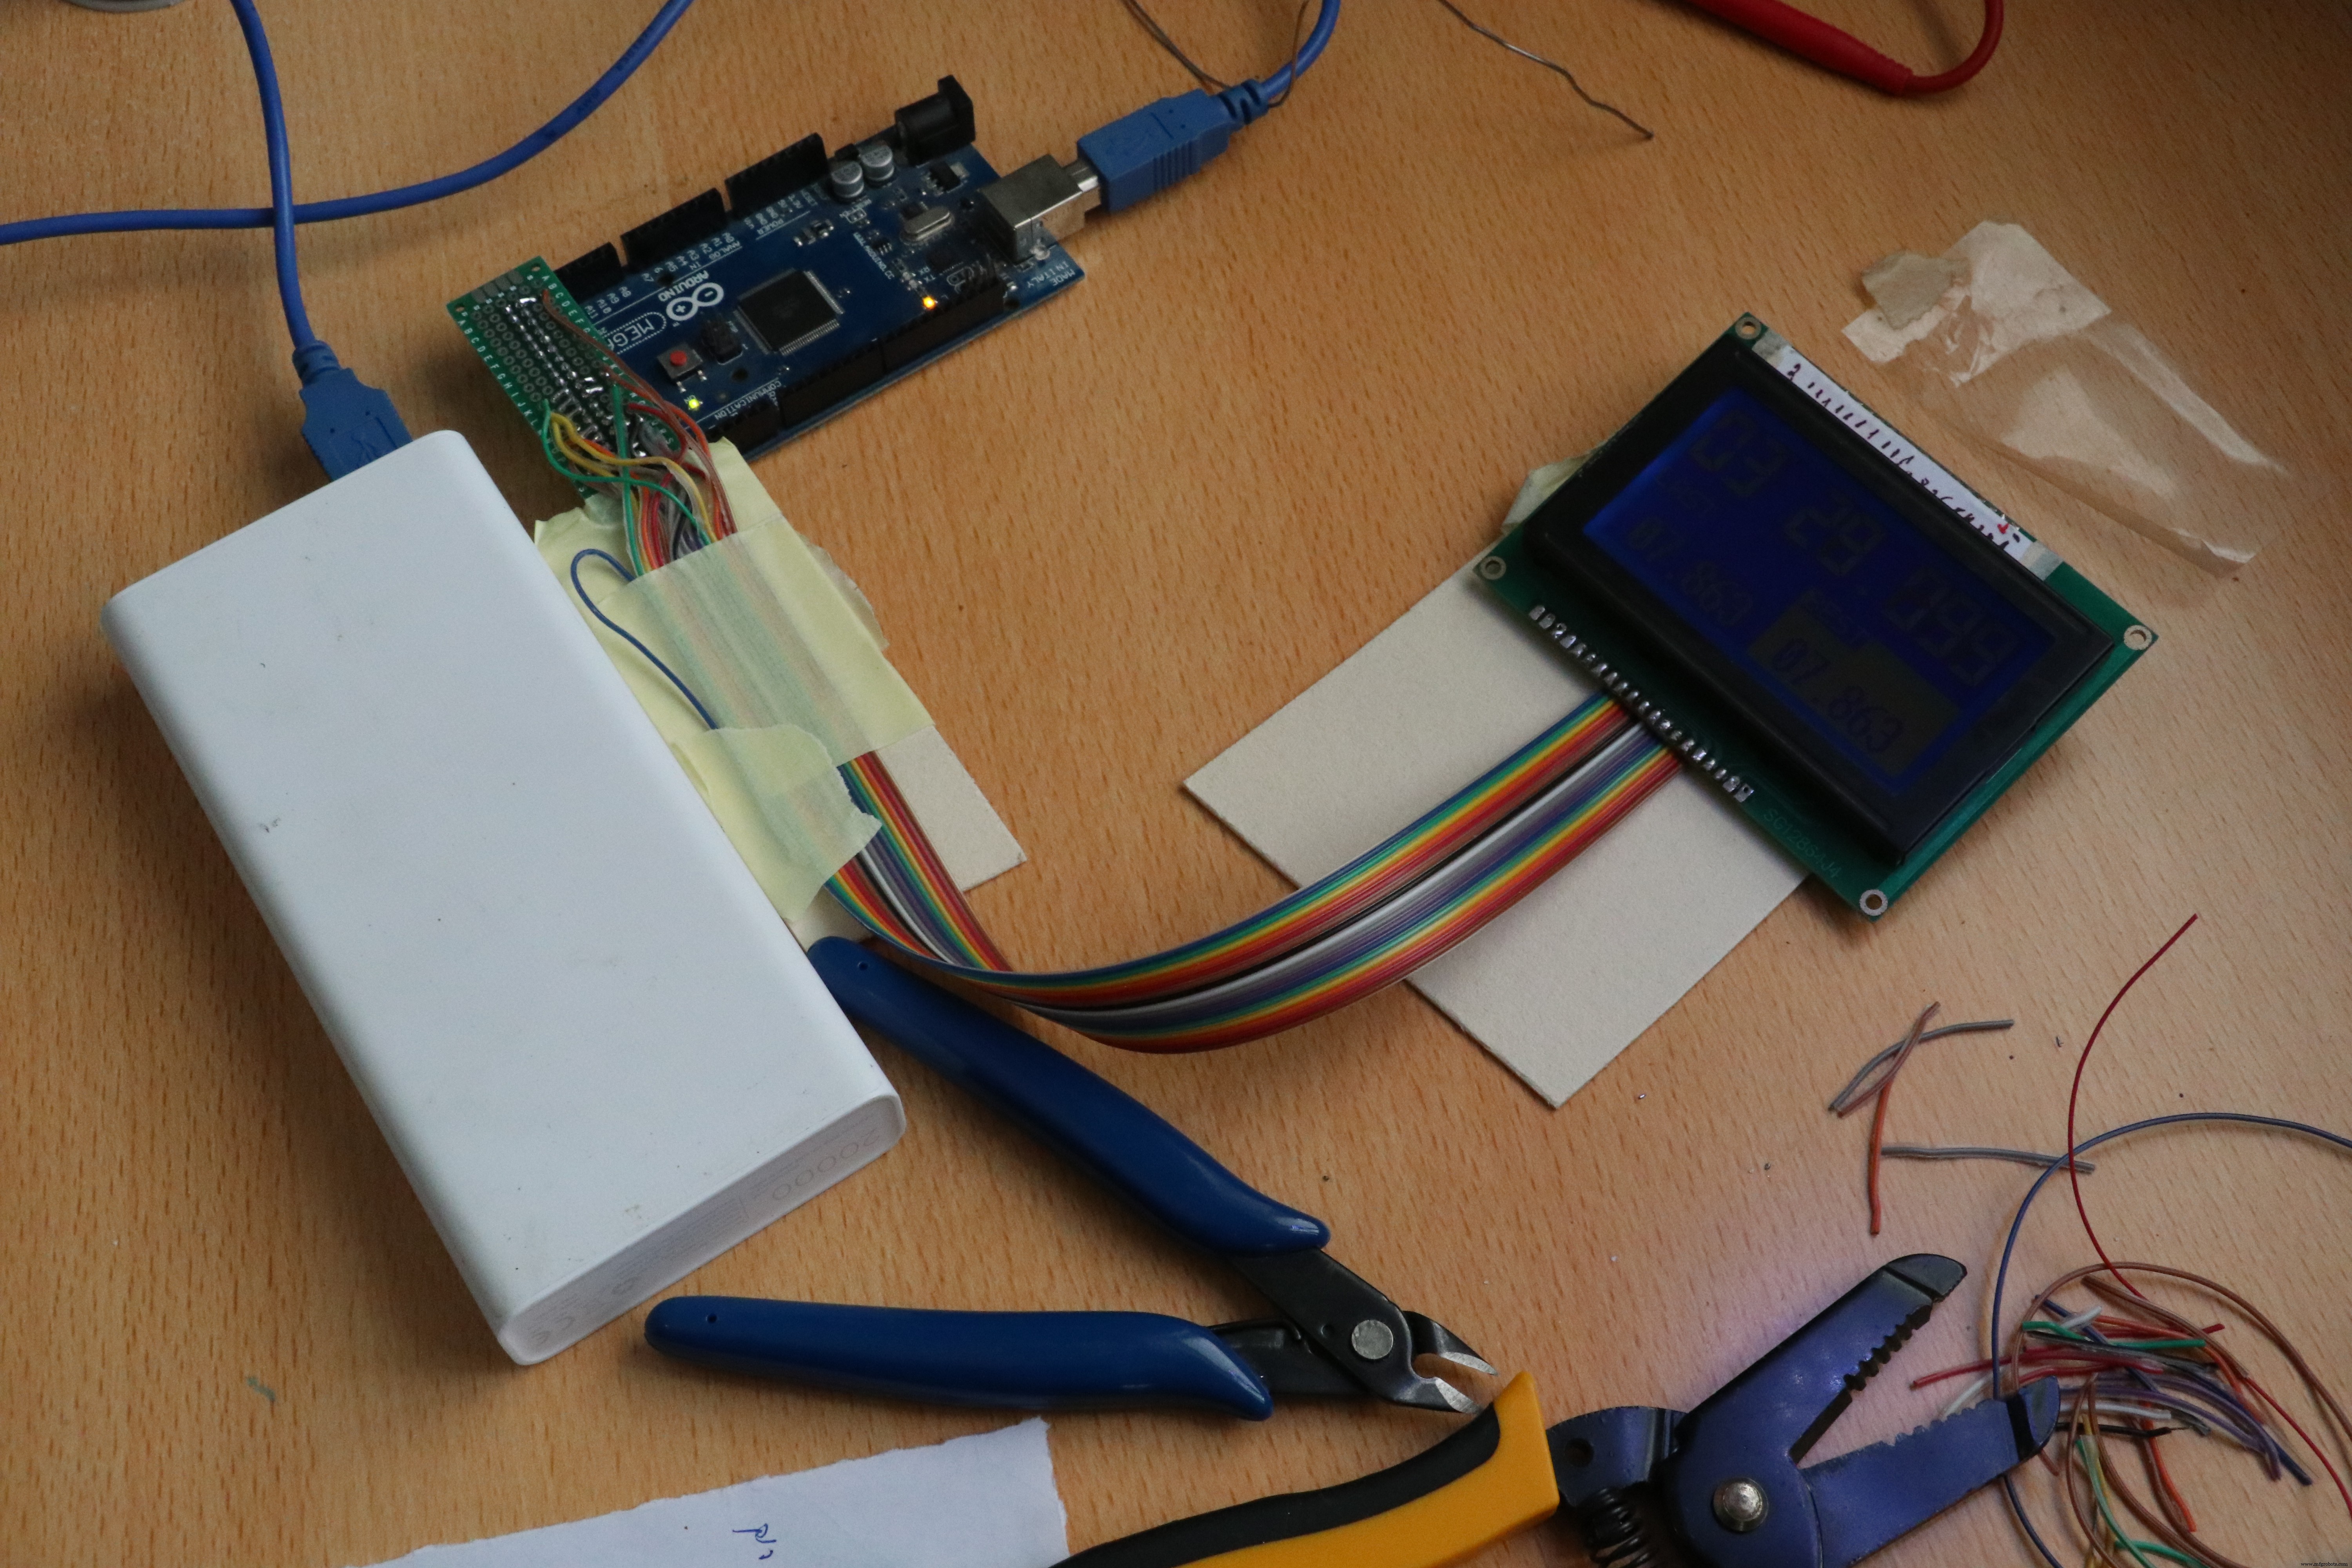
The KY008 laser module has 3 pins, -, + and S, I just shorten both the S and the + to the 5V. If you do not want the laser to be on all the time, connect the S pin to a digital pin on the Arduino. when ever you set it high the laser will turn on.
The sensor has 3 pins as well, GND, VCC and SIGNALE. connect to power and the input pin on the Arduino.
The hardest challenge in this build was to get it all aligned.
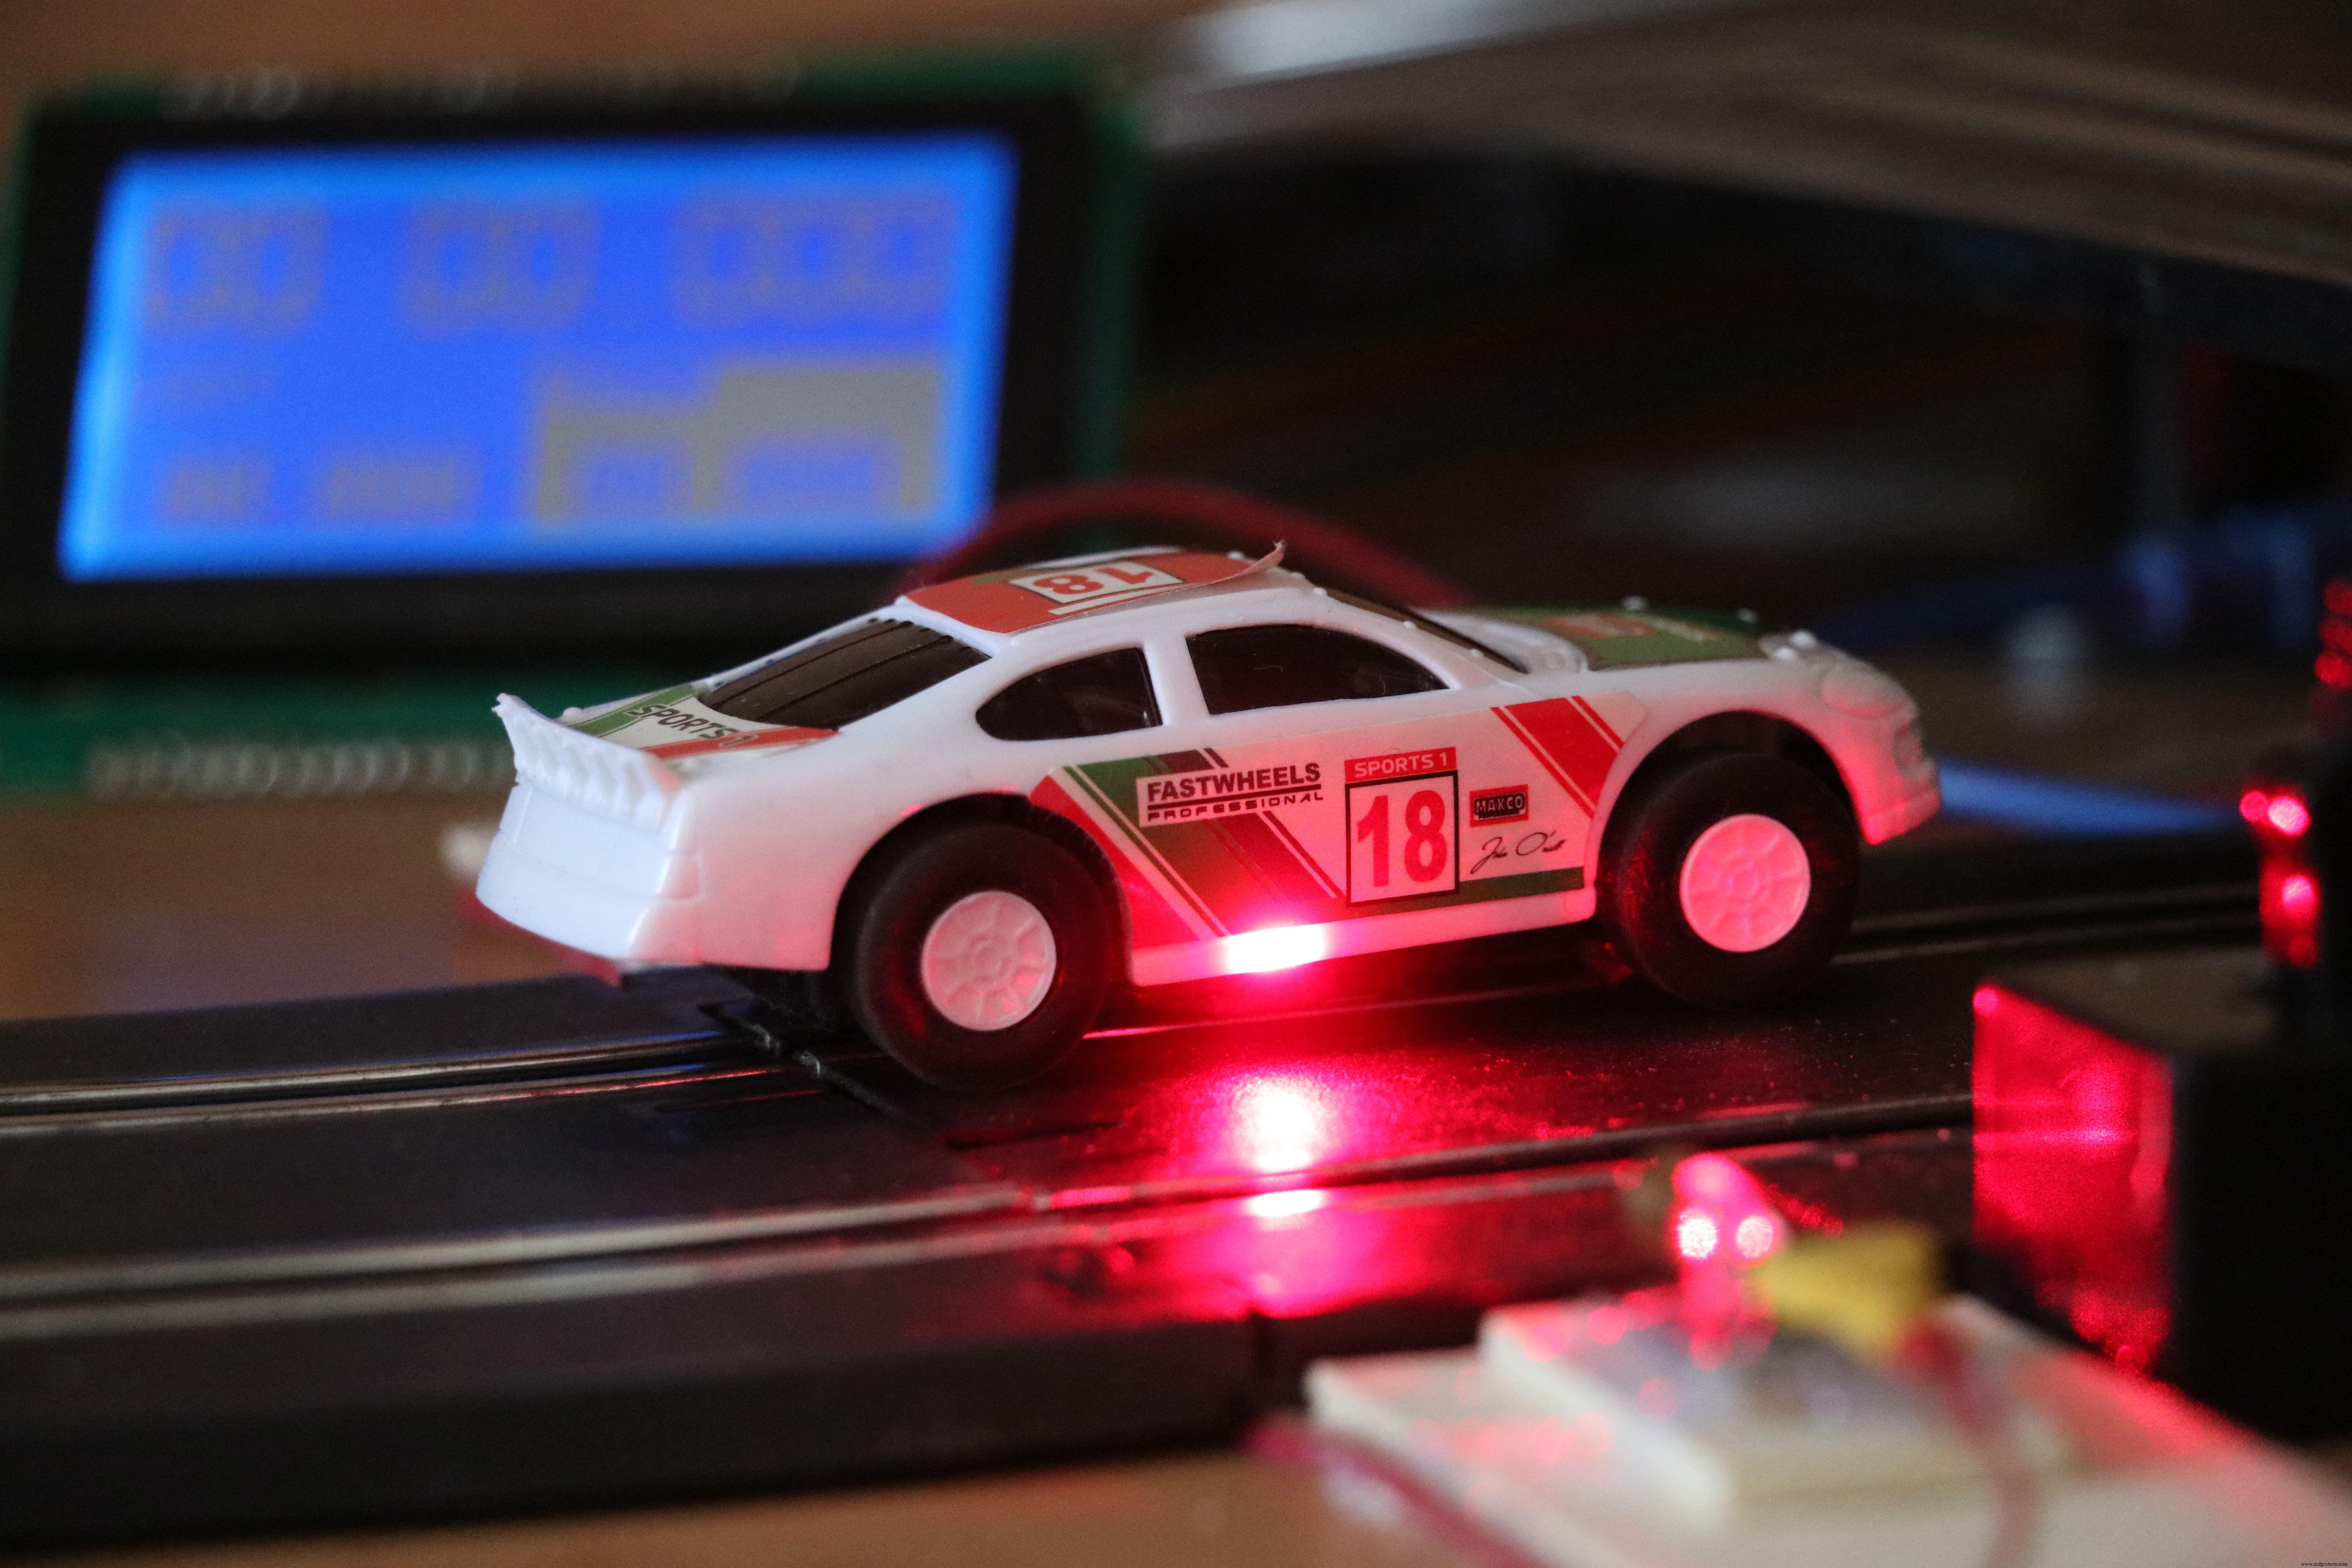
You can watch the final result in this clip.
Code
- Untitled file
Untitled fileArduino
/*
* Time keeping digital gate
* Code by: Tal Ofer
* talofer99@hotmail.com
*/


#include "openGLCD.h"

// laps info
unsigned long currentRunStartMillis;
unsigned long lastRunInMillis;
unsigned long bestRunInMillis;
int currentLap;
unsigned long savedMillis;

gText t1; // will define runtime later
gText t2; // will define runtime later
gText t3; // will define runtime later

// global for display
int sec_val, milli_val;

// laser gate
const int gateSensorPin = 2;    // the number of the gate sensor pin
int gateSensorState;             // the current reading from the sensor
int lastgateSensorState = LOW;   // the previous reading from sensor
unsigned long lastDebounceTime = 0;  // the last time the sensor pin was toggled
int debounceDelay = 50;    // the debounce time; increase if the output flickers


void setup() {
  // pin mode
  pinMode(gateSensorPin, INPUT);
  delay(50); // to late the sensor and laser work, so we wont get the lap triggered.
  // start GLCD
  GLCD.Init(NON_INVERTED);
  // define areas
  t1.DefineArea(textAreaTOP, lcdnums14x24);
  t2.DefineArea(0, GLCD.CenterY, 8, 2, fixednums7x15);
  t3.DefineArea(GLCD.CenterX, GLCD.CenterY, 8, 2, fixednums7x15);
  t3.SetFontColor(WHITE); // set font color
  t3.ClearArea();
  // print text
  GLCD.SelectFont(System5x7);
  GLCD.CursorTo(1, 4);
  GLCD.print("LAST");
  GLCD.CursorTo(11, 4);
  GLCD.print("BEST");
  // reset params
  currentRunStartMillis = 0;
  lastRunInMillis = 0;
  bestRunInMillis = 0;
  currentLap = 0;

}

void loop()
{
  // read the state of the laser sensor:
  int reading = digitalRead(gateSensorPin);
  // If the switch changed, due to noise or pressing:
  if (reading != lastgateSensorState) {
    // reset the debouncing timer
    lastDebounceTime = millis();
  } //end if

  // if passes the debounce time
  if ((millis() - lastDebounceTime) > debounceDelay) {
    if (reading != gateSensorState) {
      gateSensorState = reading;

      // If we went low, this mean the beam was broken
      if (gateSensorState == LOW) {
        // save the millis so all the math on it will be done with the same value.
        savedMillis = millis();
        // if its not the first lap
        if (currentLap > 0) {
          // save the last run
          lastRunInMillis = savedMillis - currentRunStartMillis;
          // if last run is faster then best run
          if (lastRunInMillis < bestRunInMillis || bestRunInMillis == 0) {
            //save as best
            bestRunInMillis = lastRunInMillis;
          } //end if
        } //end if

        //reset the current
        currentRunStartMillis = savedMillis;

        // move lap counter
        currentLap++;
      } //end if
    } //enf if
  } //end if


  // save the reading. Next time through the loop, it'll be the lastgateSensorState:
  lastgateSensorState = reading;


  // print Laps
  t1.CursorTo(0, 0); // set in location
  t1.Printf(F("%02d"), currentLap);

  // save current milis
  savedMillis = millis();

  // if we start the first lap
  if (currentLap > 0) {
    calcResultFromMillis(savedMillis - currentRunStartMillis, &sec_val, &milli_val);
  } else {
    calcResultFromMillis(0, &sec_val, &milli_val);
  } //end if

  // CURRENT RUN
  t1.CursorTo(3, 0); // column & row is relative to text area
  t1.Printf(F("%02d.%03d"), sec_val, milli_val);

  // LAST RUN
  calcResultFromMillis(lastRunInMillis, &sec_val, &milli_val);
  t2.CursorTo(1, 1); // column & row is relative to text area
  t2.Printf(F("%02d.%03d"), sec_val, milli_val);

  // BEST RUN
  calcResultFromMillis(bestRunInMillis, &sec_val, &milli_val);
  t3.CursorTo(1, 1);
  t3.Printf(F("%02d.%03d"), sec_val, milli_val);

} //wnd loop


// calculate millis into 2 values, seconeds and millis for display
void calcResultFromMillis(unsigned long value, int *sec_val, int *milli_val) {
  *sec_val = int(value / 1000);
  *milli_val = value - *sec_val * 1000;
}
Manufacturing process
- Comprehensive Guide to Laser Marking: Types, Benefits, and Applications
- Laser Pointer: Design, Manufacturing, and Safety Overview
- Roller Coasters: From Snow Sleds to Steel Giants
- Semiconductor Lasers: Precision Light Generation for Modern Technology
- The Hourglass: History, Craftsmanship, and Modern Appeal
- Laser‑Guided Missiles: Development, Manufacturing, and Strategic Impact
- Arduino Temperature Monitor & Real-Time Clock Using a 3.2” TFT Display
- ATmega328P Alien Slot Machine Kit
- Real-Time Arduino Weather Clock: OLED Display for Time, Date & Temperature
- Arduino Weather Clock – Real-Time Date, Time, Temperature & Humidity Display