


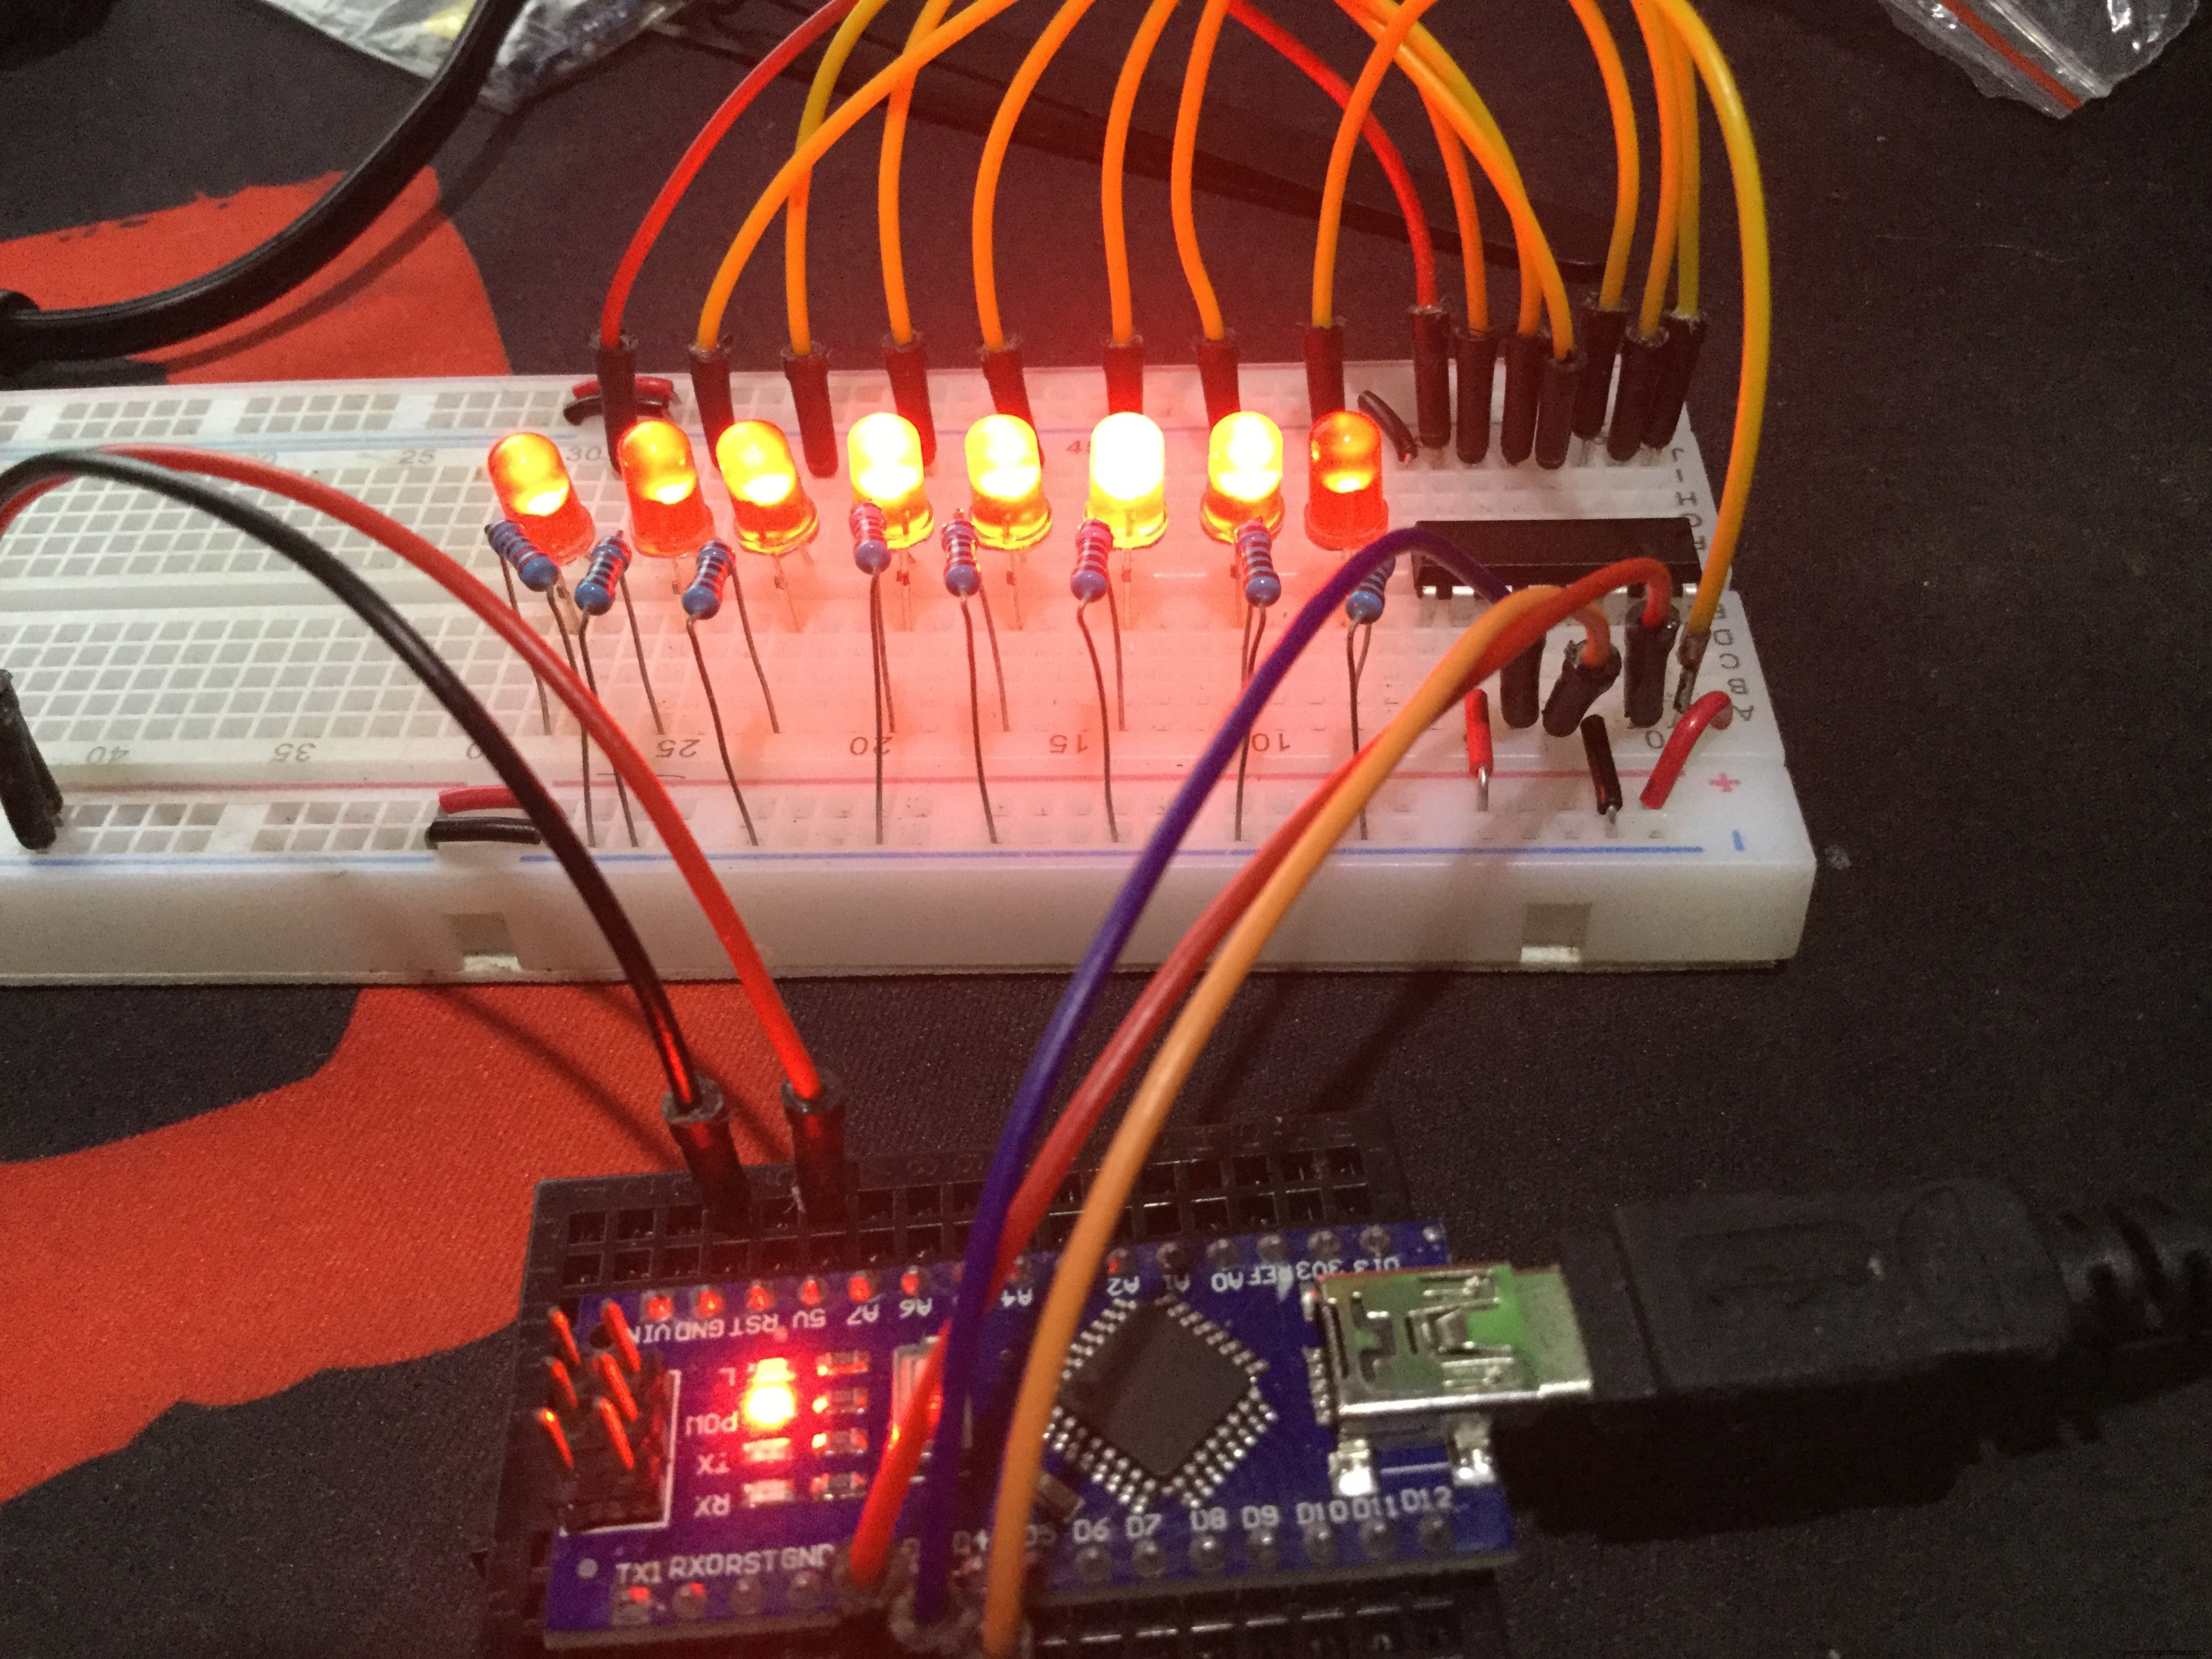
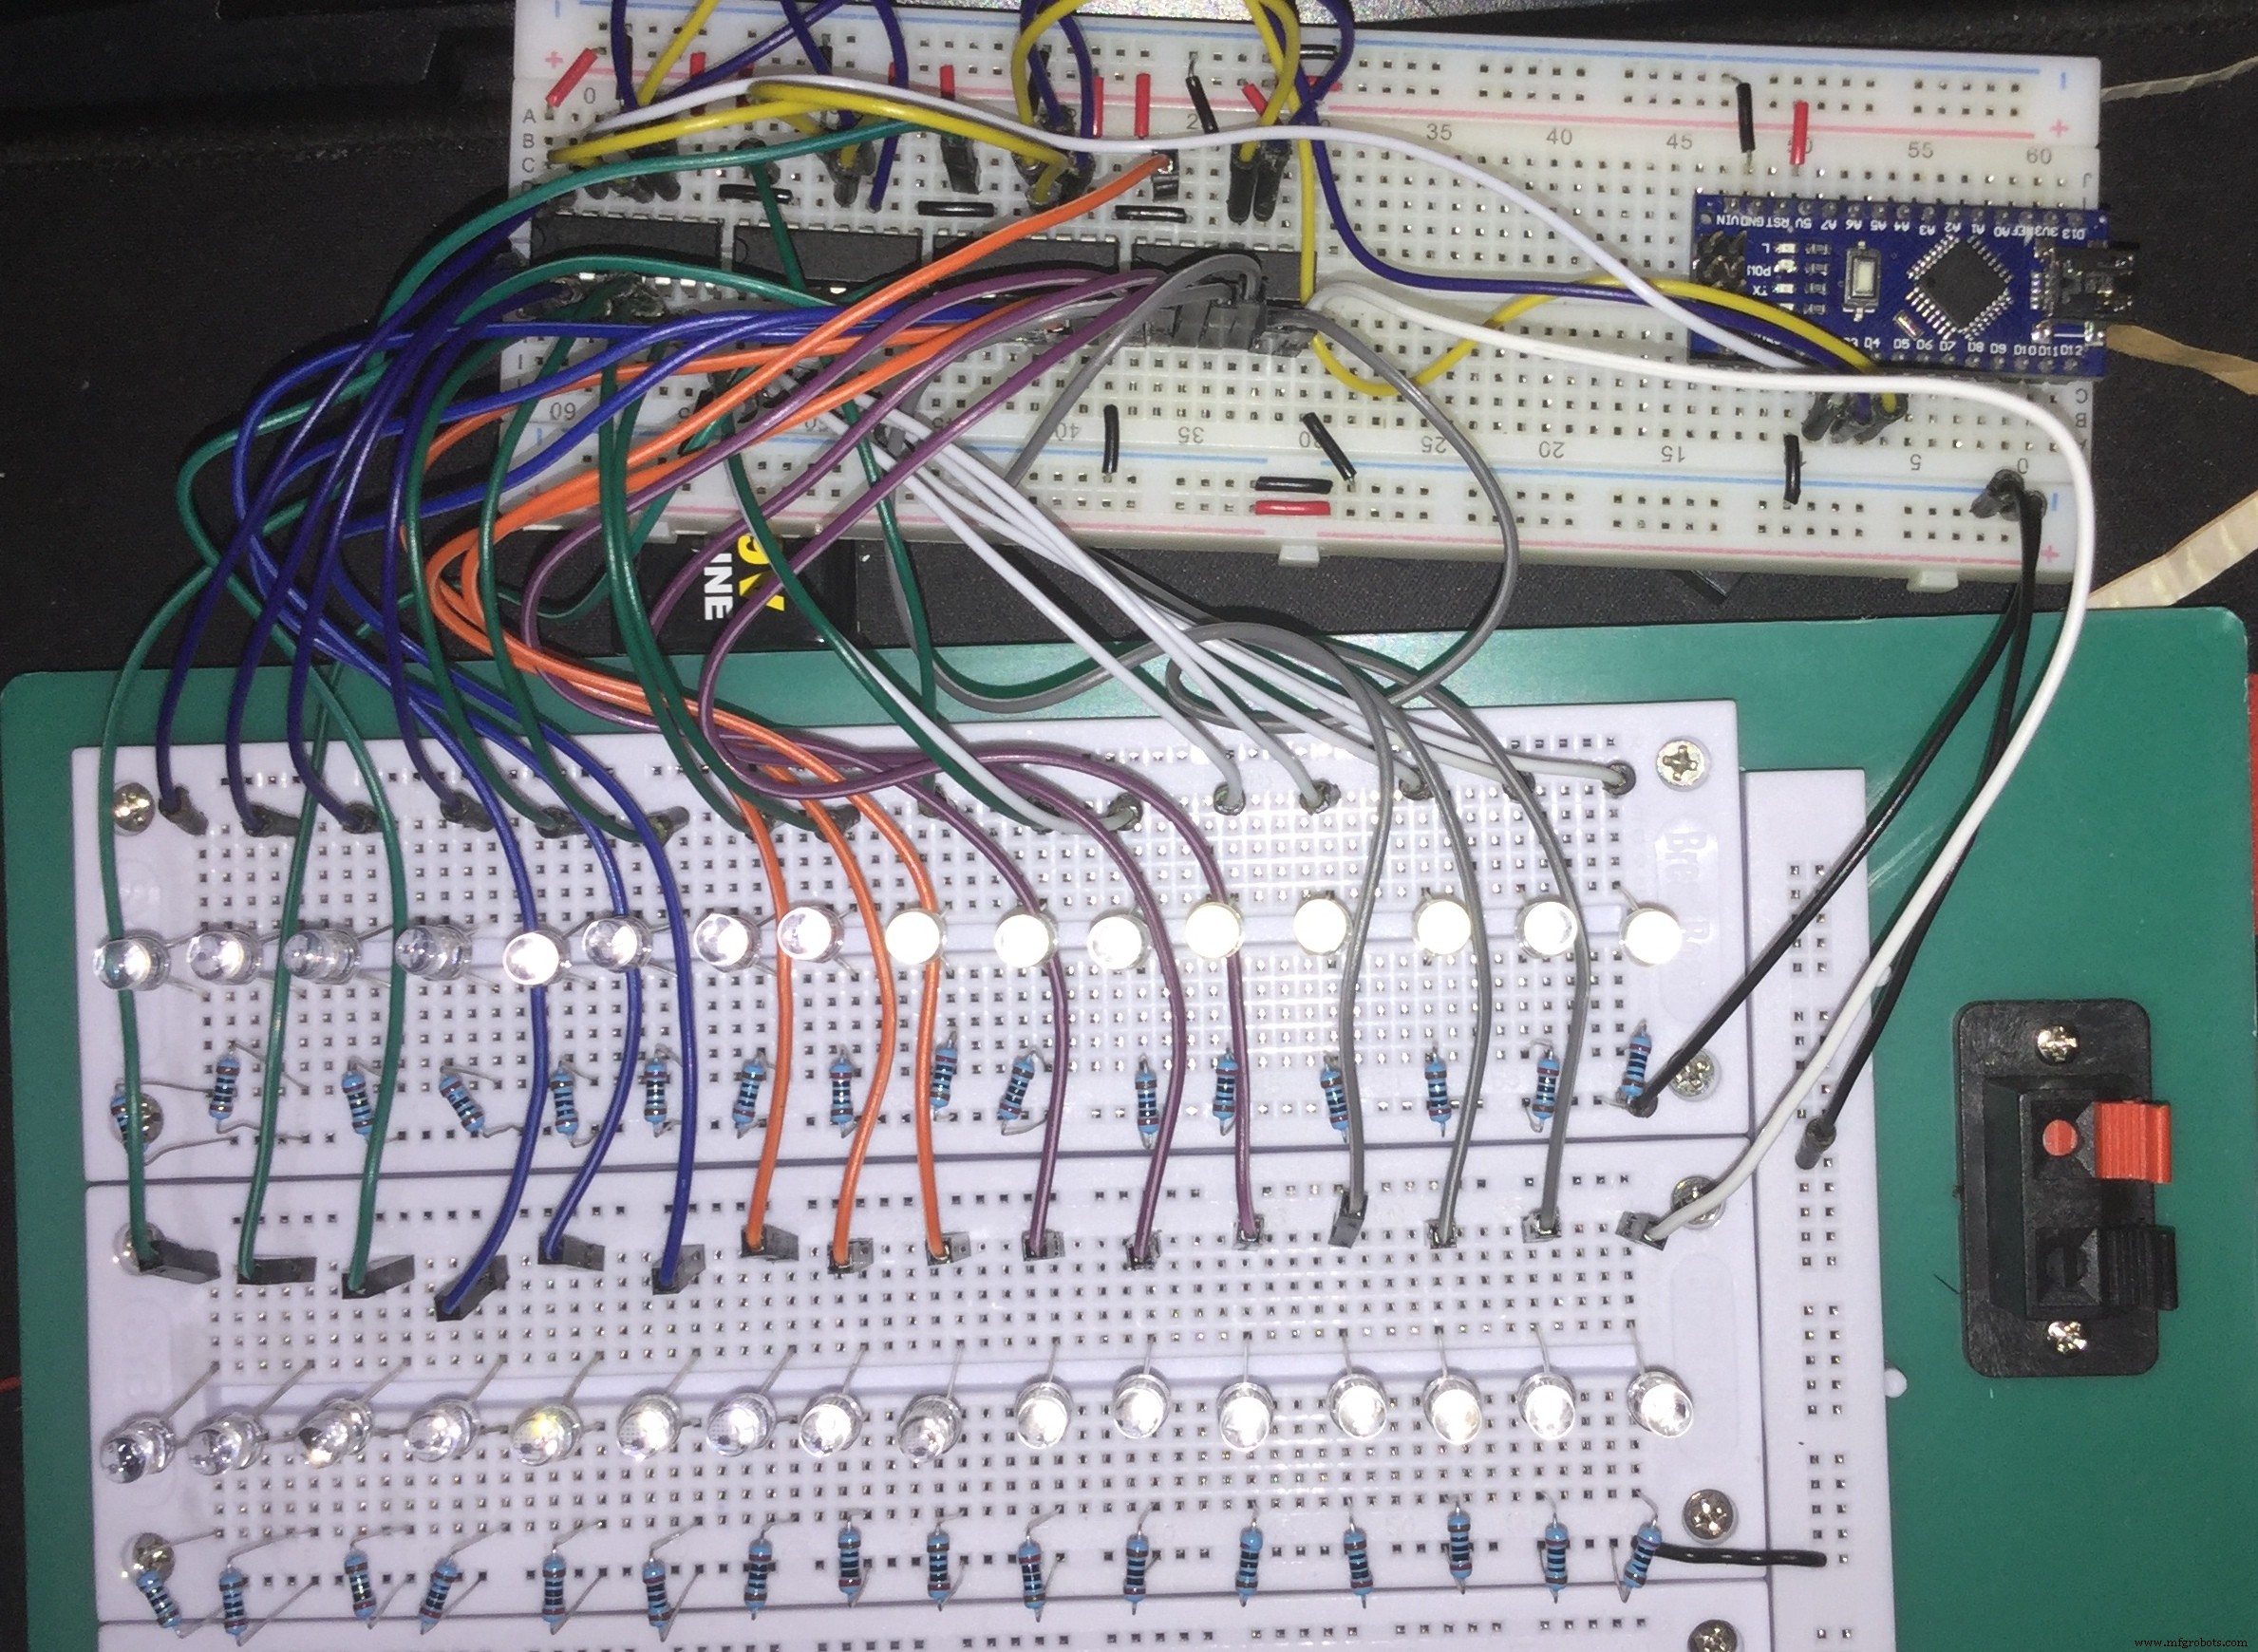
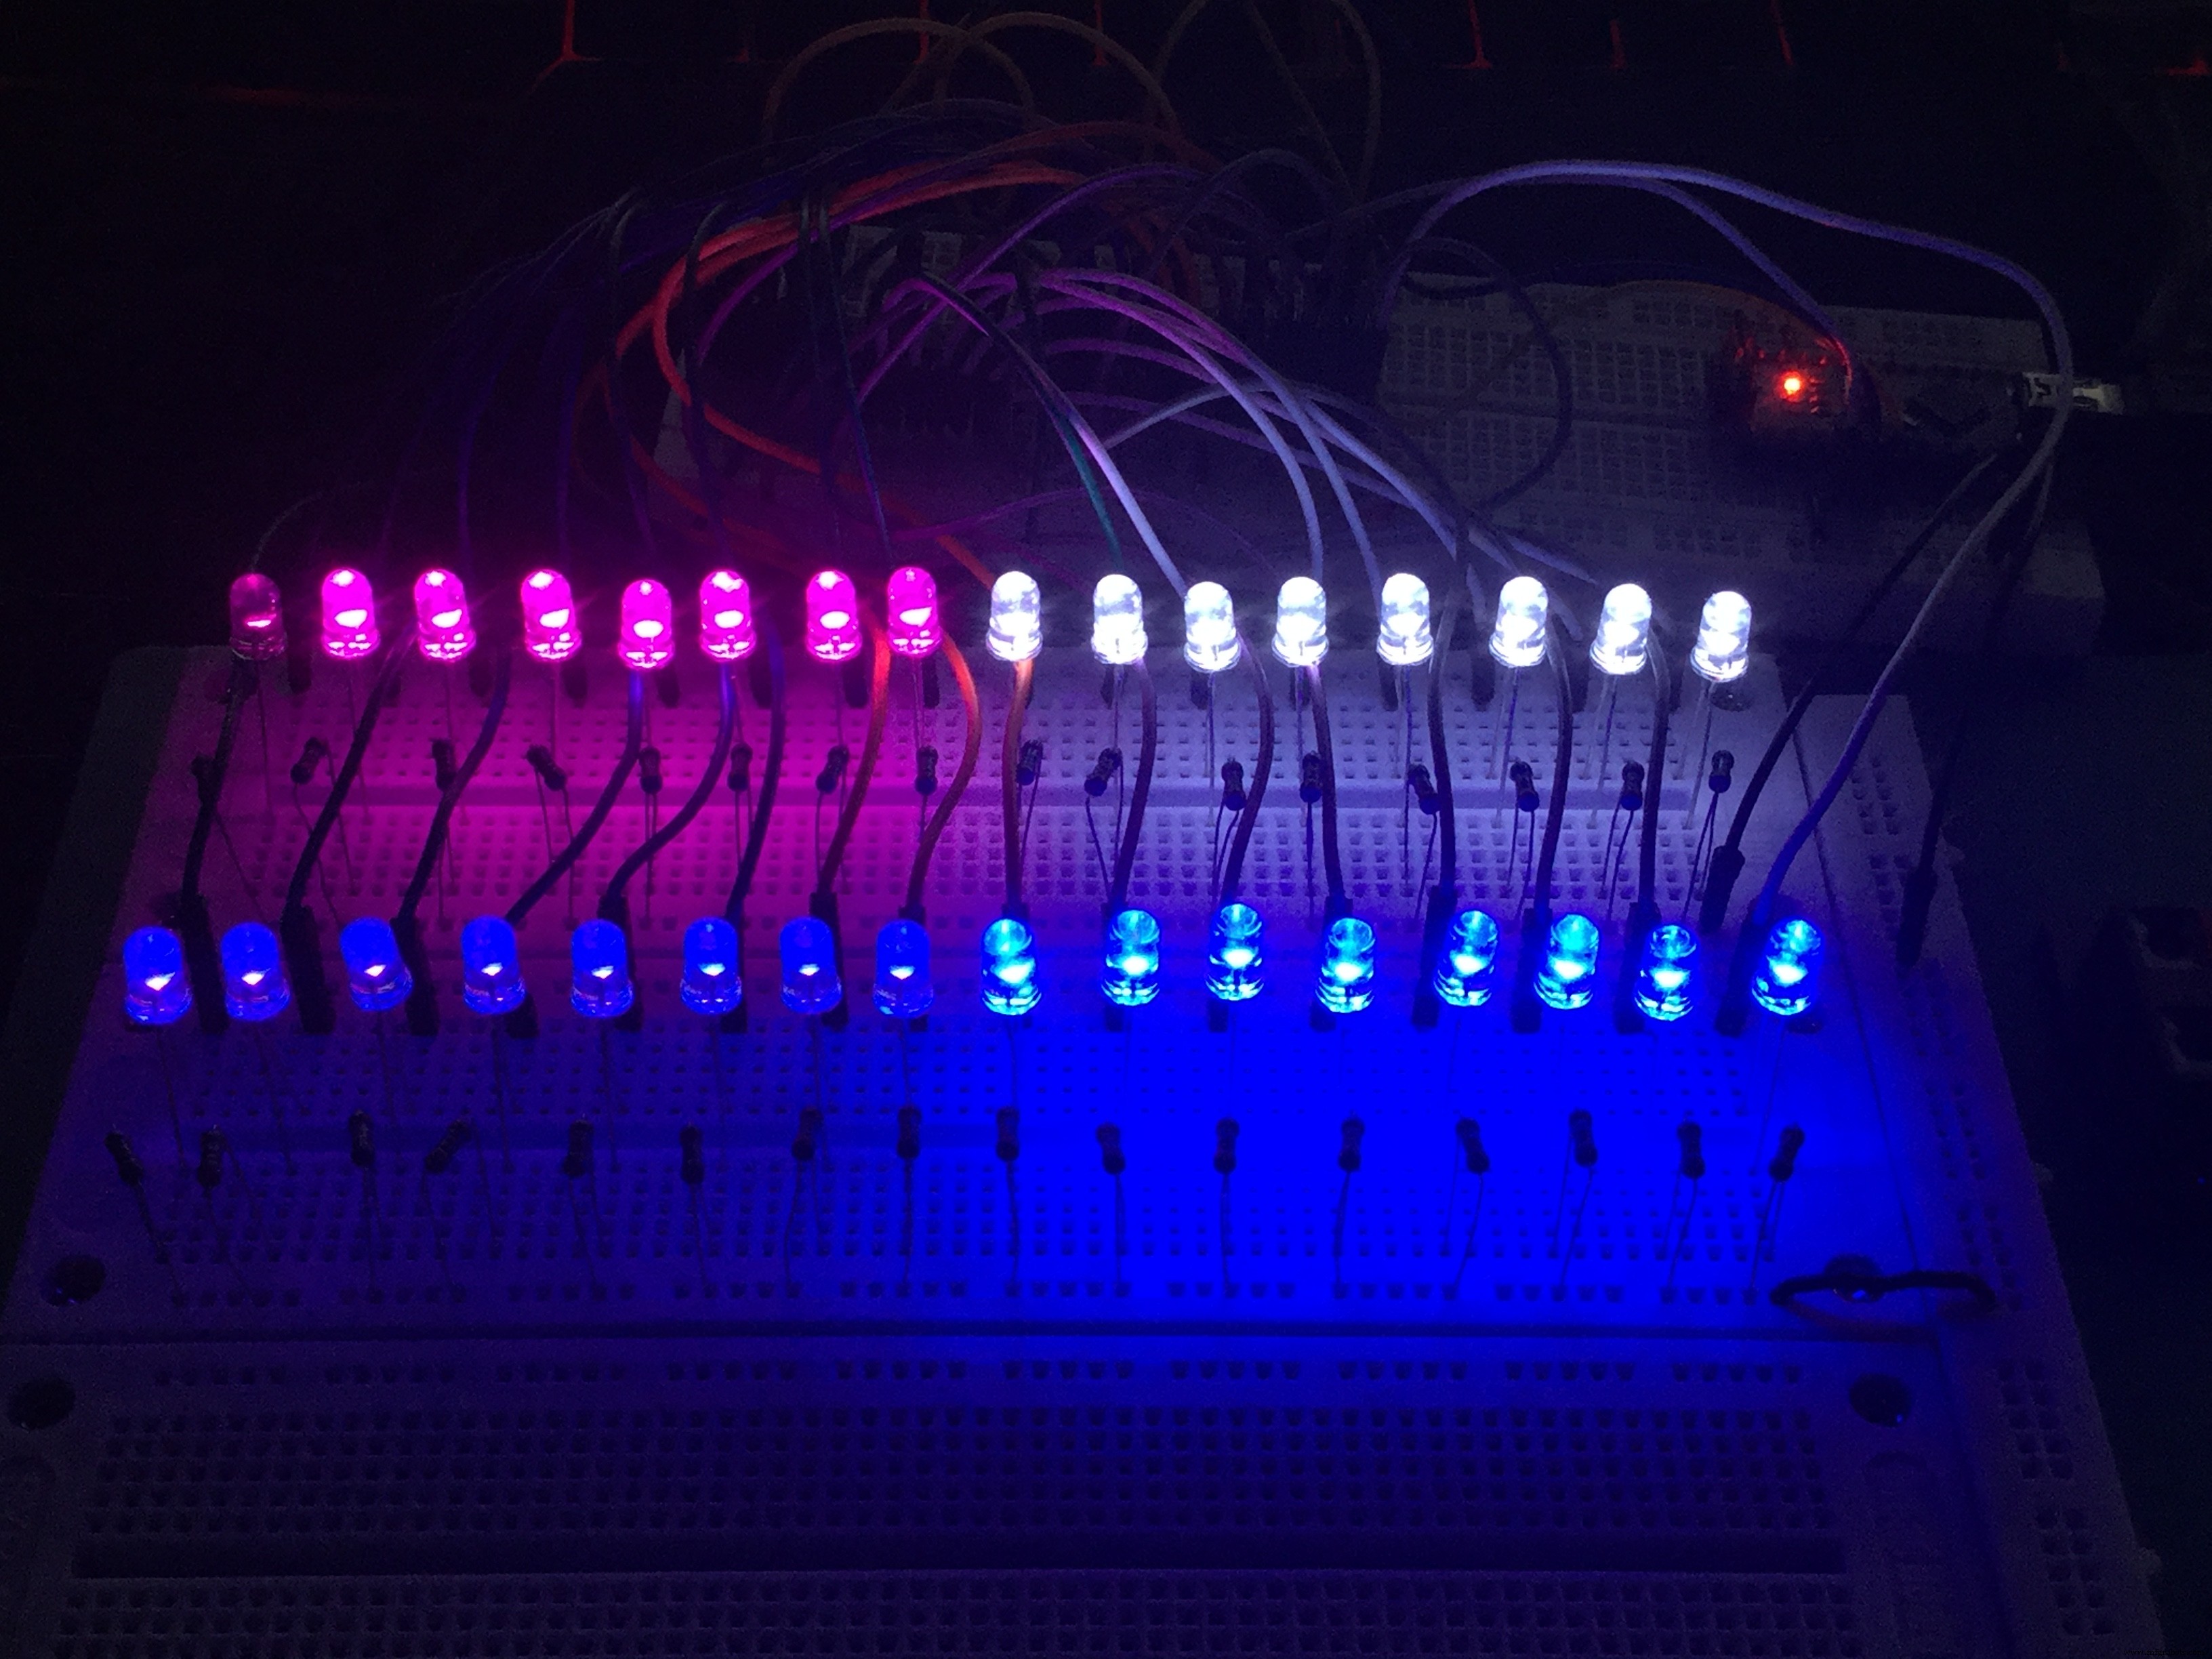
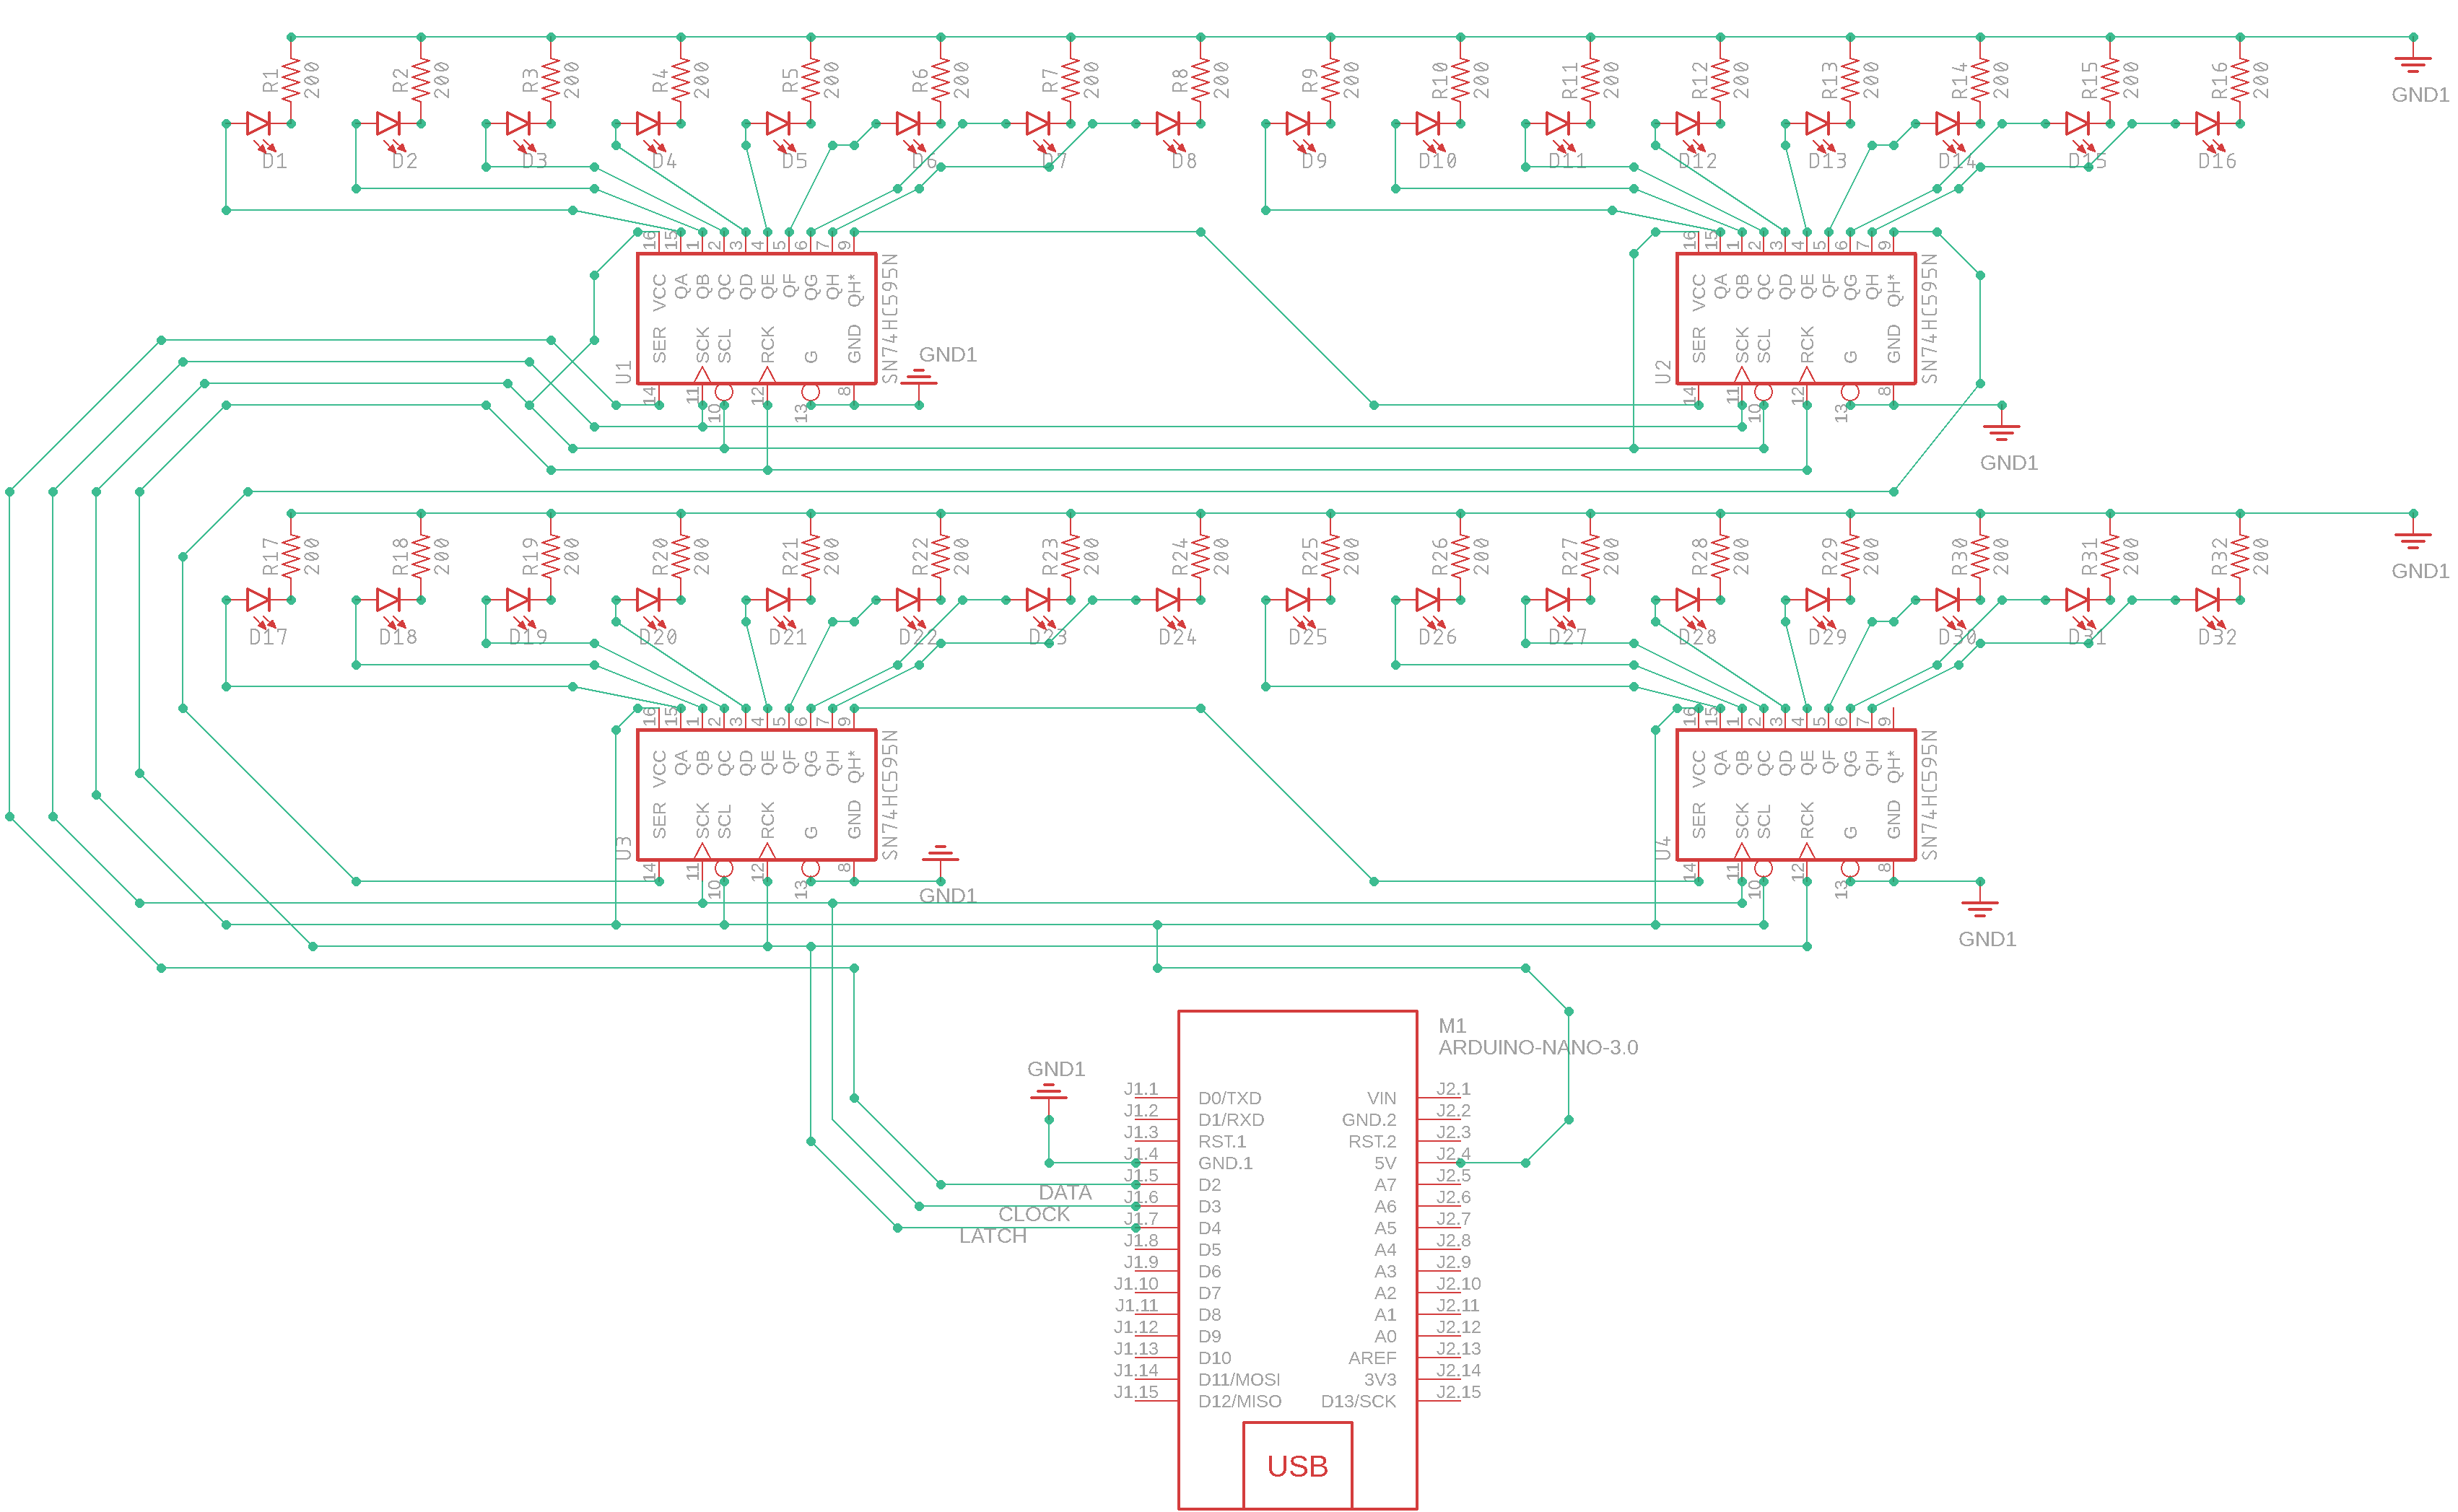
Controlling 32 LEDs with Arduino Nano and 4x 74HC595 Shift Registers – A Beginner’s Guide
Components and supplies
 |
| × | 1 | |||
 |
| × | 4 | |||
 |
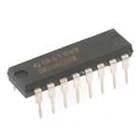
| × | 1 | |||
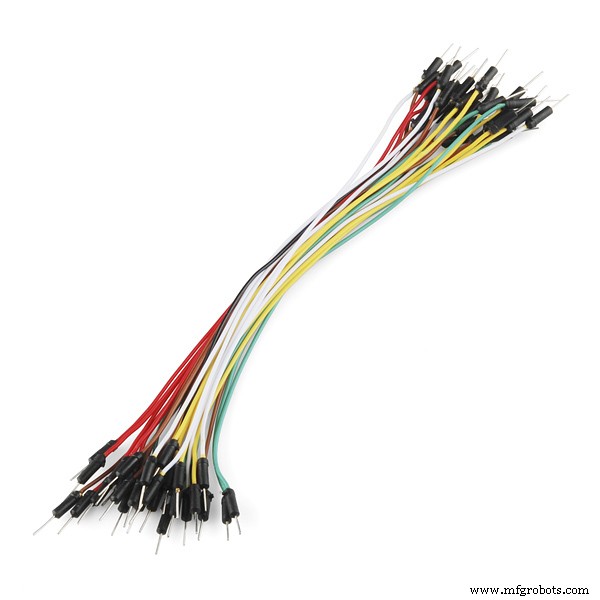 |
| × | 1 | |||
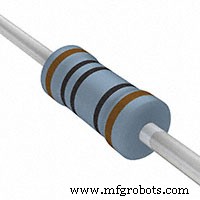 |
| × | 1 | |||
|
| × | 1 |
Apps and online services
|
|
About this project
This is a step-by-step guide that I have created for beginners and arduiNOOBS like me.
In this tutorial, we would be discussing some pretty basic knowledge about the 8-bit shift register called 74HC595.
Learn how to daisy-chain them together and use some codes from an HC595 Library.
Also, I encountered a problem with some of the shift registers. I don't know why. Was it because of lack of power?
******************************************************************************
NECESSARY LINKS:
HC595 Library - https://github.com/j-bellavance/HC595
Datasheet - http://www.ti.com/document-viewer/SN74HC595/datasheet/specifications#SCLS0419845
More Information: https://rastating.github.io/using-a-74hc595-shift-register-with-an-arduino-uno/
For Loop Iteration: https://www.arduino.cc/en/Tutorial/ForLoopIteration
******************************************************************************
Social Media Links To Follow (I mean, if you want to):
Facebook - https://fb.me/HeathenHacks
Twitter - https://twitter.com/HeathenHacks
Instagram - https://instagr.am/HeathenHacks
******************************************************************************


Code
- Edited Sample Code From The HC595 Library.
Edited Sample Code From The HC595 Library.Arduino
#include <HC595.h>

const int chipCount = 2;  // Number of serialy connected 74HC595 (8 maximum)
const int latchPin = 4;  // Pin ST_CP (12) of the 74HC595
const int clockPin = 3;  // Pin SH_CP (11) of the 74HC595
const int dataPin = 2;   // Pin DS (14) of the 74HC595

//Constructor
HC595 ledArray(chipCount,latchPin,clockPin,dataPin);

int delayMs = 30;
int lastPin = ledArray.lastPin();

void setup() {
  ledArray.reset();
}

void loop() {
  for (int i = 0 ; i <= lastPin ; i++) {
    ledArray.setPin(i, ON);
    delay(delayMs);
  }
  for (int i = lastPin ; i >= 0 ; i--) {
    ledArray.setPin(i, OFF);
    delay(delayMs);
  }
  for (int i = lastPin ; i >= 0 ; i--) {
    ledArray.setPin(i, TOGGLE);
    delay(delayMs);
  }
  for (int i = 0 ; i <= lastPin ; i++) {
    ledArray.setPin(i, TOGGLE);
    delay(delayMs);
  }
}
HC595 Library by Mr. J. Bellavance
https://github.com/j-bellavance/HC595Schematics
Manufacturing process
- DHT11 Temperature & Humidity Sensor Project with LED Indicators and Piezo Speaker
- Control LEDs with Alexa via Raspberry Pi – Easy Step‑by‑Step Guide
- Build an Arduino Iron Man: Components, Sensors, and Step‑by‑Step Guide
- Find Me: Smart Item Locator with Arduino and Bluetooth
- DIY Arduino Humidifier Controller with Relay – Safe High‑Voltage Setup
- Build a Custom Arduino Joystick Steering Wheel for Gaming
- Arduino 101: Build a Pedometer with DHT11 Sensor & LCD Display
- Build an Arduino RGB Color Mixer – Step‑by‑Step Tutorial
- PhoneLocator: Securely Locate Your Phone Anywhere
- DIY Arduino Snowflake: 30‑LED LED Display Project