


Comprehensive Guide: Alcohol Sensor Pinout & Arduino Integration
Drunken driving is a serious crime in almost all countries. Hence, checking the blood alcohol concentration levels is an important process for police officers. We will elaborate on how to test alcohol content via an alcohol sensor and design this device using a typical microcontroller.
What Is an Alcohol Sensor?
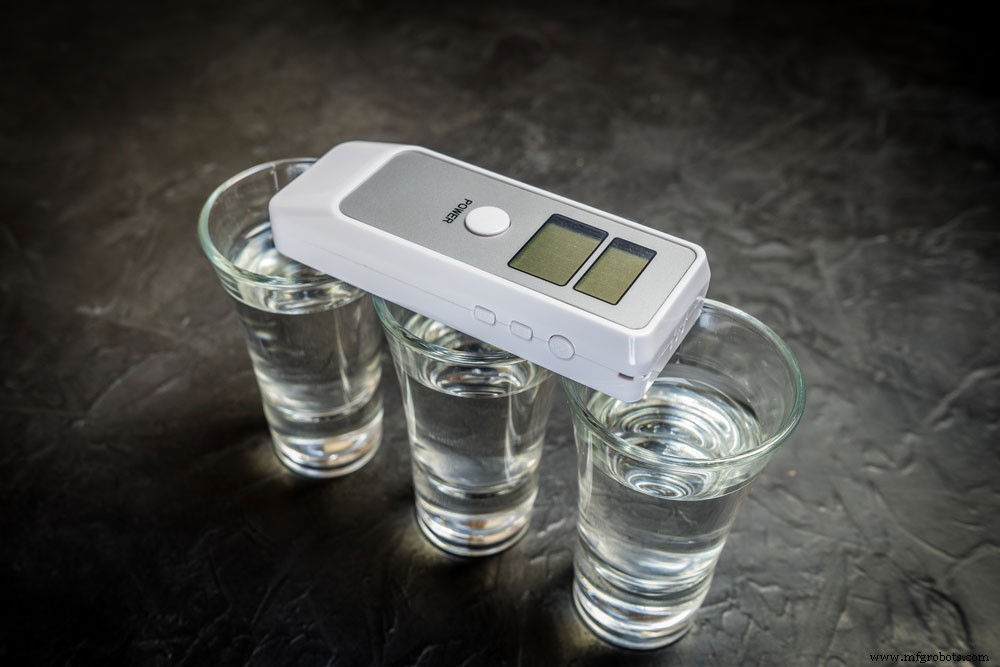
Fig 1: A Breath analyzer and alcohol in glasses
The sensor is an electronic device that measures ethanol’s gas concentration and presents the result as an analog output.
An MQ3 sensor is a popular alcohol sensor from the MQ edition with a Metal Oxide Semiconductor. Furthermore, the MQ3 sensor utilizes 5V DC while identifying alcohol concentrations between 25 and 500 ppm.
Alcohol Sensor Module Pinout
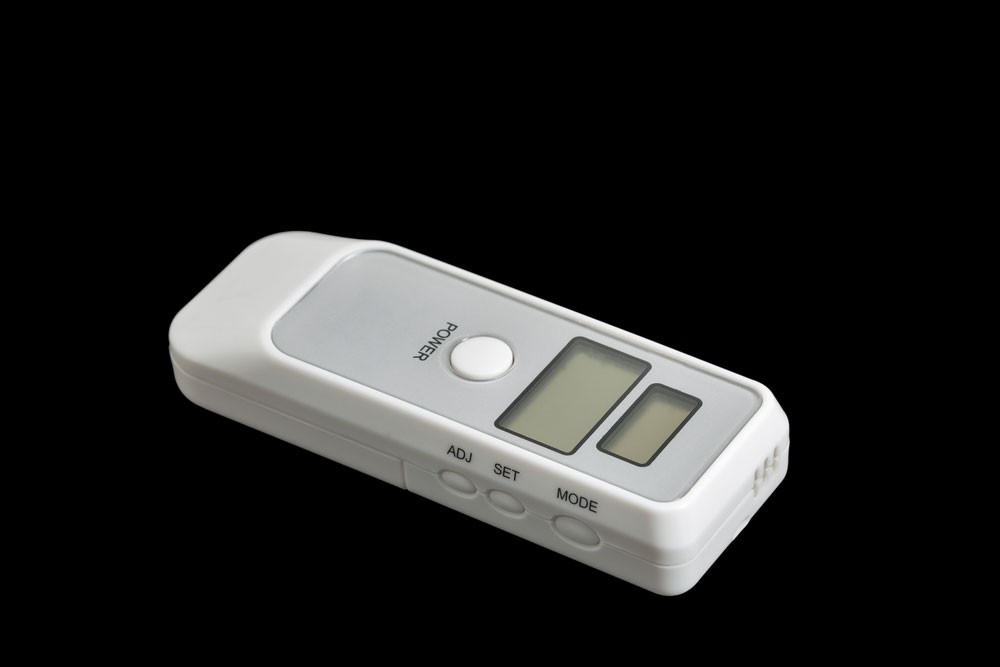
Fig 2: A portable breath alcohol tester
Here’s the pinout description for the MQ-3 Sensor module.
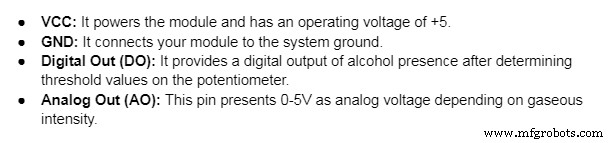
For the MQ-3 Sensor
- A-Pins: They connect to the supply voltage.
- B-Pins: One pin connects to the ground while the other serves as the output.
- H –Pins: The first H-pin connects to the supply while the other goes to the ground.
Remember, you can interchange A and B pins.
Features

Fig 3: A handheld breath alcohol tester
Key Specifications
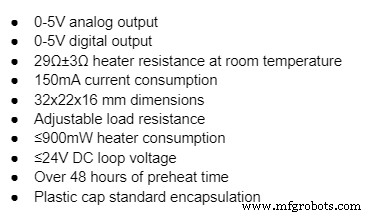
Special Features
- It has two mesh layers on the internal structure to protect heater components from an explosion. Ideally, this is because alcohol is flammable.
- Secondly, its tubular sensing component contains Aluminum Oxide ceramic and a Tin Dioxide coat. The two materials are sensitive to alcohol.
- In addition, it has high alcohol sensitivity, affordability, and a low-power standby setting.
- Lastly, it is compatible with many microcontrollers.
How Does an Alcohol Detection Sensor Work?
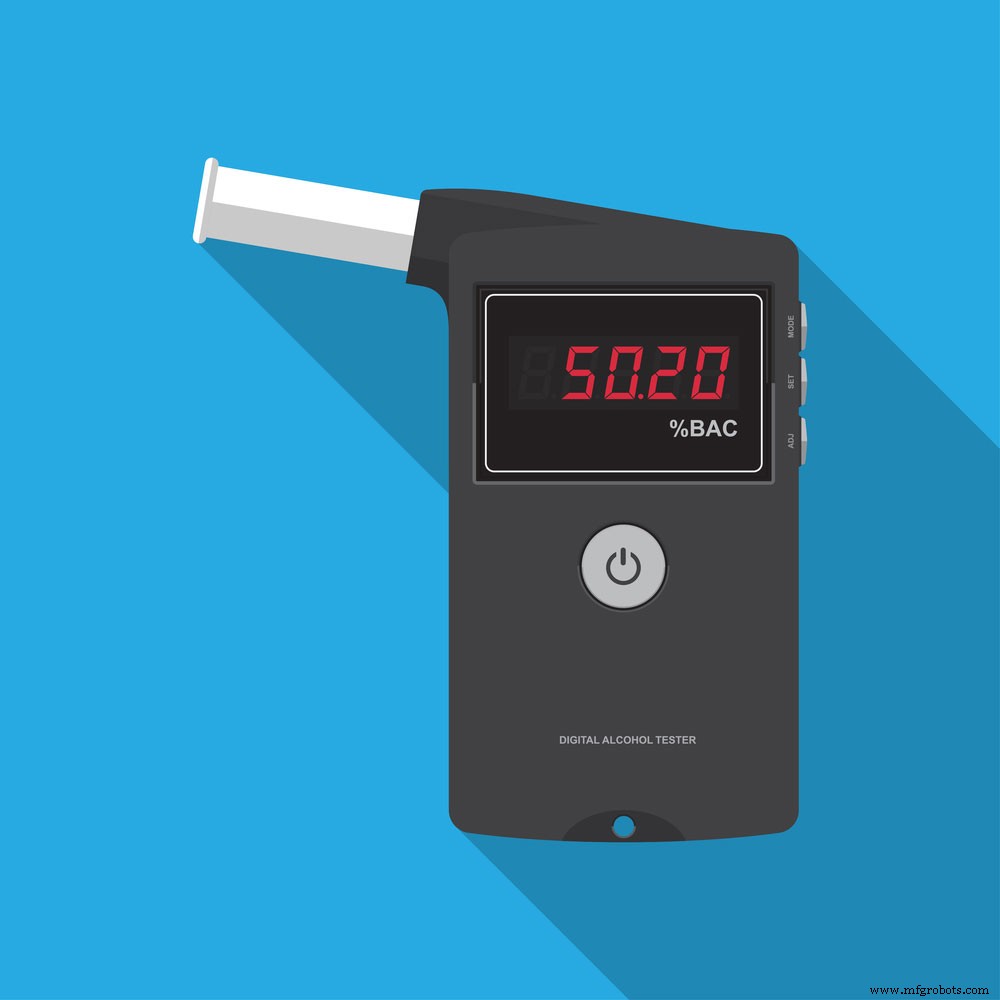
Fig 4: A digital alcohol tester
In the absence of alcohol, oxygen adsorption occurs when the SnO2 semiconductor layer heats up at high temperatures. Additionally, oxygen molecules attract tin oxide electrons in clean air. As a result, an electron depletion sheet forms below the SnO2 surface to create a possible barrier. The outcome is a highly-resistant SnO2 layer that prevents current flow.
However, the presence of alcohol from human breath reduces the adsorbed oxygen’s surface density, decreasing the potential barrier. It pushes electrons into tin dioxide to allow current to flow through the alcohol sensor.
Note that we use ppm (parts-per-million) to measure one gas’s ratio to another. For instance, 500 ppm means 500 alcohol molecules exist in one million gas molecules.
Applications of Alcohol Sensors
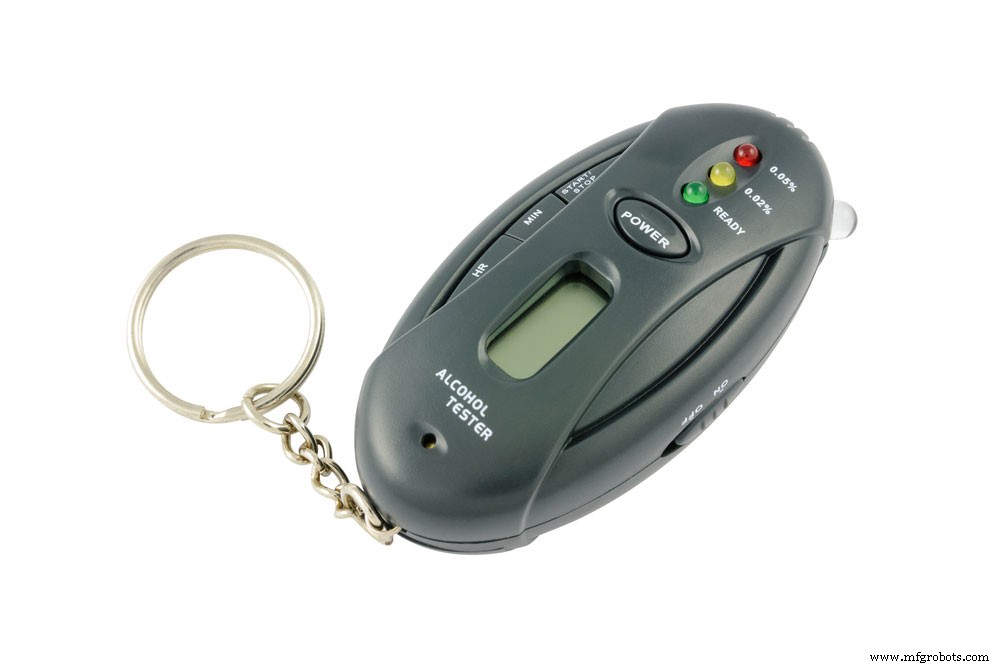
Fig 5: A pocket alcohol tester
The primary application of liquors sensors is building alcohol detectors. Hence, it helps you identify drunk drivers.
Other applications include background sensing devices and industrial and domestic ethanol gas alarms.
Measuring Alcohol Concentration Using Analog Output
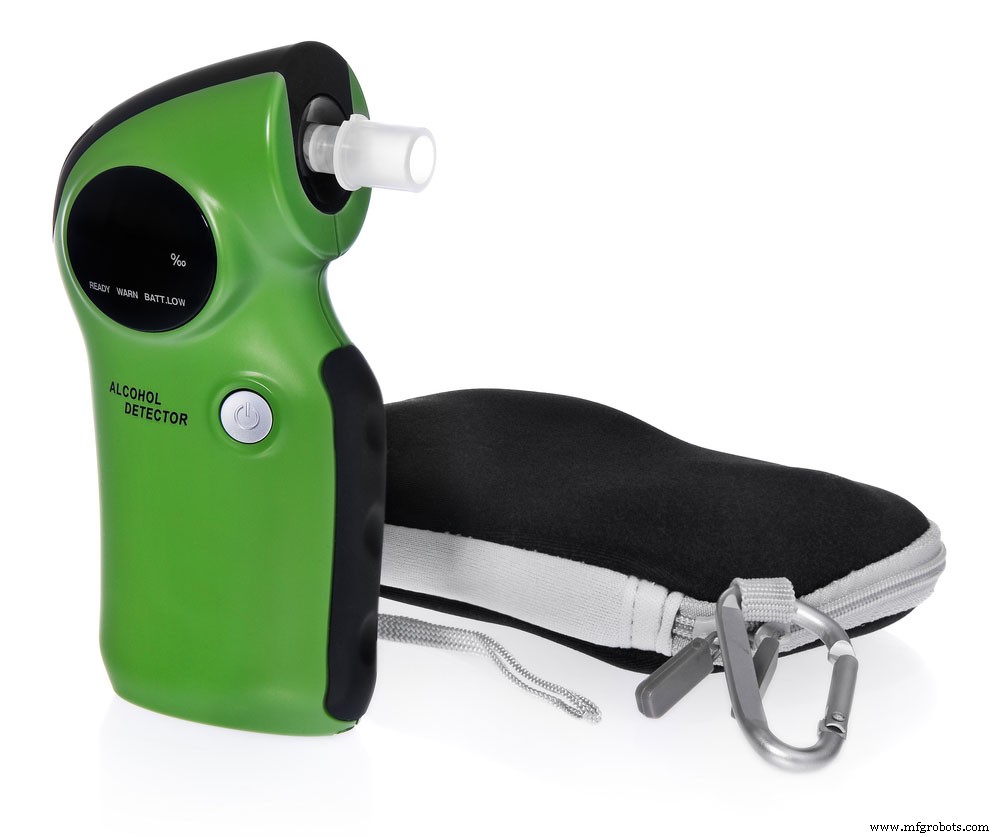
Fig 6: A breath analyzer with a casing
Follow these steps to check alcohol concentration using the sensor’s analog output.
Follow these steps to check alcohol concentration using the sensor’s analog output.
Wiring
Connect the VCC and 5V pins on your alcohol sensor Arduino. Afterward, connect the GND and ground pins before linking the module’s AO output to Analog pin 0 on your Arduino.
Calibration
This procedure increases the accuracy of your alcohol sensor readings. Start by equating values to percentages and alcohol concentration levels. You can test the sensor by breathing into it before and after sipping some booze.
However, if you don’t drink, waft isopropyl or hand sanitizer vapor towards the alcohol sensor. Because the MQ3 alcohol sensor is heat-driven, warm it up for accurate results. Use this code to heat the alcohol sensor for 20 seconds.
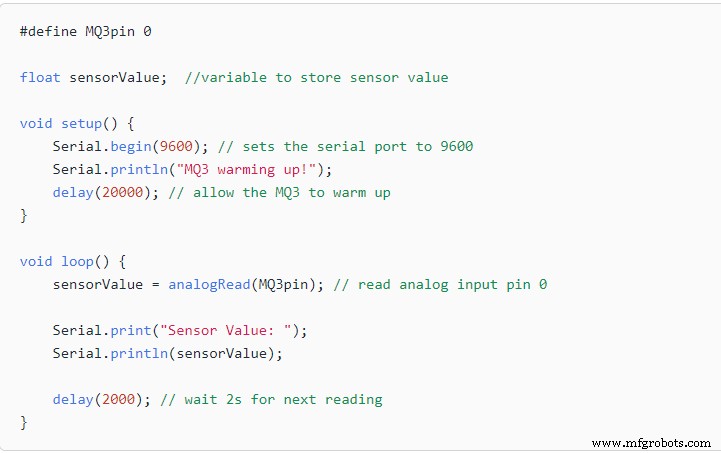
Fig 7: Calibration code
Source: https://lastminuteengineers.com/mq3-alcohol-sensor-arduino-tutorial/
Completing the Build
This program determines alcohol concentration by defining the following ranges.
- Sober: <120
- Drinking within legal limits: 120-400
- Drunk : >400
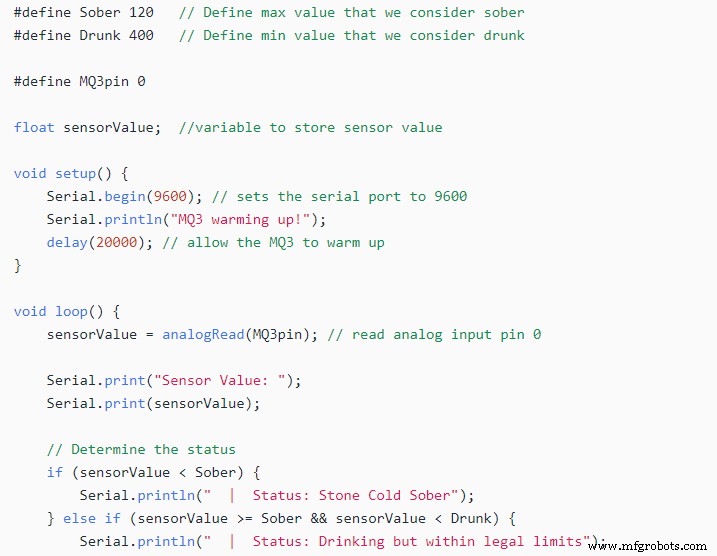
Fig 8: A breath analyzer code.
Source: https://lastminuteengineers.com/mq3-alcohol-sensor-arduino-tutorial/
Note: You can change the code according to your calibration values.
Detect the Presence of Alcohol Using Digital Output
The following experiment explains how to detect ethanol presence through digital display.
- Wiring
Link the VCC pin to the 5V Arduino terminal. Likewise, connect the digital output with your Arduino’s digital pin. Since you’re operating the digital output, don’t interfere with the analog output.
Besides, remember to ground both gadgets.
- Calibration
This module includes an in-built potentiometer to set the digital output. All you need to do to create a threshold is turn the knob. The status LED activates upon exceeding your threshold and registers a “High” output. The next step is blowing alcohol vapor into the sensors. Turn the pot clockwise until the status LED reads “ON” and readjust it counterclockwise to the “OFF” setting.
- Alcohol Arduino Sensors Code
Apply this code to your Arduino.
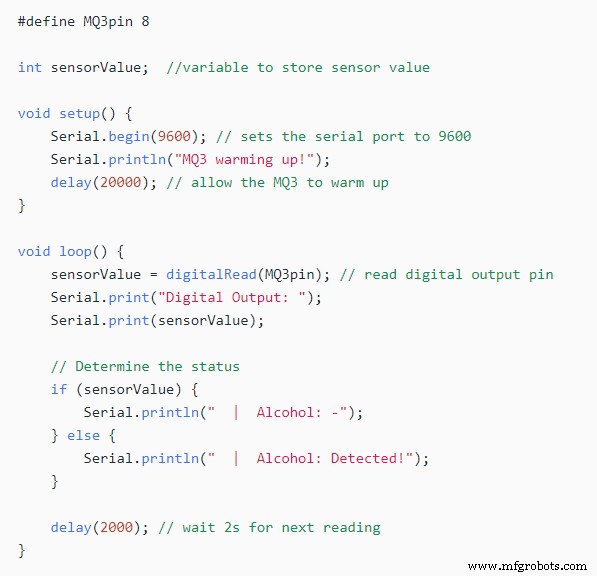
Fig 9: Arduino Code.
Source: https://lastminuteengineers.com/mq3-alcohol-sensor-arduino-tutorial/
Alcohol Sensor With Arduino
The MQ3 alcohol sensors aren’t limited to alcohol; they can also detect other gases.
Here’s how to build the sensor with Arduino.
- Finding RS/R0
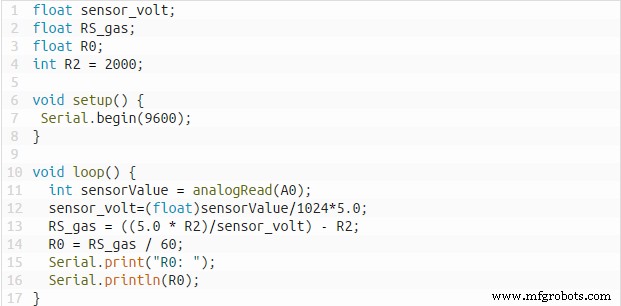
Fig 10: FInding RS/RO code
Source: https://www.teachmemicro.com/mq-3-alcohol-sensor/#
RS represents the resistance of selected gas with varying concentrations, while R0 indicates resistance in clean air.
- Resulting Arduino sketch
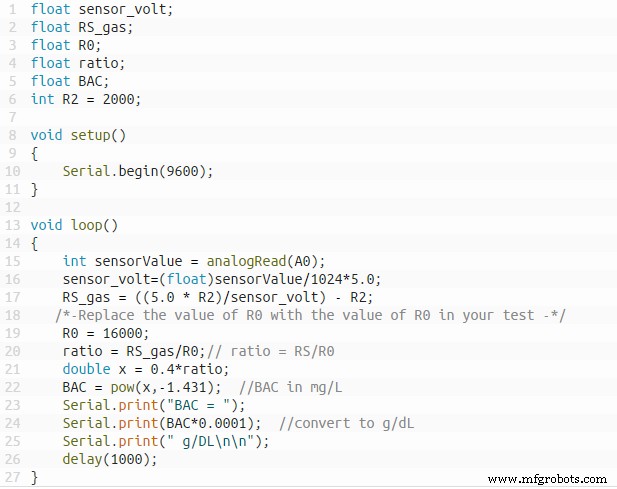
Fig 11: Arduino Sketch
Source: https://www.teachmemicro.com/mq-3-alcohol-sensor/
- Arduino breathalyzer sketch with LCD
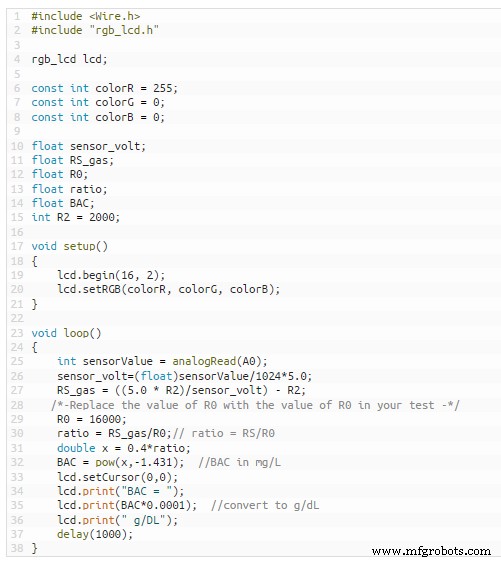
Fig 12: Final Arduino Sketch code
Source: https://www.teachmemicro.com/mq-3-alcohol-sensor/#
Conclusion
Setting up alcohol sensors shouldn’t be hard. You can follow this guide to understand how the devices work and unlock the full potential of your MQ3 device. However, maintain it well to extend its service. For instance, store the device away from corrosive gases that invite corrosion and lower sensitivity. Alkalis, silicon steam, and freezing conditions also affect sensitivity. Lastly, If you have questions on this component, talk to us.
Industrial Technology
- Arduino Sensors: Types, Applications, and Real‑World Projects
- Integrating a Thermocouple Sensor with the Arduino Portenta H7 Using the MAX6675 IC
- DHT11 Temperature & Humidity Sensor Project with LED Indicators and Piezo Speaker
- Build an IR Sensor Project with Arduino UNO – Simple Guide
- PIR Motion Sensor: Working Principles & Arduino Integration Guide
- Precise Ultrasonic Distance Sensing with Arduino – Step‑by‑Step Guide
- Complete Guide to the Arduino Nano Pinout: Specs, Pin Functions & Programming Tips
- Master the ADS1115: Features, Pinouts, and Arduino Integration Guide
- Light Intensity Sensors: Features, Uses, and Arduino Integration Guide
- HC-SR04 Ultrasonic Sensor Explained: Working Principles and Arduino Integration