


Remote Control of a Bulb with Arduino Uno, Relay, and Android App
Components and supplies
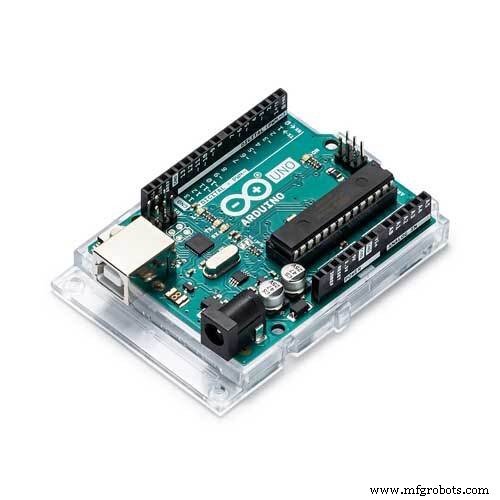 |
| × | 1 | |||
| × | 1 | ||||
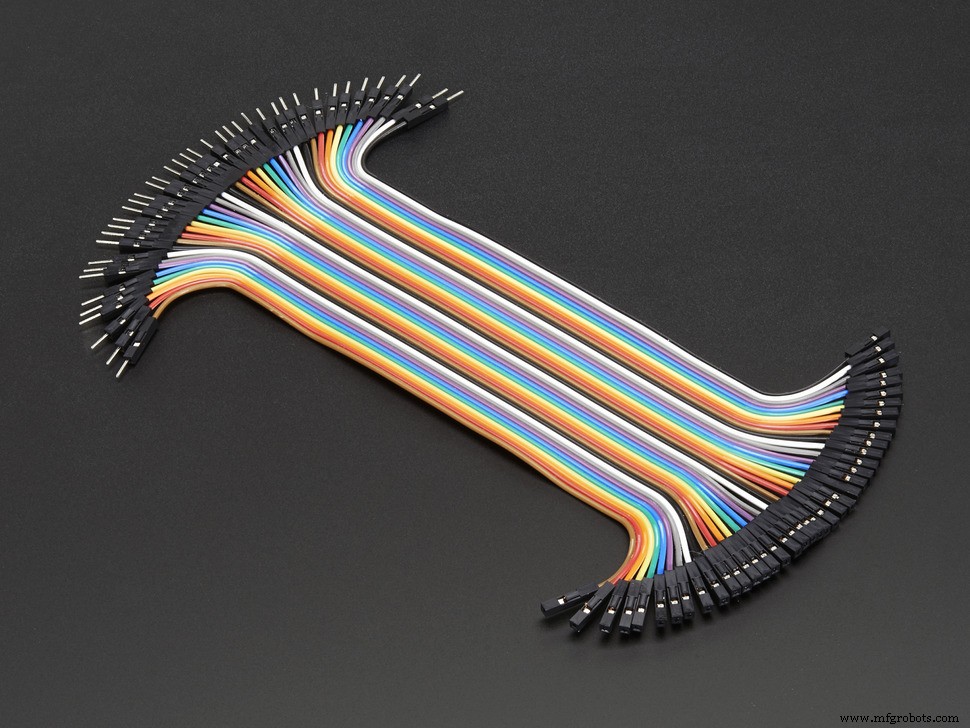 |
| × | 1 | |||
 |
| × | 1 |
Apps and online services
 |
| |||
 |
|
About this project
Description:This project is about how one can connect an electric bulb (or any device) with an Arduino Uno using a Relay Module. It also covers connecting Arduino with Android devices and then remotely switching the device off/on.
RelaysOne can control high voltage electronic devices using relays. A relay is actually a switch which is electrically operated by an electromagnet. The electromagnet is activated with a low voltage, for example 5 volts from a microcontroller and it pulls a contact to make or break a high voltage circuit.
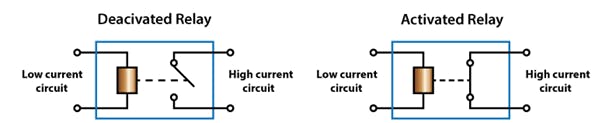
This project uses the HL-52S 2 channel relay module, which has 2 relays with rating of 10A @ 250 and 125 V AC and 10A @ 30 and 28 V DC. The high voltage output connector has 3 pins, the middle one is the common pin and from the markings one of the two other pins is for normally open connection and the other one for normally closed connection.
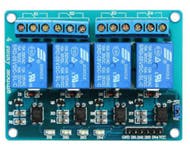
On the other side of the module we have 2 sets of pins. The first one has 6 pins, a Ground and a VCC pin for powering the module and 4 input pins In1, ln2, ln3 and In4. The second set of pins has 3 pins with a jumper between the JDVcc and the Vcc pin. With a configuration like this the electromagnet of the relay is directly powered from the Arduino Board and if something goes wrong with the relay the micro controller could get damaged.
Steps to follow:Step 1: Connect the Arduino with the USB with your system.
Step 2: Connect ground pin of Arduino with the ground pin of Relay Module, VCC pin on relay module with 5V on Arduino and finally pin 7 in Arduino with ln1 on relay module.
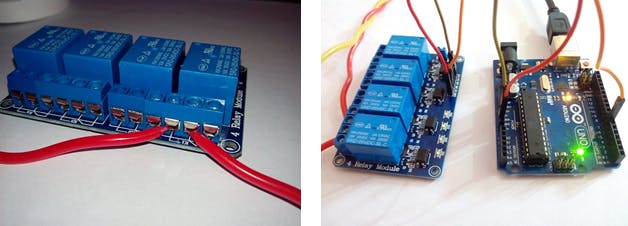
Step 3: Upload the code given below to Arduino and switch on the current supply of bulb through circuit board.
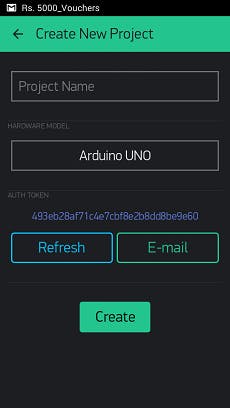
Steps to be followed on Android Phone:Step 1: Install the “Blynk” app from Google Play store and click on the “Create New" button.
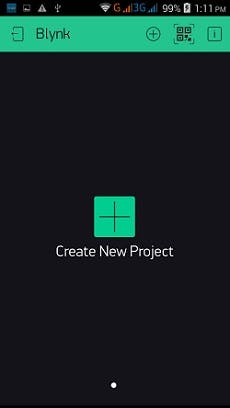
Step 2: Name your Project and select your IoT board (Arduino) then click on "Email" and finally on "Create". Remember to change the Auth Token in the code by the one sent on your mail by Blynk.
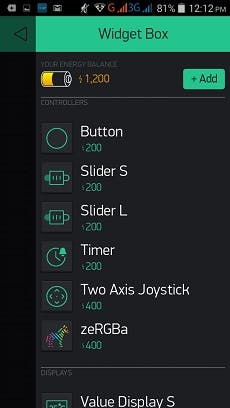
Step 3: Add a Button on the screen and long press to configure it.
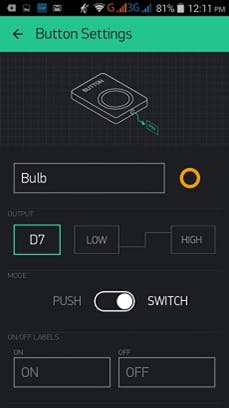
Step 4: Name the button to “Bulb” change the color and select the output as D7 i.e. digital pin 7.
Step 5: Click on the play button on the top left of the screen.
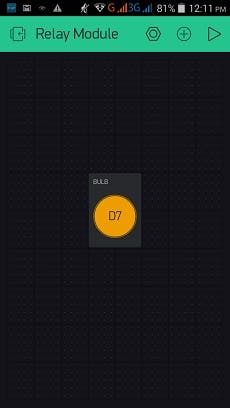
The project is all set and now one can control the electrical bulb by pressing the bulb button on the Android Phone.

Code
- Code
Code Arduino
/*
*
 * 1. Optional, but recommended.
 *    Connect additional USB-serial adapter to see the prints.
 *
 * 2. Edit auth token and upload this sketch.
 *
 * 3. Run the script (script located in "scripts" folder of library root,
 *    e.g. 'blynk-library/scripts') for redirecting traffic to server:
 *
 *      for Windows:
 *                     1. Open cmd.exe
 *                     2. Write (put your path to the blynk-ser.bat folder):
 *                          cd C:\blynk-library\scripts
 *                     3. Write (COM4 is port with your Arduino):
 *                          blynk-ser.bat -c COM4
 *                     4. And press "Enter", press "Enter" and press "Enter"
 *
 *
 * 4. Start blynking! :)
 *
 **************************************************************/

#include <SoftwareSerial.h>
SoftwareSerial DebugSerial(2, 3); // RX, TX

#define BLYNK_PRINT DebugSerial
#include <BlynkSimpleStream.h>

// You should get Auth Token in the Blynk App.s
// Go to the Project Settings (nut icon).
char auth[] = "Your Auth Token";

void setup()
{
  // Debug console
  DebugSerial.begin(9600);

  // Blynk will work through Serial
  Serial.begin(9600);
  Blynk.begin(auth, Serial);
}

void loop()
{
  Blynk.run();
}
Manufacturing process
- Control Your Roomba Create 2 Using Arduino and Android: A Step-by-Step Guide
- Build a Basic Calculator with Arduino UNO – Easy Project
- Build a Portable Persistence of Vision Display with Arduino UNO and ATtiny85
- Smartphone-Based Temperature Monitoring System with Arduino and Bluetooth
- Arduino Laser Tripwire Project: Build a Simple Intrusion Detector
- Gesture‑Controlled Robot Project: Build Your Own Motion‑Sensing Bot
- Arduino UNO Guitar Pedal: DIY, Open‑Source, Beginner‑Friendly
- Build a Realistic Traffic Light Simulator with Arduino UNO
- Bluetooth‑Controlled Car: DIY Arduino Remote Vehicle
- Arduino Bluetooth Camera (ABC): Connect Your Phone via Bluetooth to Capture Images