


Mastering C++ Switch‑Case: Syntax, Usage, and Practical Examples
What is a switch?
The switch statement evaluates a variable once and branches execution to the matching case label, simplifying multi‑way decision making.
Think of it as a clean, efficient if…else if… ladder that selects code blocks based on the variable’s value.
In this C++ tutorial you’ll learn:
- What a switch statement is
- When to use a switch
- The role of the
breakkeyword - Syntax and structure
- Practical examples
When to use a switch?
A switch is ideal when a single variable must be compared against a fixed set of constants. It produces clearer, faster code than a long if…else if… chain.
The break keyword
Inside a switch, break terminates the current case, preventing fall‑through to subsequent cases. If omitted, execution continues into the next case.
When the compiler encounters break, control jumps to the statement following the closing brace of the switch.
Syntax
Typical structure:
switch (variable)
{
    case value1:
        // code
        break;
    case value2:
        // code
        break;
    default:
        // code
}
- variable – the expression being evaluated.
- case – a constant value to compare against.
- break – stops execution of the switch block.
- default – optional; runs when no case matches.
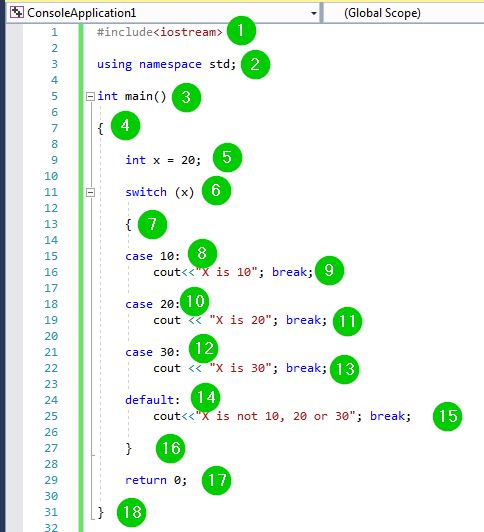
Example 1
#include <iostream>
using namespace std;
int main()
{
    int x = 20;
    switch (x)
    {
        case 10:
            cout << "X is 10"; break;
        case 20:
            cout << "X is 20"; break;
        case 30:
            cout << "X is 30"; break;
        default:
            cout << "X is not 10, 20 or 30"; break;
    }
    return 0;
}
Output:

Screenshot of the code:
Code explanation:
- Include
<iostream>to enable console I/O. - Use the
stdnamespace for brevity. - Define
main()as the entry point. - Declare
int x = 20;. - Apply
switch(x)to comparexagainst constants. - Case 10: print “X is 10”.
- Case 20: print “X is 20”.
- Case 30: print “X is 30”.
- Default: handle values other than 10, 20, 30.
- Each case ends with
break;to avoid fall‑through. - Return 0 to indicate successful execution.
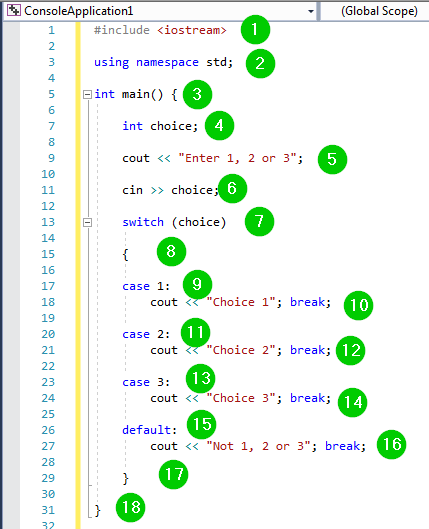
Example 2
#include <iostream>
using namespace std;
int main() {
    int choice;
    cout << "Enter 1, 2 or 3: ";
    cin >> choice;
    switch (choice)
    {
        case 1:
            cout << "Choice 1"; break;
        case 2:
            cout << "Choice 2"; break;
        case 3:
            cout << "Choice 3"; break;
        default:
            cout << "Not 1, 2 or 3"; break;
    }
}
Output:

Screenshot of the code:
Code explanation:
- Include
<iostream>for I/O. - Use
stdnamespace. - Declare
int choice;. - Prompt user: “Enter 1, 2 or 3: ”.
- Read input into
choice. - Switch on
choiceto branch to matching case. - Case 1 prints “Choice 1”.
- Case 2 prints “Choice 2”.
- Case 3 prints “Choice 3”.
- Default handles any other input.
- Each case ends with
break;.
Summary
- A switch provides a concise alternative to nested
if…else if…statements. - Its syntax is cleaner and execution is generally faster.
- Use it when a variable must be matched against multiple constant values.
- Each
casecompares the variable to a distinct value. - The
breakkeyword prevents unintended fall‑through. - An optional
defaultclause handles unmatched cases.
C Language
- Mastering the C++ break Statement
- Mastering the C++ Switch‑Case Statement: Syntax, Workflow, and Practical Examples
- Mastering the Java Switch Statement: Syntax, Usage, and Best Practices
- C++ For Loops Explained: Syntax, Workflow, and Practical Examples
- Mastering std::stack in C++: A Comprehensive Guide with Practical Examples
- C++ Structs Explained with a Practical Example
- C++ Classes & Objects: A Practical Guide with Code Examples
- Mastering std::list in C++: Syntax, Functions & Practical Examples
- Understanding Switch‑Case in C: Syntax, Examples, and Best Practices
- Java Switch‑Case Statement Explained: Syntax, Examples, and Best Practices